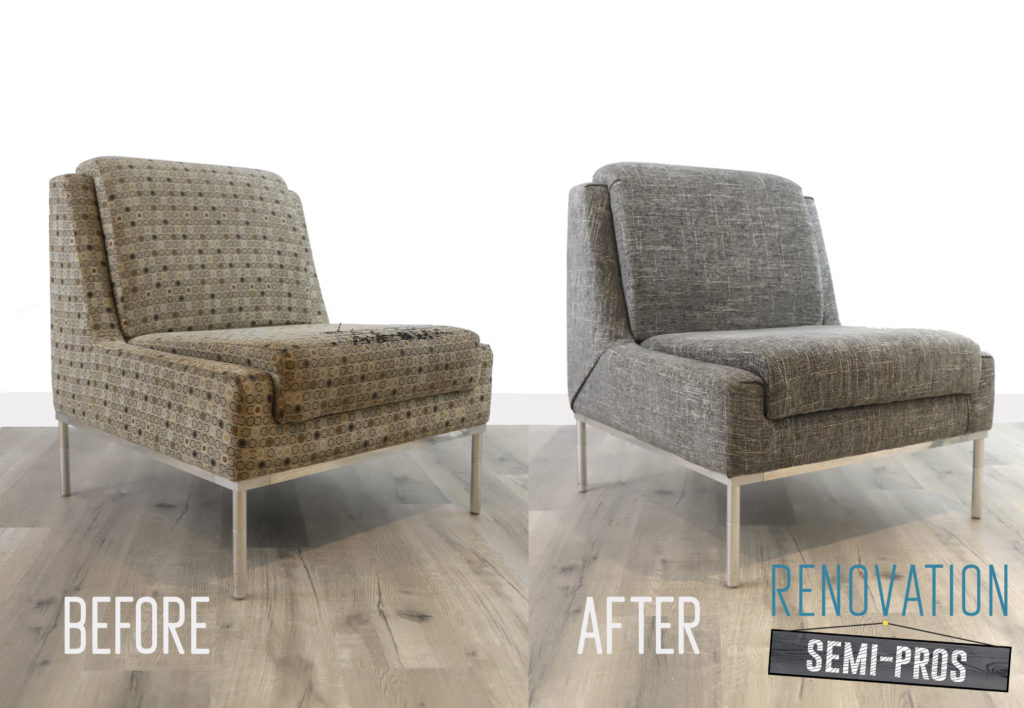
Check out our thrift store chairs! Here are details, supplies, and instructions for how we reupholstered three of them for under $65!
When I was a teenager, shopping at the thrift store had all sorts of “advantages.” For instance, the clothes my friends and I snagged from the racks were well-made. How else would they have survived intact from their original era? $4.00 for a 1970’s brown and gold polyester paisley button-down shirt? Yes, please! But most importantly to my part-time-record-store-working high school self: they were very inexpensive.
Over the years, as Chris and I decorated our homes, we would browse thrift stores, and their sometimes pricier cousin, the antique store. Lamps, wall art, a table, and some figurines come to mind as thrifty purchases we’ve made. But our recent furniture find really takes the cake in the bargain department!
As we planned for the basement media room, we knew we wanted a comfy spot to watch movies. So, we were actually hunting for a bargain buy on a couch or sectional we could re-build and/or reupholster. But when we came across these beauties, how could we resist?!
Super Find – $15 Chairs
Behold – the bargain chair. [cue bloodcurdling scream]
Okay, actually there are three bargain chairs, but they didn’t fit well in one picture!
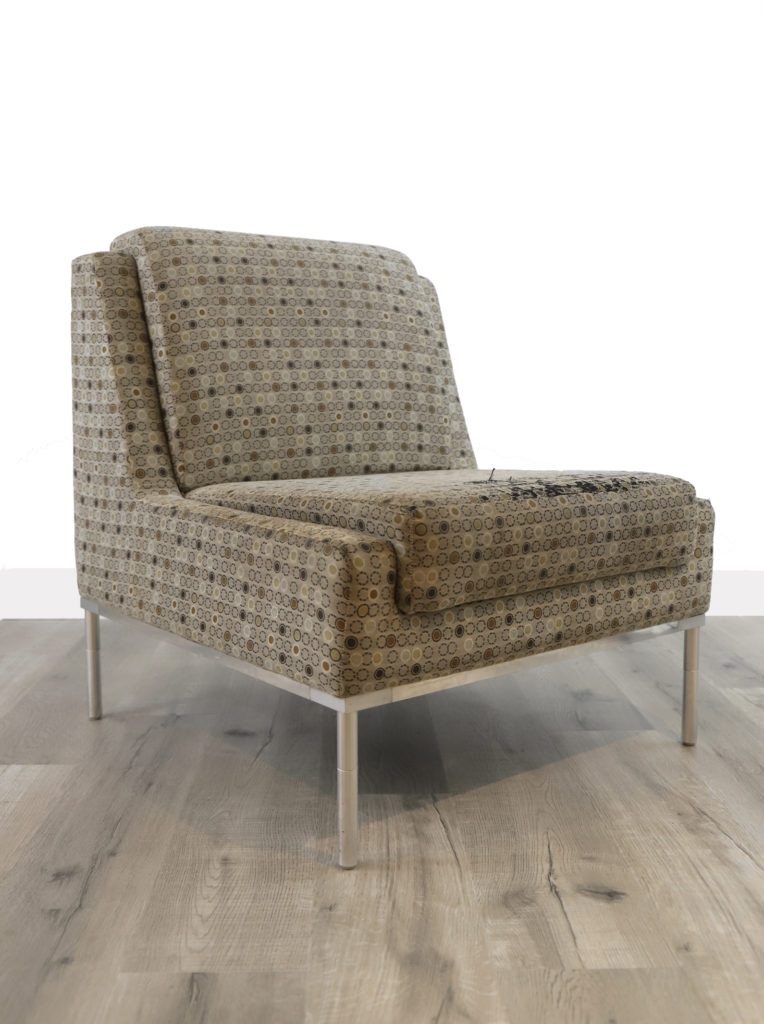
These chairs are many things: heavy (about 50 lb/23 kg each), very well-made (from an expensive office brand), modern-esque (more contemporary than modern, but we can edit that in post-production), and super inexpensive ($15 each!).
What the what?!?! $15! SOLD!
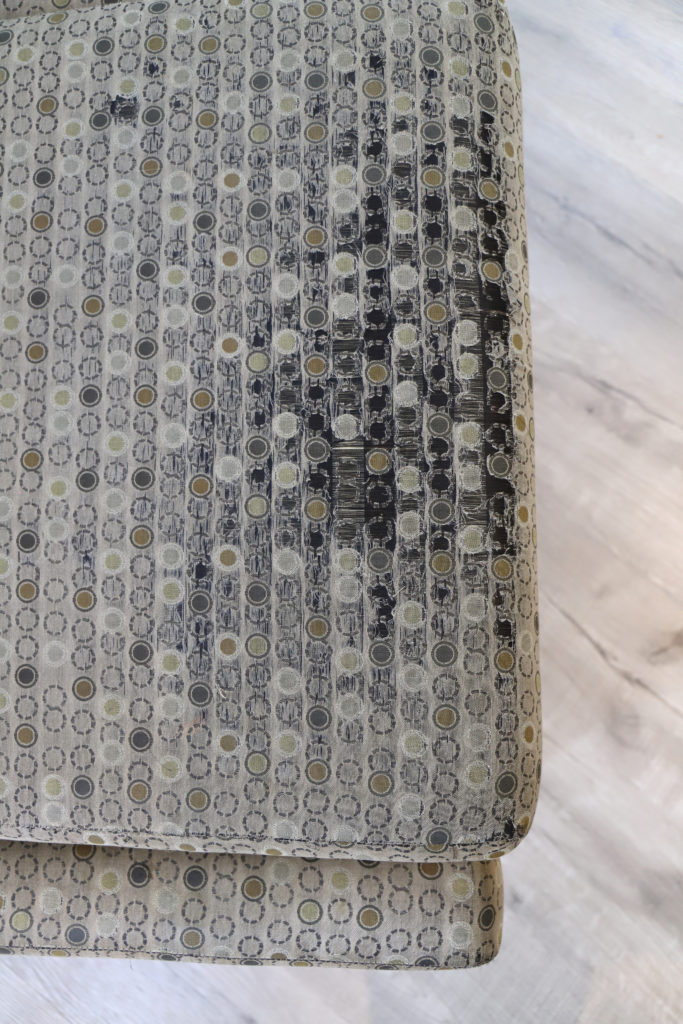
What these chair were not: attractive. The fabric was well-worn and dingy, but knew we could fix that.
Finding Affordable Upholstery Fabric
We set a budget for the project: $65 total for each chair. We’d already spent $15 to purchase each chair, so that left us with a $50 budget to reupholster each one.
Now, if you’ve looked at prices for nice upholstery fabric recently, you are likely shaking your head as your read this and thinking…not gonna happen, ’cause that stuff is expensive. And you might have been right, if not for some more good bargain juju!
We narrowed our favorite fabric down to a gray twill we both really liked. Jo-Ann Fabric had the best price by a dollar per yard, so we drove to the store. When we arrived, they were having a SALE, which is sweet by itself, but I had just signed up for their text messages coupons and alerts, so I also had a 25% off coupon! They gave us the sale price of $21/yd (down from $44/yd), plus the coupon discount of 25%, and we saved so much. Seriously. Crazy. Amazing.
Supplies
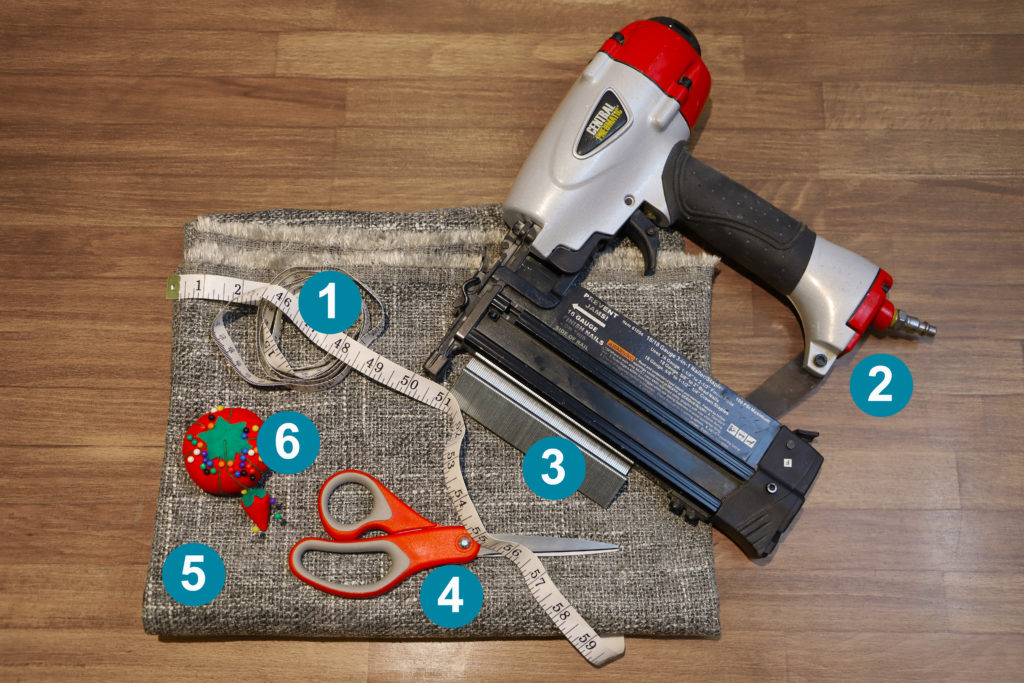
We gathered everything we needed to upholster the chairs. For this project, we used the following (plus a screwdriver to take apart the chairs):
- Tape measure
- Air staple gun (an electric staple gun would work too)
- Staple (1.25 inch)
- Scissors (sharp ones)
- Upholstery fabric (we needed about 2.5 to 3 yards per chair)
- Straight pins to hold fabric in place, if needed
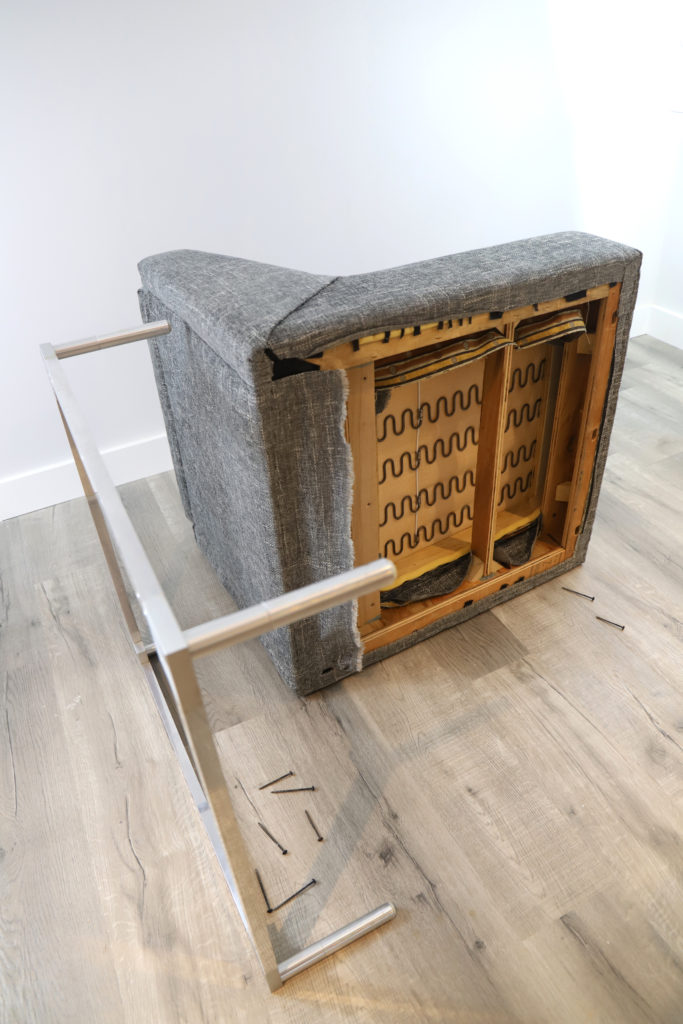
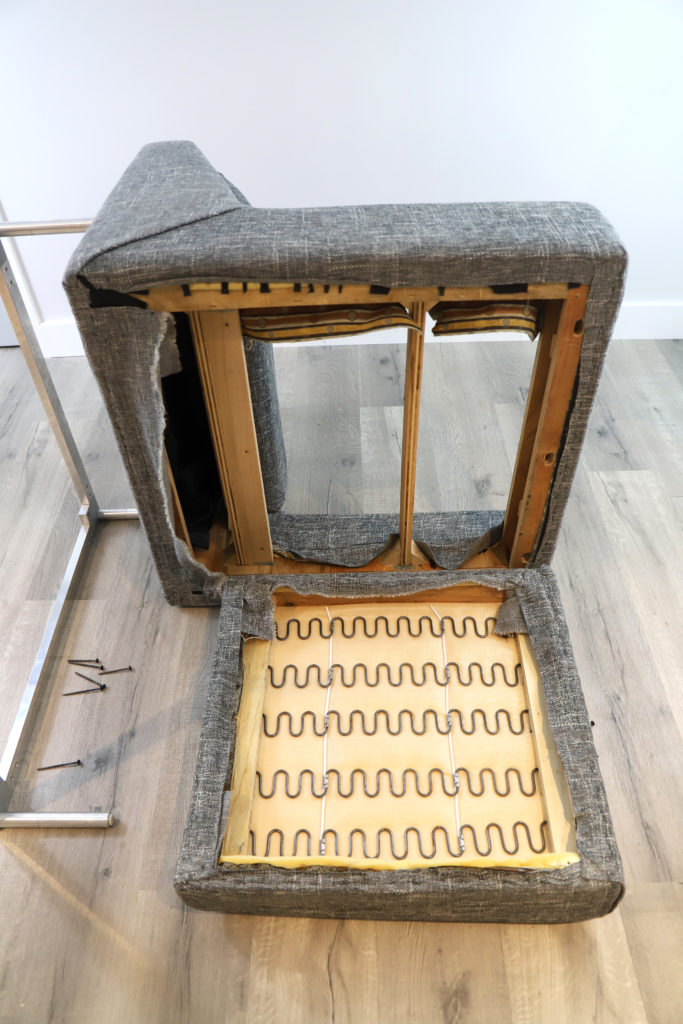
We started by dissembling one chair, taking pictures as we went, just in case we couldn’t figure out how to re-assemble it later.
Essentially, there are four parts: 1) an L-shaped upholstered frame, 2) a top cushion, 3) a bottom cushion, and 4) a metal base.
Reupholstering Process
We did not remove the old fabric. One – because although worn, it was in good shaped structurally. Two – because there were approximately one billion staples attaching it to the wooden cushion base, give or take a billion.
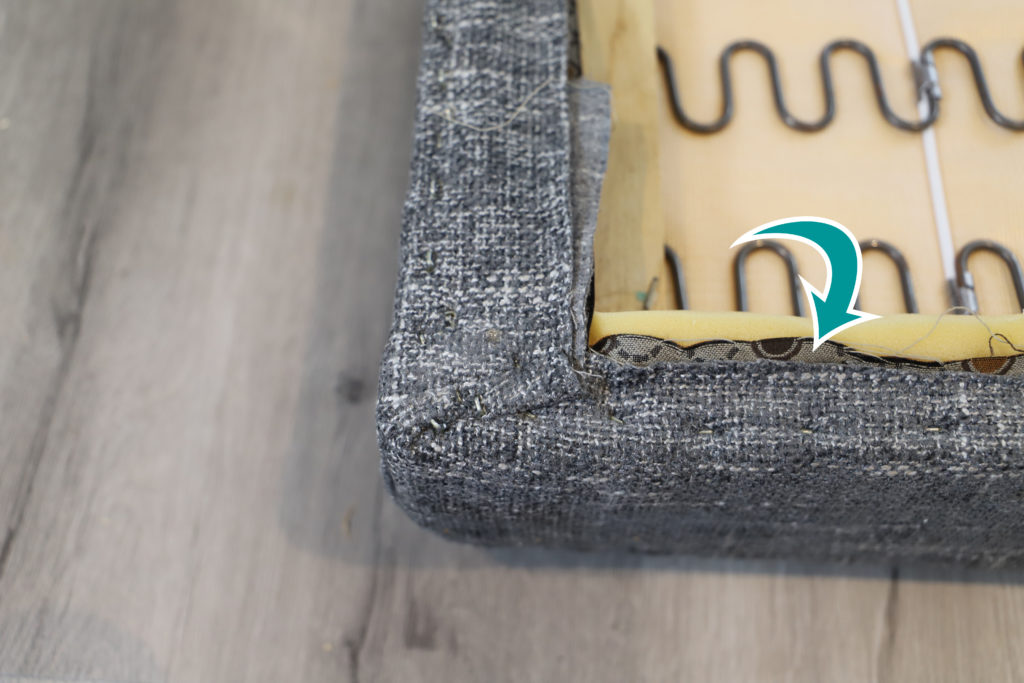
So, we wrapped the new fabric right over the existing fabric on the bottom seat cushion. What worked for us was getting one edge stapled on (we did the edge that would be against the back of the chair – aka the least visible one first). Then, we worked our way around the cushion, pulling the fabric taut, but not too tight, and stapling as we went. Within about 15 minutes, the bottom cushion was done.
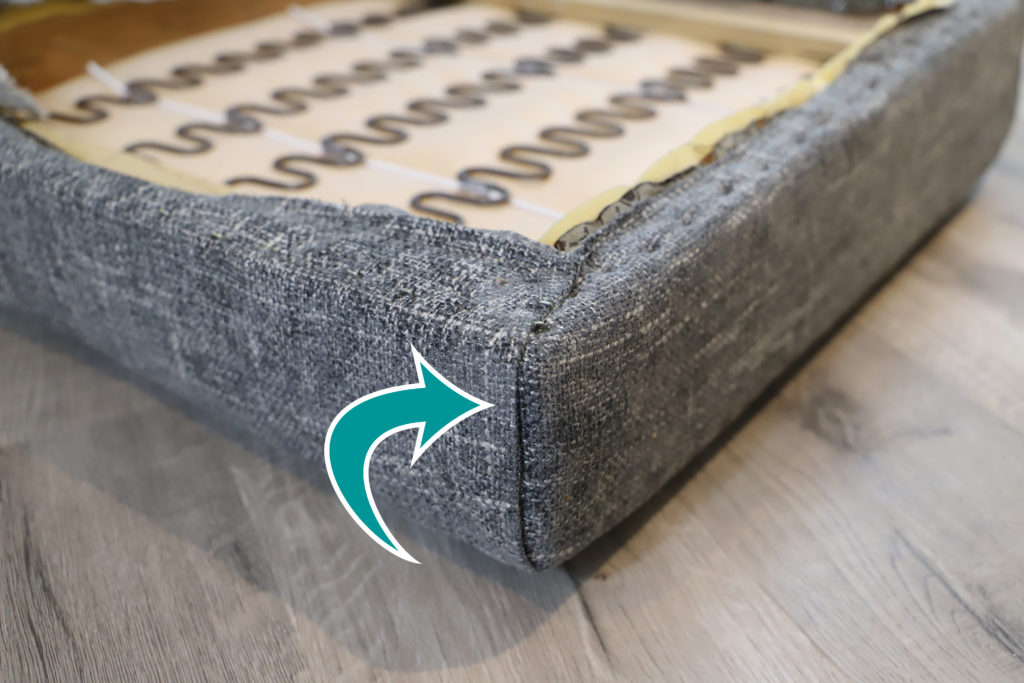
The back cushion was next and the same process worked. One caveat though – the rounded corners are like little, creased nightmares. After some trial and error, I treated all the edges like I would wrapping paper….folding, creasing, and really trying to make it look presentable. But unlike my sub-par wrapping paper skills, it actually worked! DIY FTW!
We saved the frame for last because it was freaking me out. I was certain I was going to mess it all up. I started cutting and stapling. Got frustrated. Walked away. Came back to find Chris giving it a go. Walked away again. Made lunch for everyone. Came back to tell Chris lunch was ready. Saw that he’d figured it out. Was slightly less frustrated.
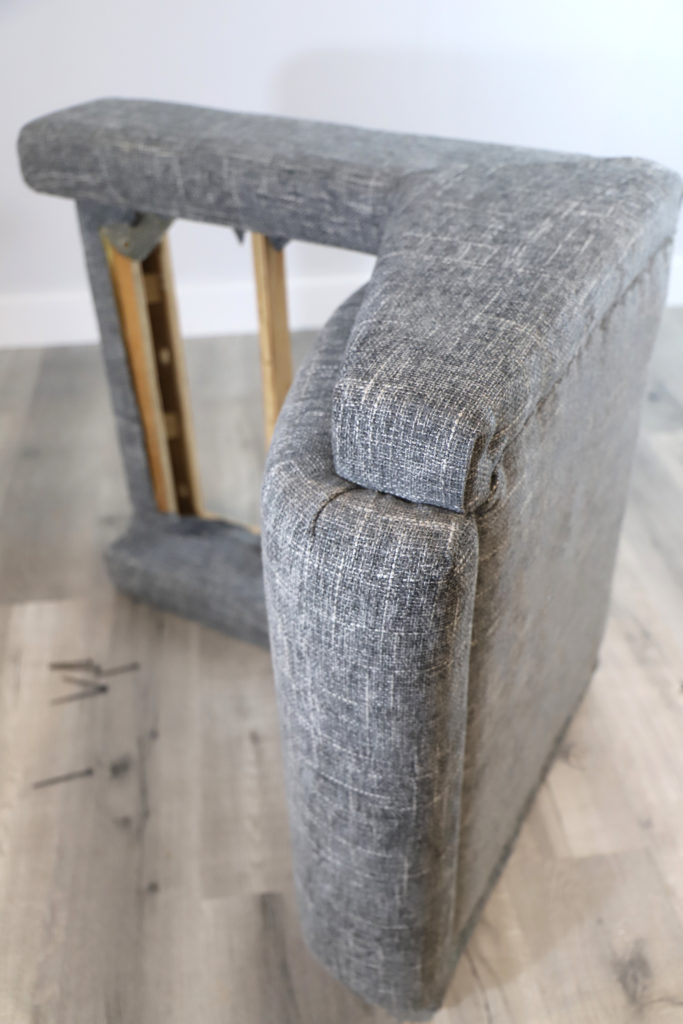
Once we’d had lunch and Chris has found a solution to the crazy angles we needed to make, we got back to stapling and cutting. Once it was all wrapped with upholstery, we reassembled the chair and added the metal base back on. Voilà! Finished chair rescue!
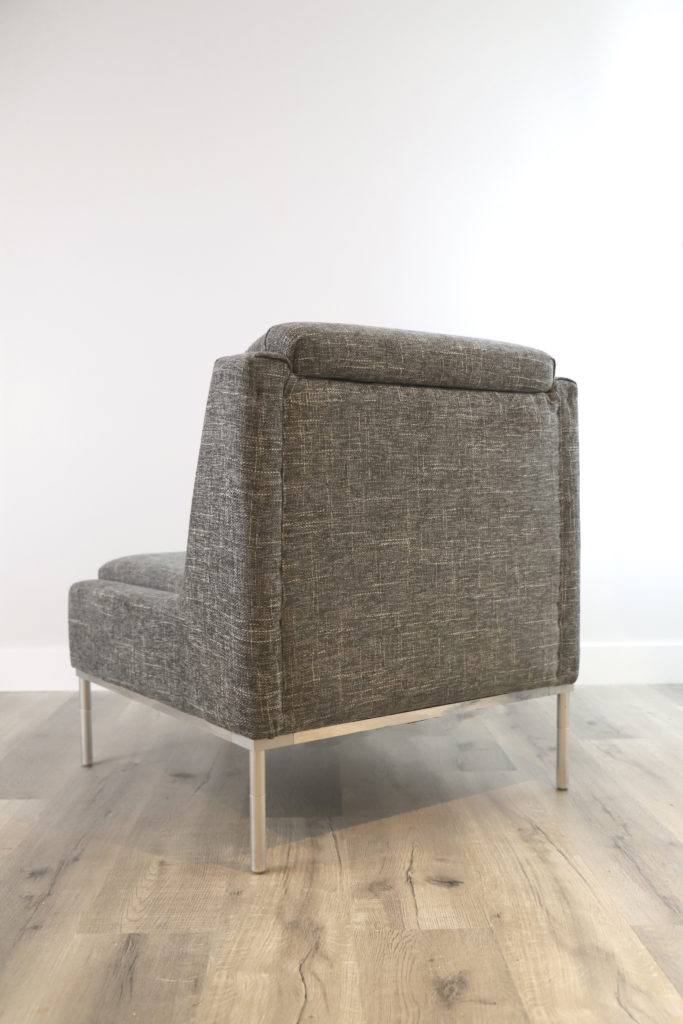
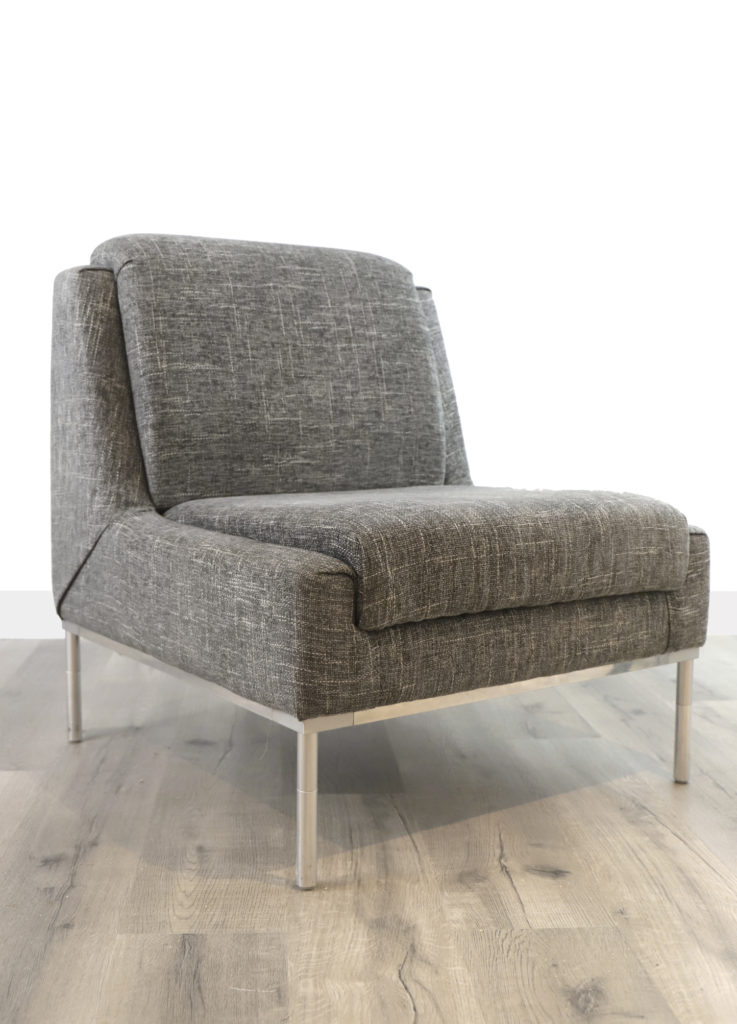
I’ll admit, there was a LOT of improvising on this project, lots of creases, and an other-worldly number of staples used, but we think it came out really nice. The first chair likely took us 5-6 hours on/off to complete with our learning curve, but the second one only took 1-2 hours.

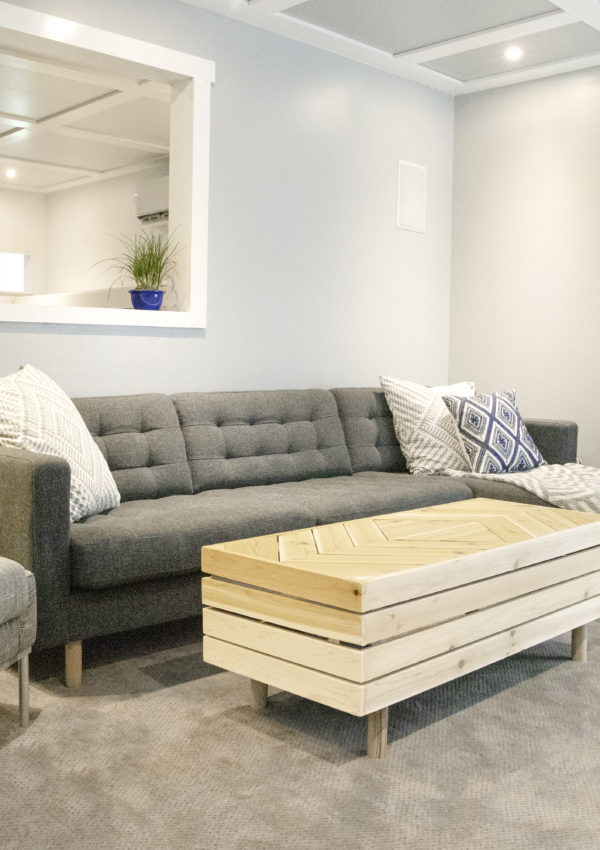
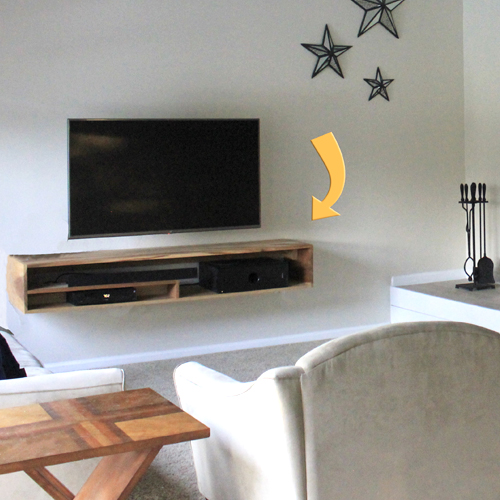

[…] We used some of the white lapboard planks paired with some rustic pipe fittings to create a simple shelf for Melissa’s books and decor. You’ll also see one of the chairs we reupholstered! […]