With the basement office completed, we turned our full attention to the basement media room construction and finishing. From an initial vision, turned Melissa’s digital mock-up, turned reality, it’s time to share the basement media room construction from start to finish!
Well, okay…not exactly “finished”….but super close! The carpet is in, the drywall is up, the baseboards are installed, and all the paint is done!! We have some serious progress now!
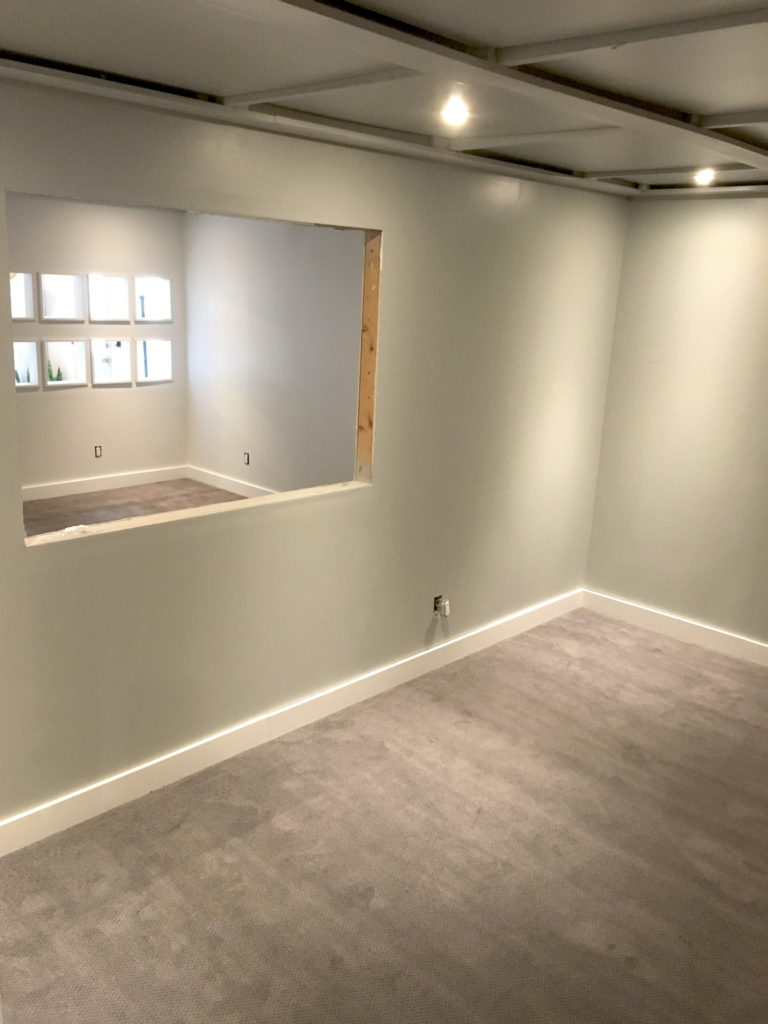
We’ve never had a designated theater room in any of our homes. Typically, I have to wait for everyone to go to bed and then try to keep the volume down. That’s no way to watch a movie! Just ask my good buddy, George Lucas.
But as long as the walls and ceilings are sound-dampened, a basement is a great place for a media room. You’ll be able to crank up the volume and listen to your favorite movies just as the director intended. Bring on the popcorn!
Here’s a reminder of the layout. The media room is adjacent the basement office and also near the future rec room.
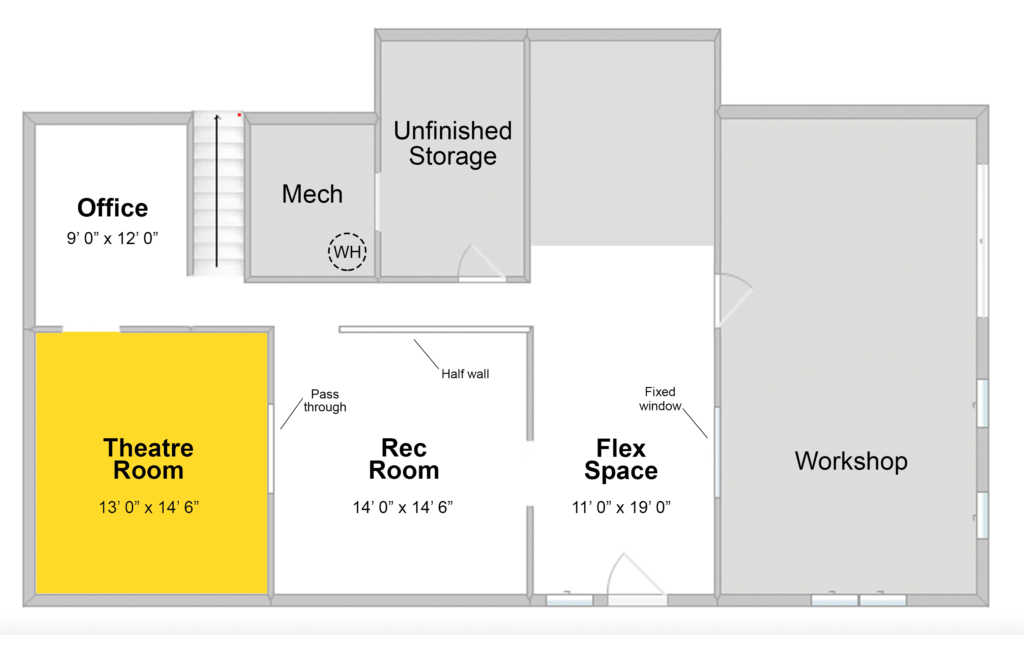
This sneak peek we posted in our basement media room components update last week gives you a good perspective. I am in the rec room in this photo, adjacent to both the office and the media room.
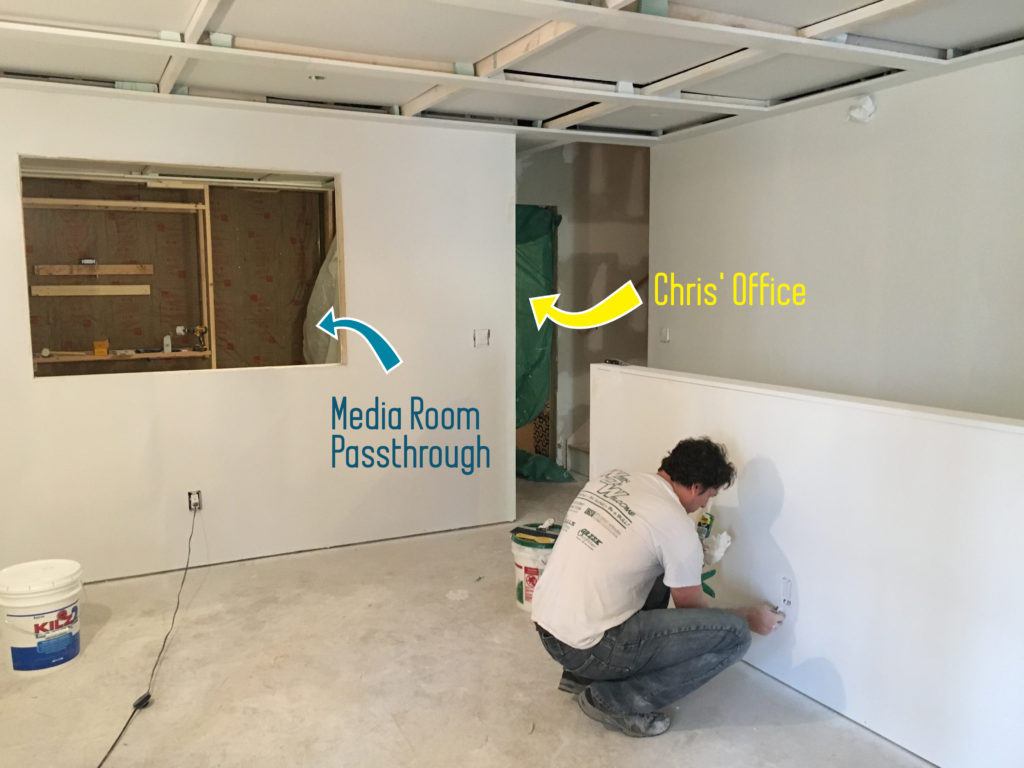
Construction Process
Here’s a quick run through of all the major construction items for this space, including the wall vapor barrier, framing, insulation and sound dampening, drywall, paint, and carpeting.
Vapor Barrier
To provide a vapor barrier and insulation (R-5), we installed 1-inch rigid foam (Polystyrene Foam Board from Lowes) against all the poured concrete walls in the basement. The rigid foam comes in 4′ x 8′ sheets (just like drywall and plywood) and are placed right against the concrete without glue or screws. The rigid foam sheets are then held in place by the wall framing. So concrete wall > rigid foam > wood framing…like a construction sandwich.
The rigid foam sheets are easy to install and provide a continuous barrier against water (leaks) and vapor (water transferring through the air). Our basement has solid poured-concrete walls without any cracks, so reducing the humidity in the basement was our main goal.
To seal the seams between foam sheets, and protect against any airflow traveling between them, we used Tyvek tape.
Framing the Walls
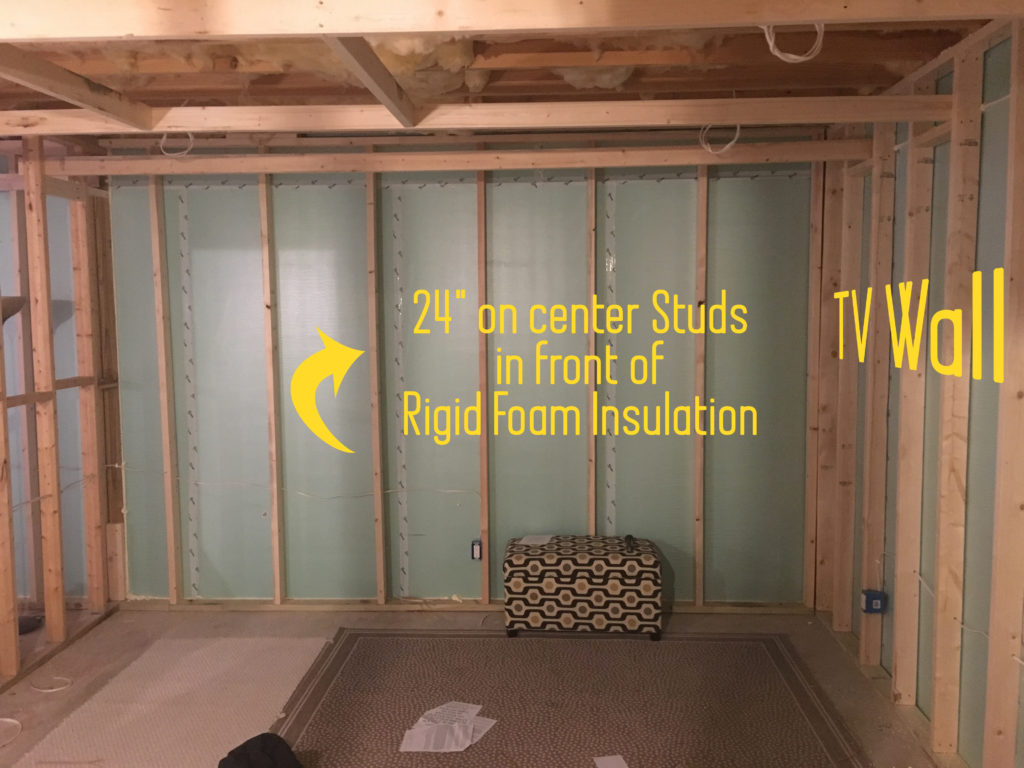
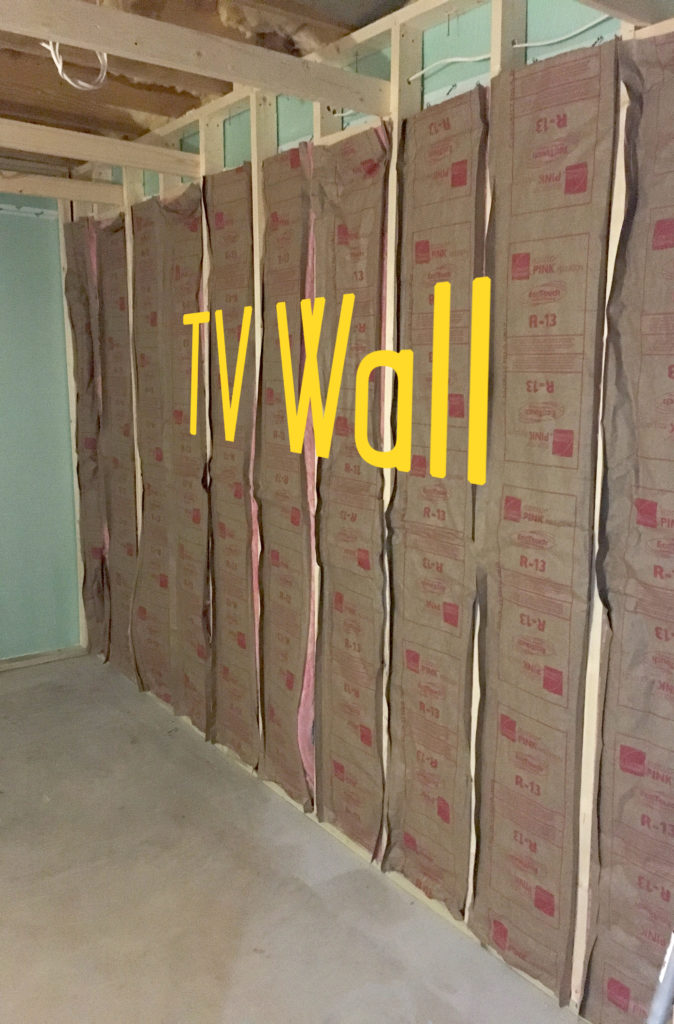
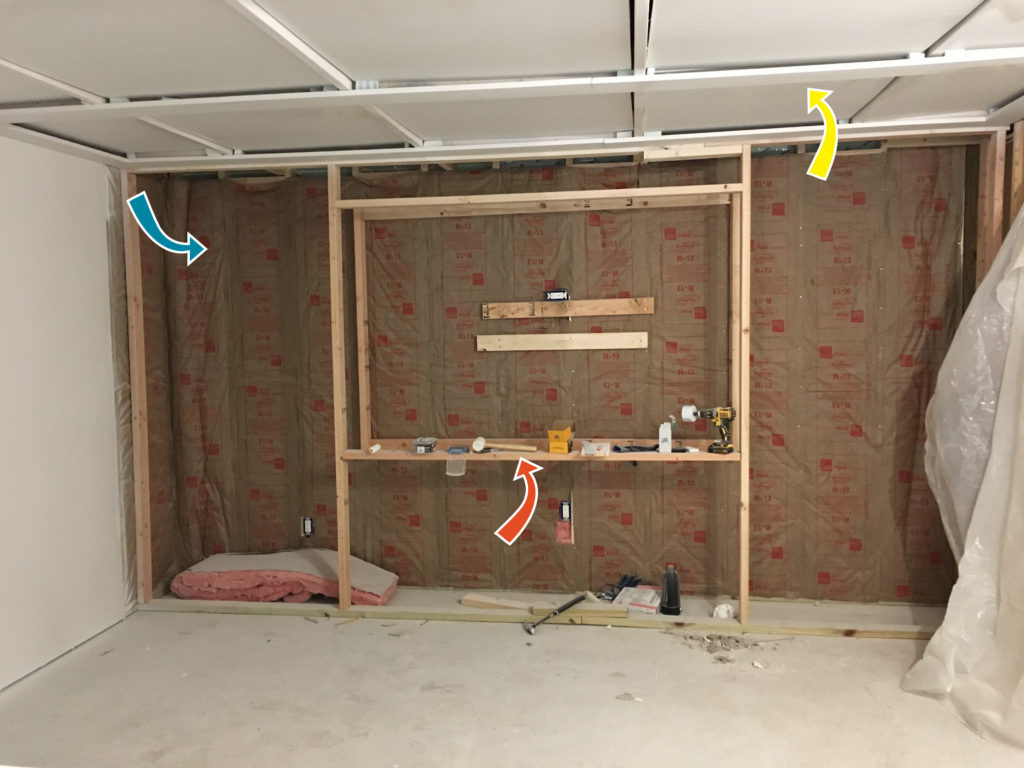
Next, we framed out the first wall – the TV wall (see TV wall on image above). For the TV wall, we framed it out using studs at 16″ on-center.
On the other walls, I tried using studs at 24″ on-center, also called advanced framing. Advanced framing saves time and lowers costs by reducing the overall number of studs needed to frame out the walls. Since, insulation for 24″ on-center is available at Lowes and Home Depot, it’s a good option.
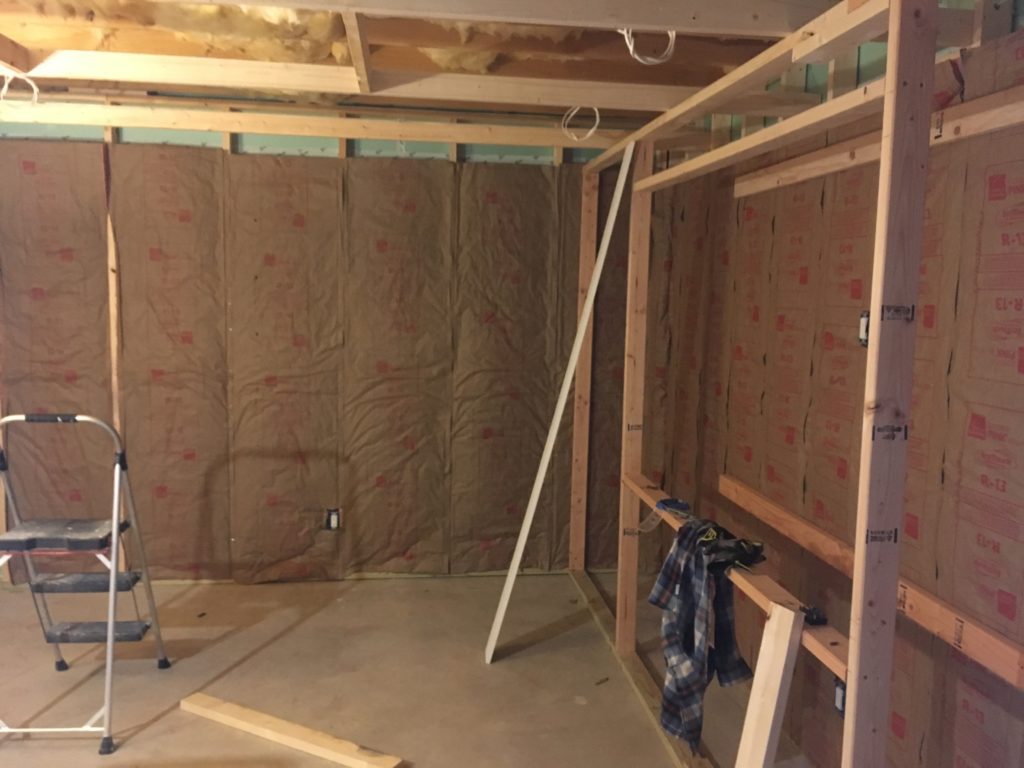
This image also shows the beginnings of the framework for our faux coffered ceiling. Having this open space between the first floor joints above and faux coffered “drop” ceiling in the basement will make running the speaker wires to the receiver much easier.
Fiberglass Insulation
After the rigid foam was installed over the concrete basement walls, and the studs built in front of/on top of the rigid foam, we insulated the walls.
We added R-13 fiberglass batting insulation in-between the studs to give the walls and overall R-18 insulation value. This “R” number does not take into account the insulative value of the the poured-concrete basement walls themselves or the packed earth surrounding them outside.
Building the Custom Media Shelving
The next step was to frame in the shelving for the components and the inset for the television. We had our good friend/electrician, aka the “Other Chris,” rough-in the wiring for the lighting and the electrical outlets. He added outlets for the components (bottom left), TV (center), and the fireplace (bottom center). He also installed all the wire drops from the ceiling for the future can lighting (see coiled wire at ceiling).
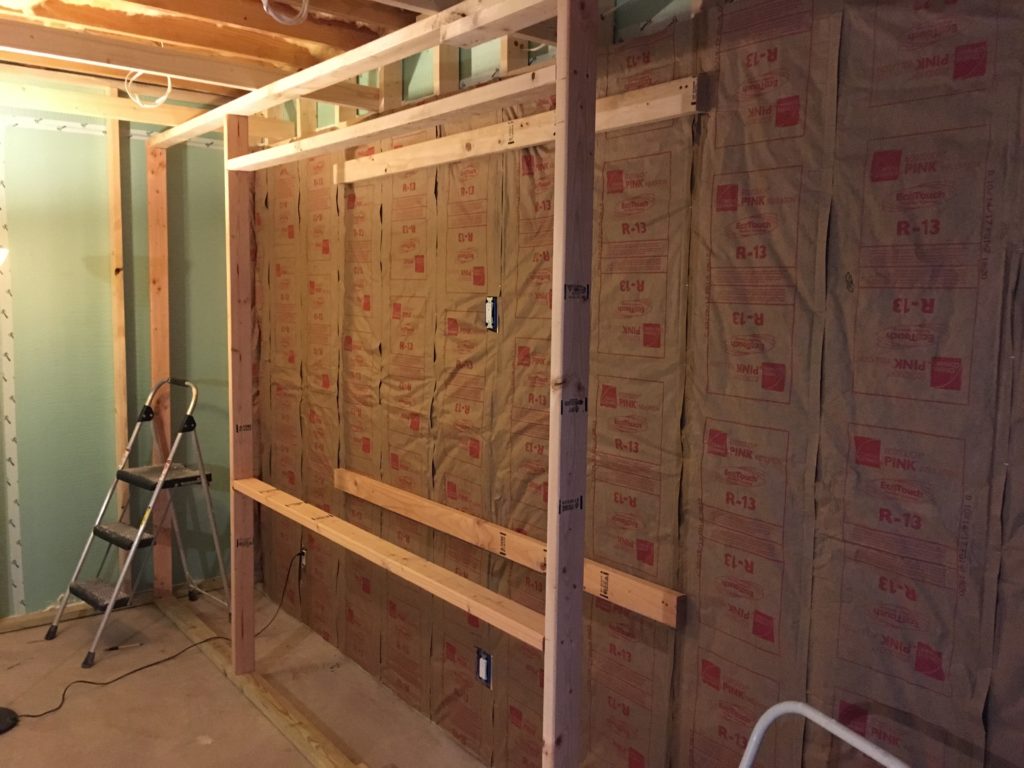
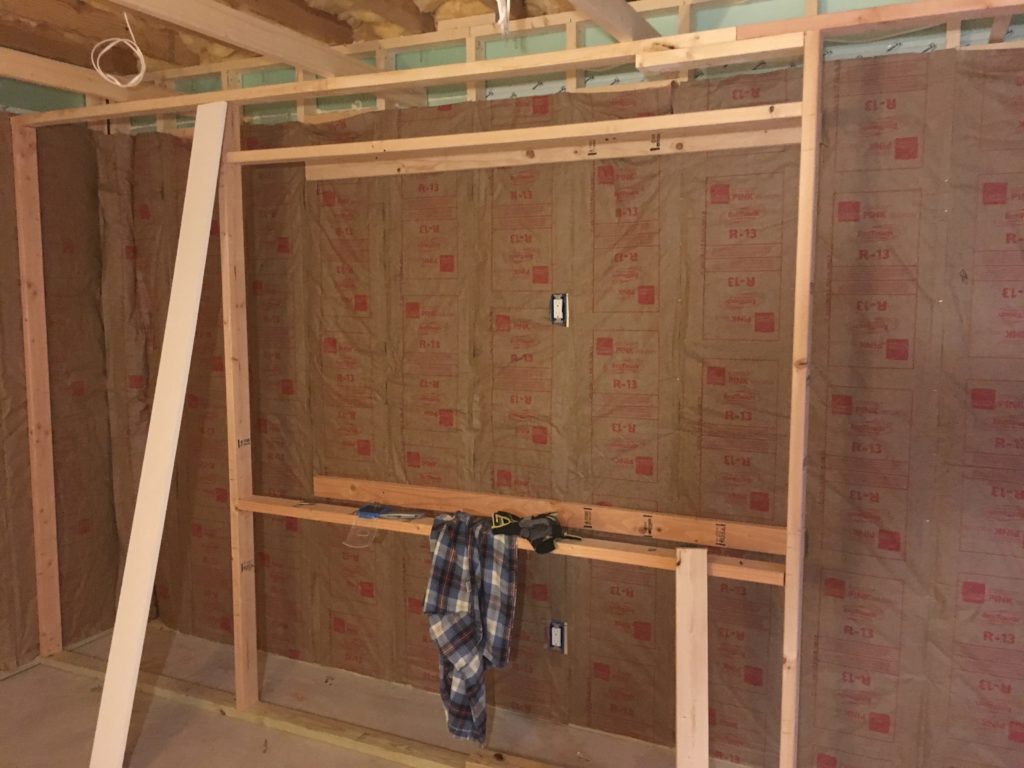
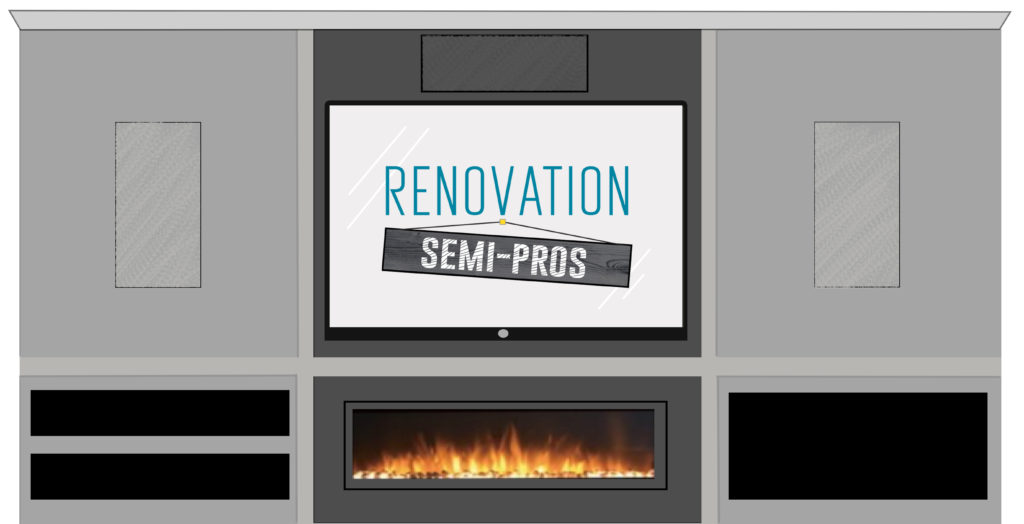
You can also see the 2×4 framing for the media center shelving unit here as well. In Melissa’s original sketch, she centered the tv in the top portion of the shelf, the fireplace in the bottom center, and the two sides will house the components and speakers. It’s coming together!
Sound Dampening
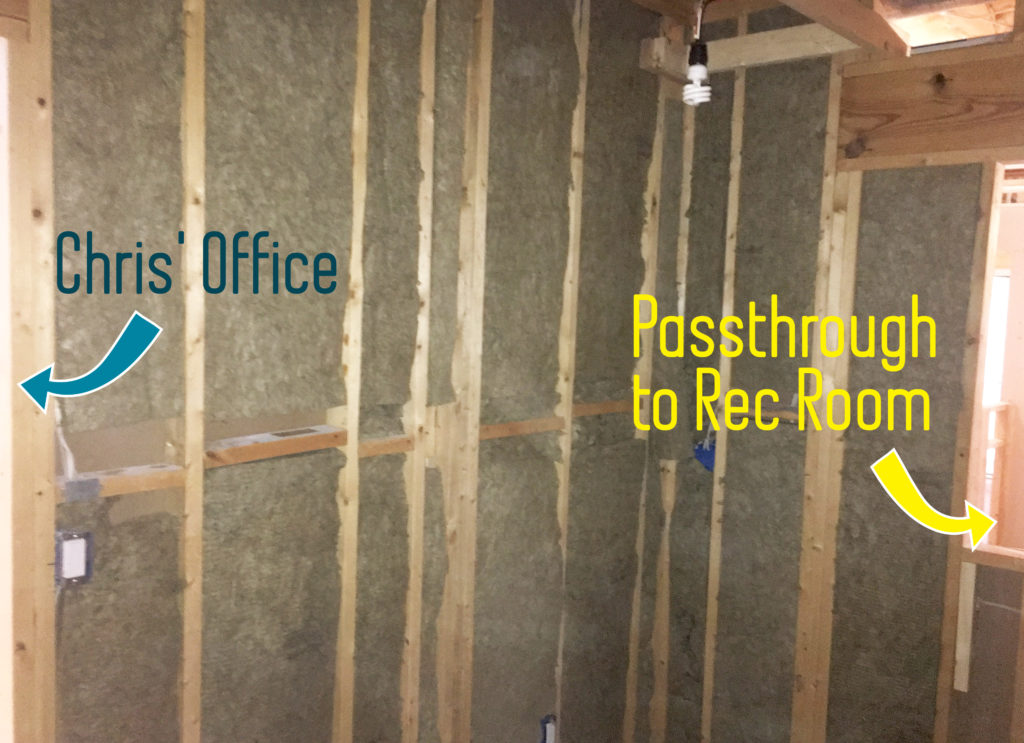
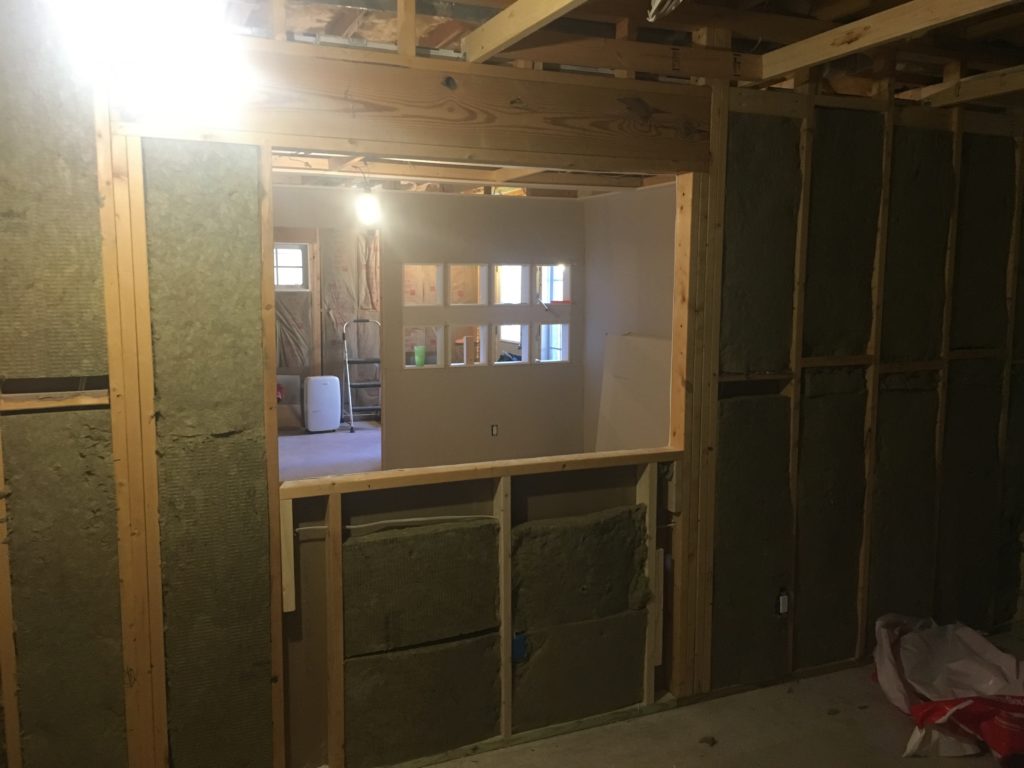
To sound-proof the room as much as possible, we added Safe’n’Sound Rock Wool Batt insulation (Roxul) in-between the studs on the back and side walls of the room. I also used Roxul between the floor joints above. As soon as you put up this insulation, you can feel a distinct, audible difference. If you’ve ever been in a recording studio or sound booth, it’s VERY similar.
Drywall
Ahh, drywall. The part of the basement media room construction process that people will actually see. Also the part of the process that makes you feel like you’re SUPER CLOSE to finishing.
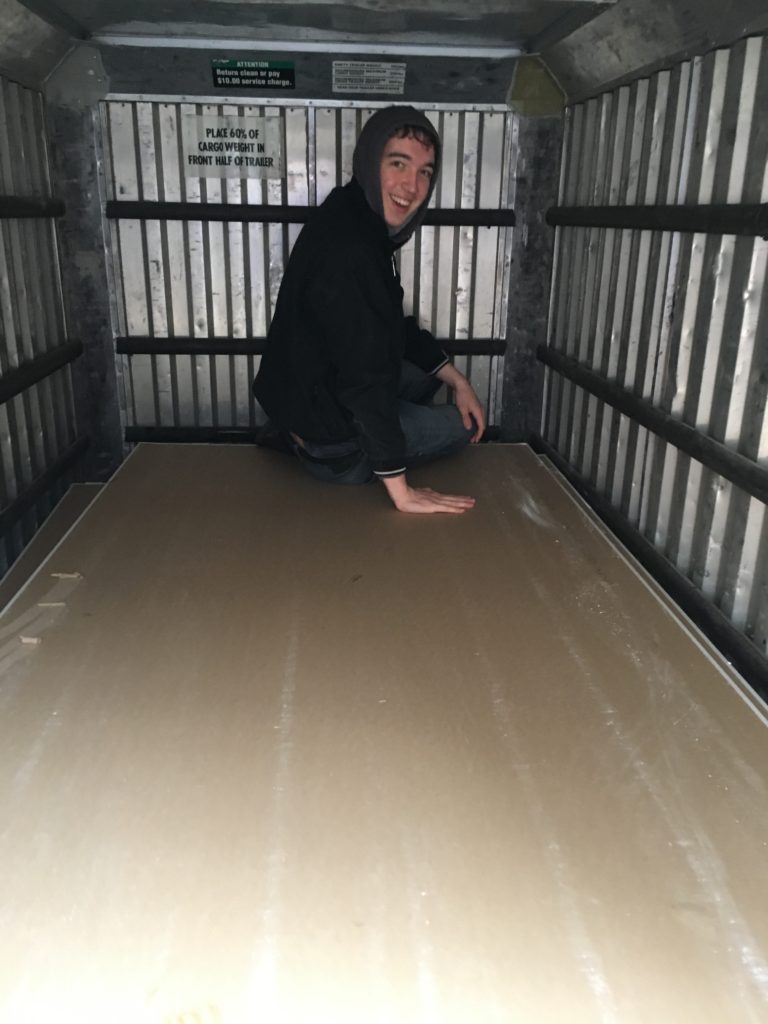
For this portion, the teenager was ready and willing to help. It was raining, so we rented a covered trailer to transport the 40-50 sheets of drywall.
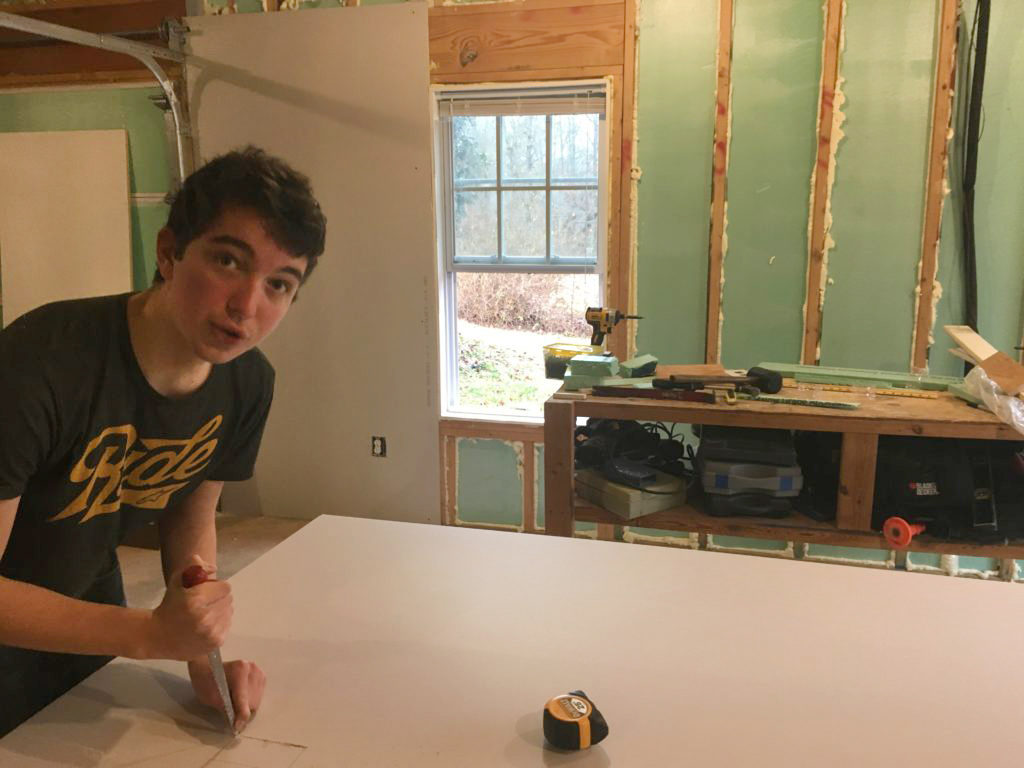
I trusted Jacob to measure and cut out the outlet holes in the drywall. I was not 100% certain they would match up to the spaces on the wall, but Jacob did pretty well!
Let me just confess something here. We try to do as much of our own work as humanly possible. But there are times when we REALLY want to hire someone. Drywall can be one of those times. It would have been so nice to just watch someone else slap up the drywall, tape, mud, and sand it for us. But we have the time, wanted to save the money, and are fortunate enough to have some teenage energy at our house. It was still very draining though.
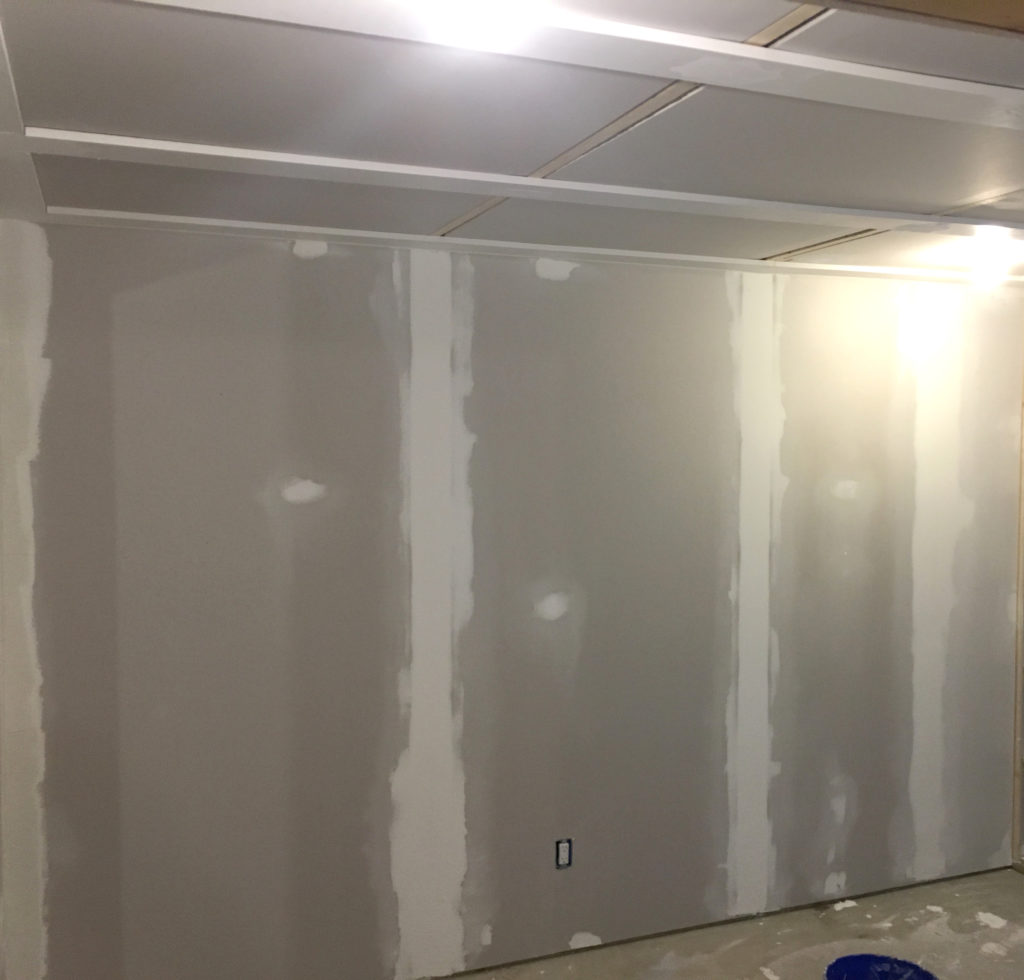
The drywall was installed, taped, mudded, and sanded. We also added texture to the walls and did a light sanding to smooth down the texture.
For some reason, we don’t have a lot of pictures of this part. Probably because Melissa was in the thick of it with me, which left no one to take the pictures!
Priming & Painting
Time to break out everyone’s (or at least my) favorite tool – the PAINT SPRAYER GUN! This is the best part of the process for me. After all of the months of prep work, weeks of finish work, and so much time up this point, it’s so nice to get a couple of fresh coats of paint on the walls and ceiling to clean things up!
First, we primed everything! Walls – primed!! Ceiling – primed!!! Done!
But then, the real color went on! [Whistles] We’re putting all the swatches together, so the final reveal post will include all the colors and textures used throughout the space.
We also went ahead and painted the recreation room at the same time so both could have carpet installed. The rec room isn’t our priority right now, but might as well get it ready to finish later. We’re putting together another post on this fun space – stay tuned for that.
Flooring – DMX Airflow and Carpeting
Having mentioned the flooring, here are some details on how we designed the flooring for the basement. Basements can be damp, and even though we’ve taken care to seal our poured concrete walls with a vapor and insulative barrier, we still know that water damage can happen. So – we prepared for worst-case scenario.
We researched different underlayment to use under carpeting “below grade.” In other words, something that would go under our flooring (carpet and luxury vinyl planks) in a basement. We found a few, but settled on a product called DMX Airflow.
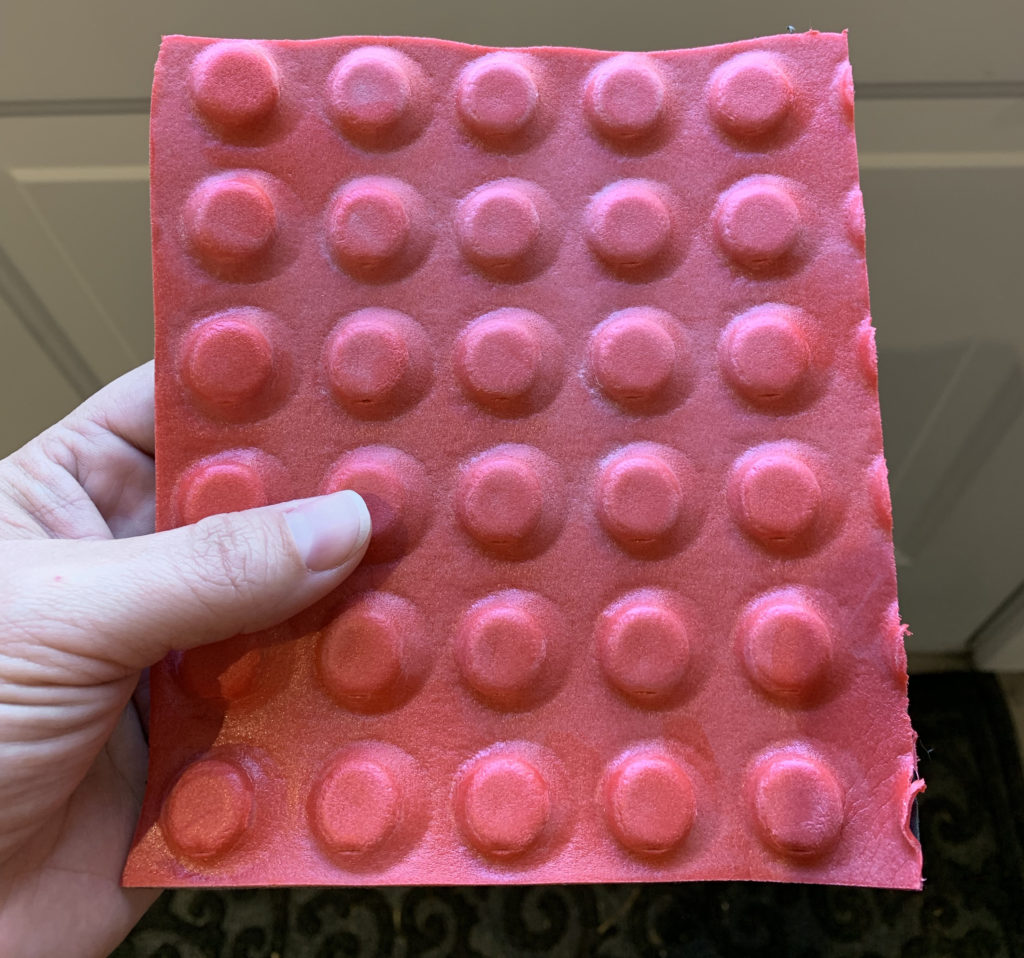
The DMX Airflow is made of two layers of durable foam. The dimpled layer (red) is placed against the concrete floor of our basement. Then, the new flooring (carpet, vinyal plank, etc.) is placed on top.
In our case, the ‘sandwich’ was: cement floor, DMX Airflow, carpet padding (optional with DMX Airflow), and then the carpet.
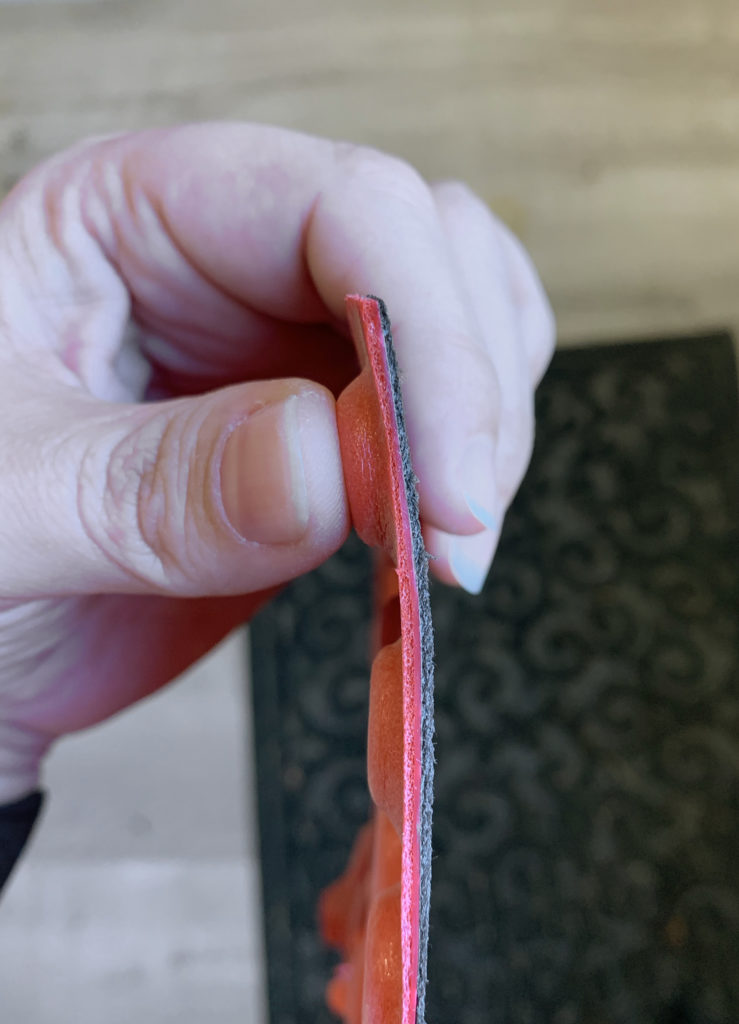
The idea of using this underlayment is that the dimpled side keeps moisture away from your flooring. The design allows air flow under the floors, so mold causing moisture has a chance to evaporate. It’s tough stuff though too. It is crush resistant up to 5,500 lbs. sq/ft., 100% waterproof, and has a 50 year warranty. And no, they’re not a sponsor, we just really like their product!
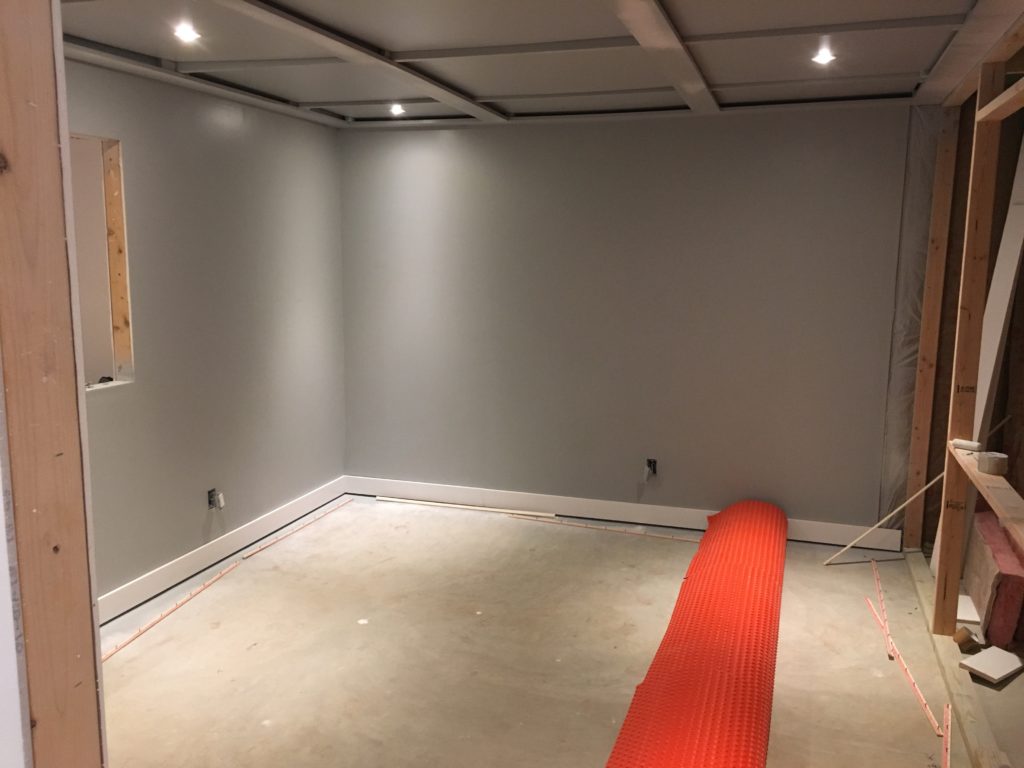
It comes in a roll that covers 100 sq. ft., so we ordered several for the basement project. We then put carpet padding on top of the underlayment, then carpet on top of that. It is ridiculously comfortable! So much cushioning and no worries about moisture.
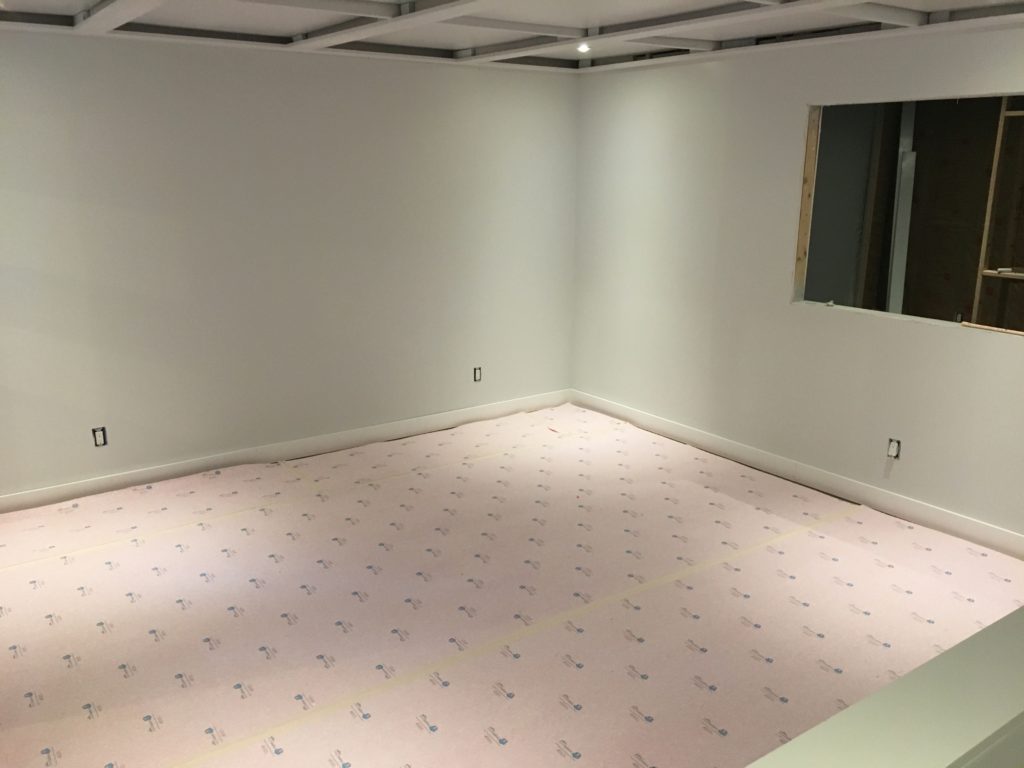
From rec room (Right: passthrough to media room)
Last sneak peek!
One last look at the media room (looking out the pass through to the rec room) before drywall and ceilings…
And after drywall and ceilings!

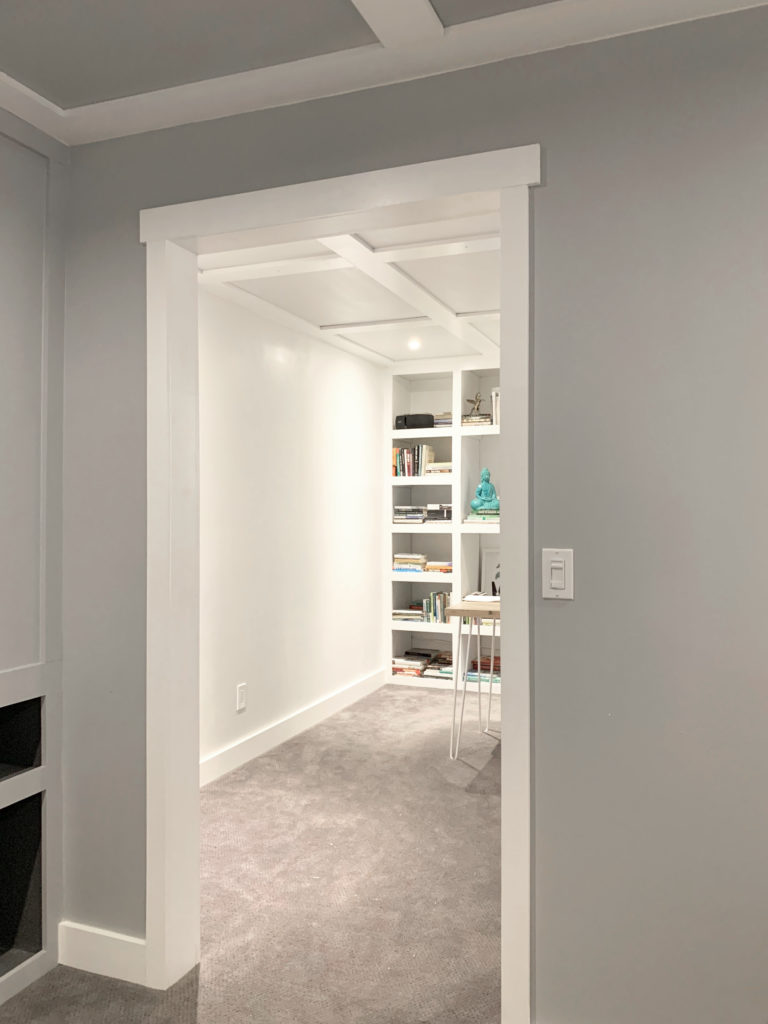
And one more photo looking from the media room into the office!
We hope you enjoyed this basement media room construction post. Check out the previous media room posts on components and kicking off the design.
Coming next – we’ll post the full reveal of the basement media room! Can’t wait to share with everyone!

Hey! We are about to finish our basement with carpeting and dmx as well. Do you remember what carpet pad thickness you used? Our installer has never installed on DMX either and considered running it up to the wall and nailing the tack strips on top and using a 7/16 pad.
He is concerned if we ran the DMX up to the tack strips with the pad on top there might be a noticeable “ramp” at the edges of the room.
Very timely that I found this post! We are in the process of renovating the basement in Minnesota (climate zone 6). We had already considered using DMX Airflow on the bare concrete before carpet installation, similar to what you have done, to limit moisture from concrete soaking into the carpet and pad. We have no current foundation issues with moisture or water ingress, but just in case. In my research, there are several other products that seem to be similar, providing gap between concrete and finished floor, e.g. DryCore, DryBarrier, & Delta FL or other recommendations for construction method of XPS under layers of plywood/OSB. However, none of these other alternatives appear to be as simple to install, cost effective, and minimal change in floor height.
I understand you recently sold this house, so I don’t expect you to be able to provide any long term observations.
-Did you have any issues with carpet installation with the carpet pad on top of the DMX Airflow?
-Were the tack strips installed directly on the concrete, not on the DMX Airflow?
-If you were to renovate another basement, would you do it the same way again?
Hi Dave! We LOVED the DMX Airflow product and would 100% use it again in another similar space. To answer your other questions, we did not have any issues with installing the pad over the DMX. Our installer did say he’d never seen it before, so we went through how it worked before he began, but it went perfectly. The tack strips were installed to butt up against the DMX and we left a small (1/8″ or 1/4″) gap to allow any moisture to evaporate and air to circulate. In the two years after we installed and before we sold the home, we had zero moisture issues. I hope that helps! We’d love to see your finished product.