Looking for a simple weekend project? Need a coffee table/end table/table table? This tutorial is for you! In this quick post, we’ll show you how we conquered our ever-expanding scrap wood pile and DIY’d a coffee table for under $30!
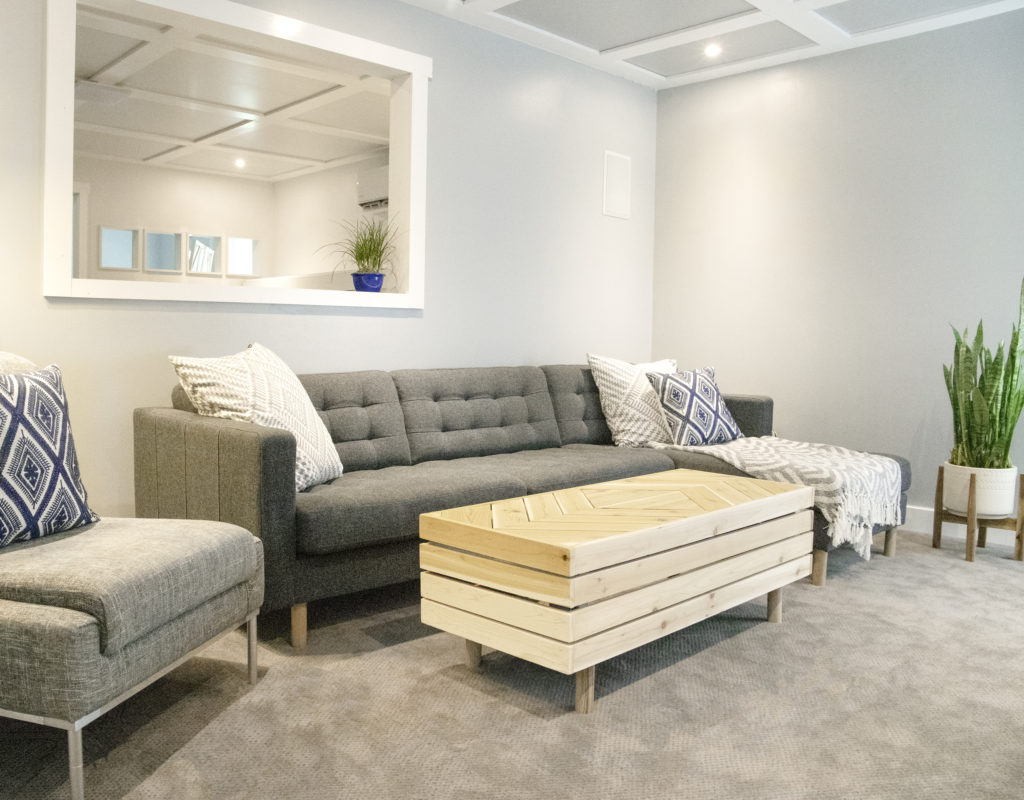
We needed a coffee table in the basement media room. Instead of spending an entire day driving to IKEA in Atlanta and walking through the wonderful yet mesmerizing aisles, or spending hours shopping online in hopes we could find exactly what we wanted, we decided to DIY our own. In fact, this table was built from wood in our workshop scrap pile!
So one point for tackling our scrap wood pile and another point for building a functional table out of scraps!
This is the kind of project you can complete in 3-4 hours from unused scrap wood or with a few boards from your local hardware store. Super easy. And, as long as you don’t worry too much about creating the perfect table, you may even have fun in the process! Fun? What? Sold!
P.S. – If you make mistakes, just refer to the DIY coffee table design as “rustic” or “artesian” or “modern farmhouse style.” Ha!
Coffee Table Basic Construction
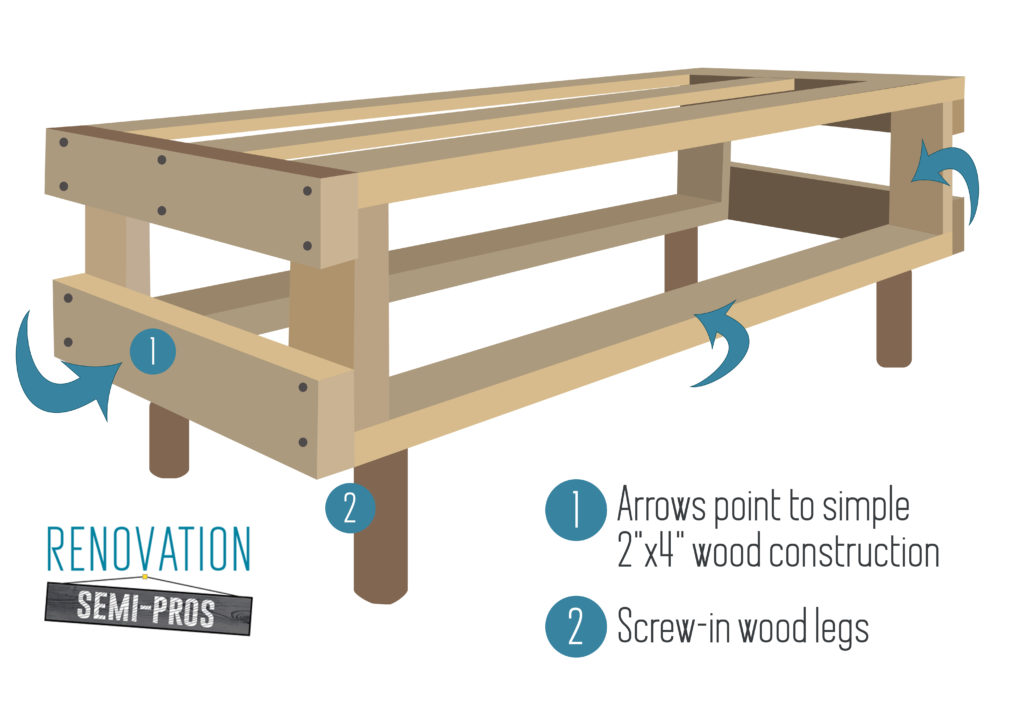
Here’s a quick sketch mockup of the DIY coffee table’s frame. The finished dimensions are 20″ wide x 48″ long x 17″ tall.
The arrows (1) point to the simple 2×4 board construction. The wooden legs (2) we used were leftover from an IKEA sofa (LANDSKRONA). You can also grab some great inexpensive tapered legs on Amazon.
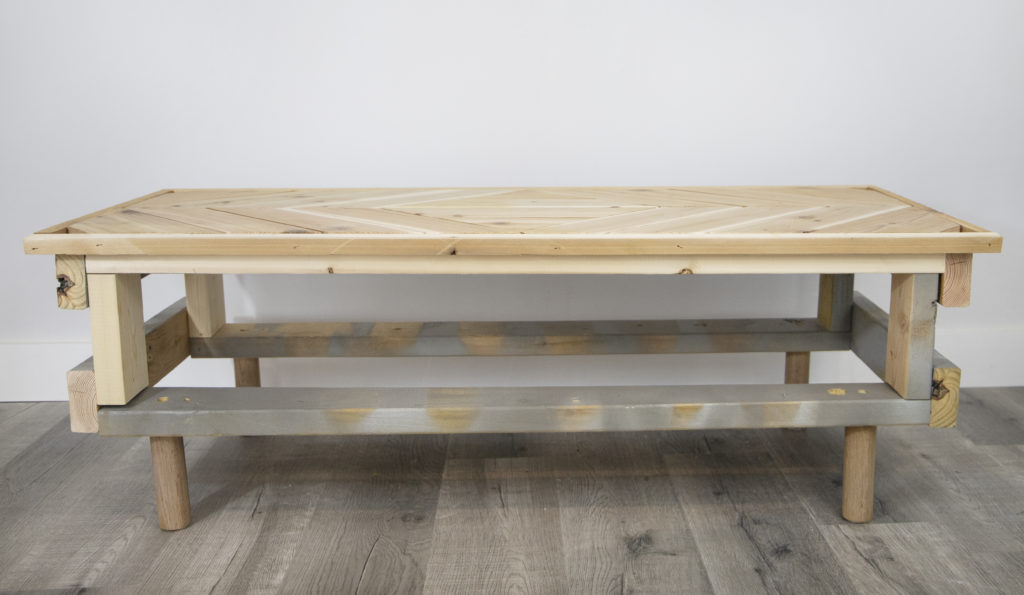
Now, here’s the actual coffee table frame in real life. Notice all the fine details like extraneous gray spray paint, slightly warped wood, and extra screw/nail holes. Here at Reno Semi-Pros, we call that ‘character.’ And, don’t worry, all of the 2×4’s will be completely covered anyway.
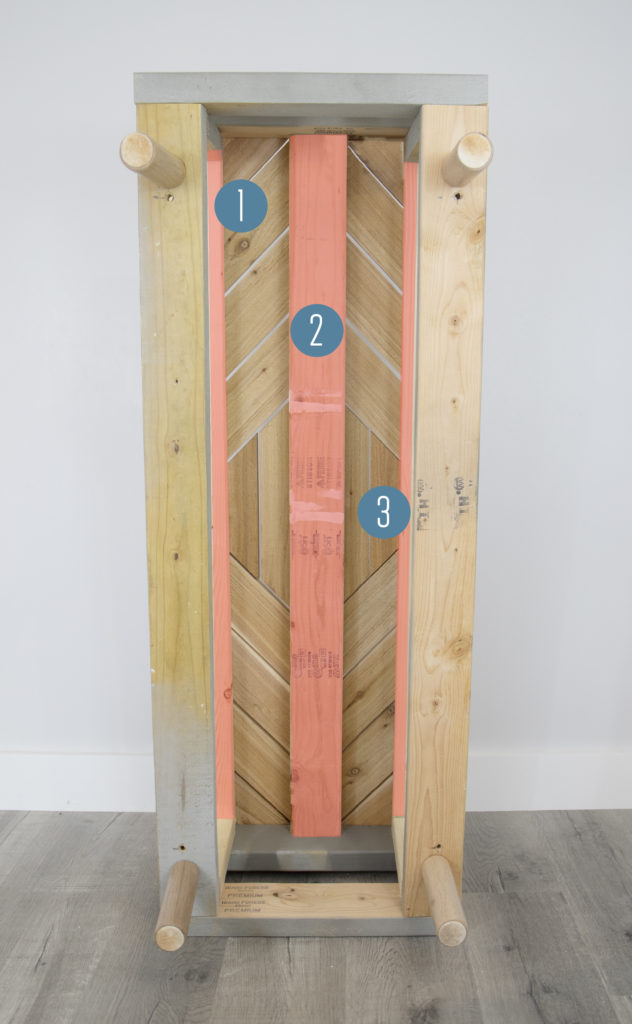
In case my mockup isn’t super clear, there are three center support pieces of 2×4 holding up the top of the table. This allows for more stability and provides something to nail the top finish pieces into. In this pic, the finished top pieces are already added, but it’s an important step we didn’t want you to miss.
Adding Finish Pieces
Though the frame was built from 2×4’s, the finished top and sides of the table are made out of 1″x4″ cedar boards.
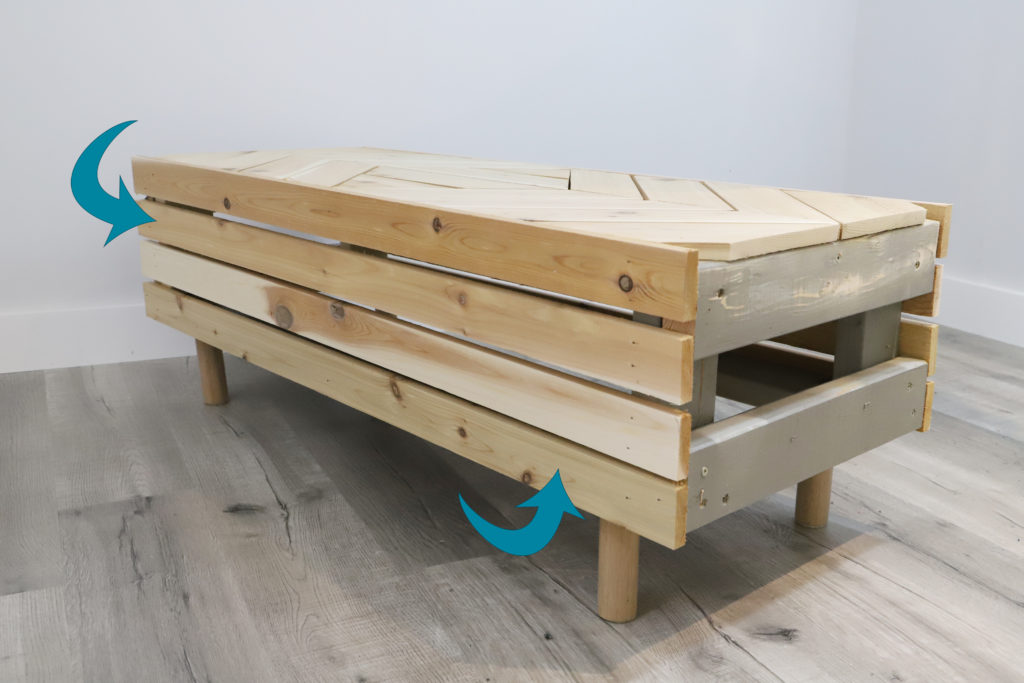
Remember, when we built all those shutters? After, we had a TON of small cedar pieces left over. So, we put those suckers to good use! We simply attached the boards using a nail gun and 1.5″ finish nails and slapped on some wood glue for stability. This is a no-fuss project!
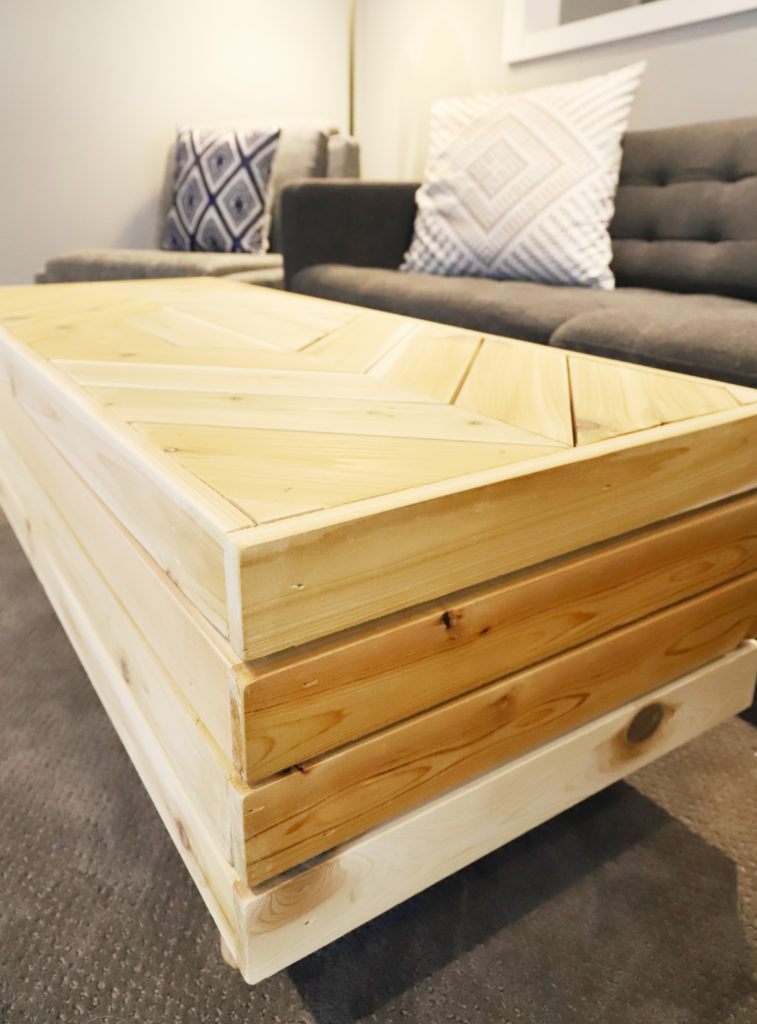
Here’s another look at the side of the coffee table and the pieces of cedar. We did simple butt joints and nailed everything on.
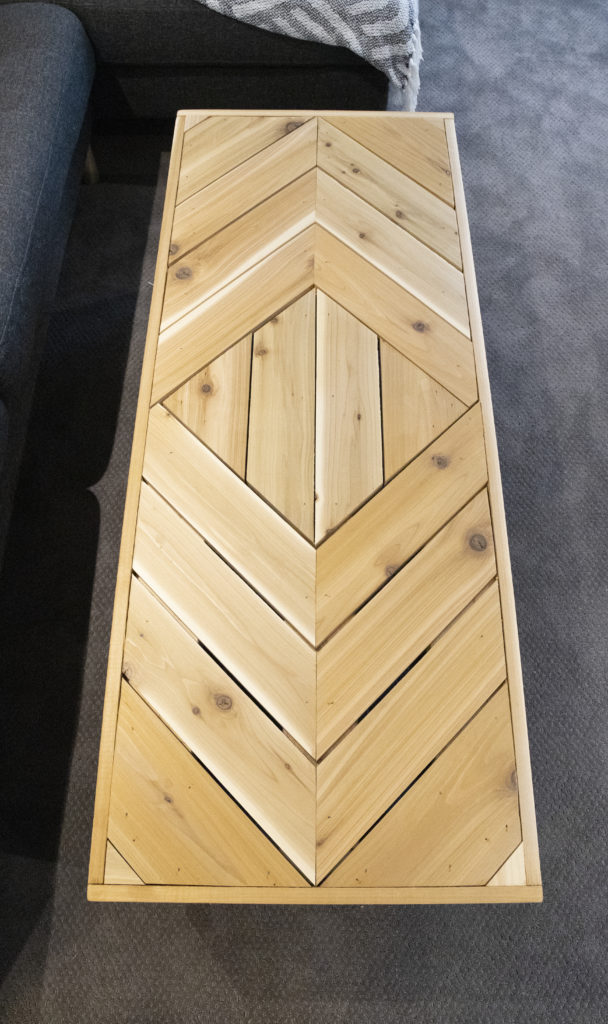
The table’s top is where your creativity can really shine. You can cut pieces of wood to make just about any design. Chris came up with this design and cut some 1″x4″ and 1″x6″ cedar pieces to fit the top. Even better – every angle in our design is cut at 45 degrees. Super easy.

The finished product! We added a couple coats of clear polyurethane to the top. This should prevent water stains from drinks, etc. But you could totally stain or paint this table if you wanted to.
You’ll be pleased with whatever you build because YOU created it with a dash of innovation and a touch of physical effort. Not to mention, a project like this is very inexpensive and durable. We estimate under $30, maybe less if you have a scrap wood pile like ours! Now, go be creative, DIY your own coffee table, and enjoy!
If you found this post useful and inspiring, save THIS PIN to your Furniture Projects board on Pinterest.


I have 6 pieces of cut plywood that I would like to turn into legs for my queen sized box spring, how would I attach the pieces of cut plywood to my box spring.
What are the dimensions of the table
Hi Shawn – the version we made is approximately 20″ wide x 48″ long x 17″ tall. But you can certainly work with whatever you have and build to suit!