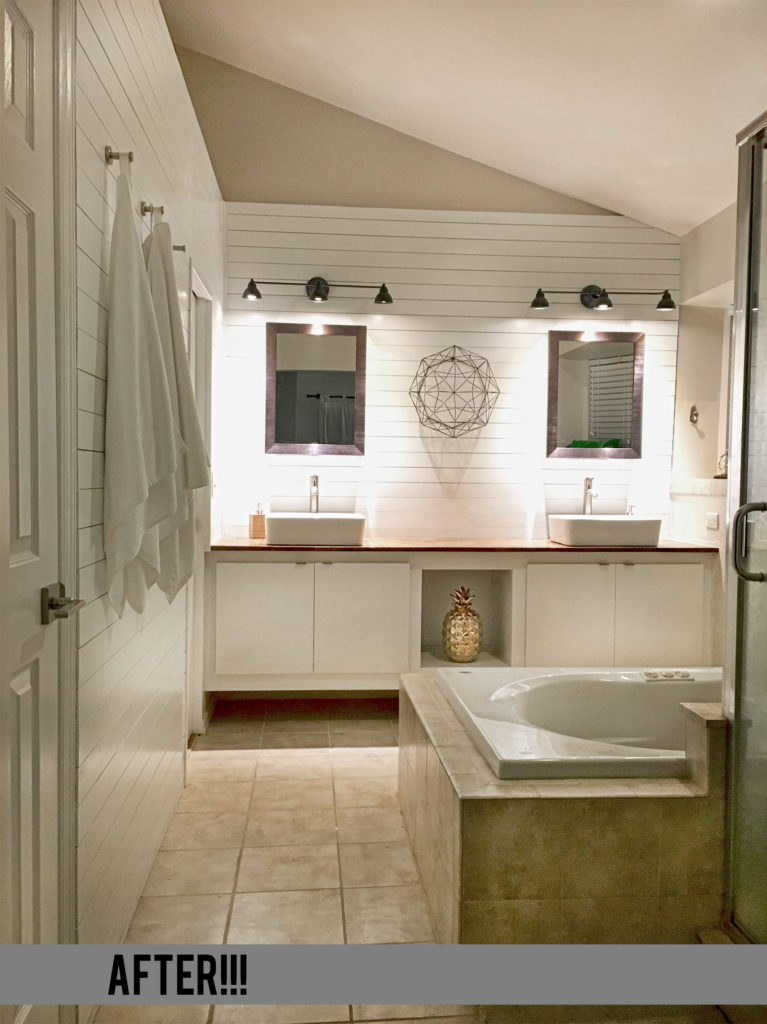
We’re finally done with our modern master bathroom renovation! Shiplap! Reclaimed wood countertops! We’re not crying…you’re crying!
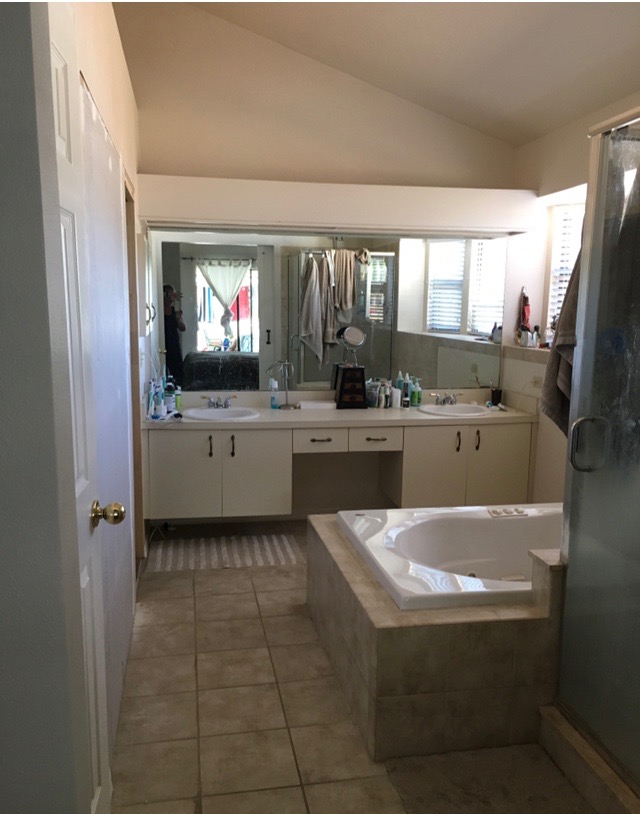
Okay – let’s look back to where we began…check out the awfulness. The height of the sinks/cabinet bases were better suited for children. The closet in the bathroom (to the left of the sinks) were mirrored sliders. This also left us no place to hang our towels (a recurring problem – hence the towel mess in this pic). The builder thought it would be aesthetically pleasing to build soffits to enclose florescent lights. Yes, it was the Eighties. No, that’s not a good excuse. Plywood boxes around florescent lights are never a good idea.
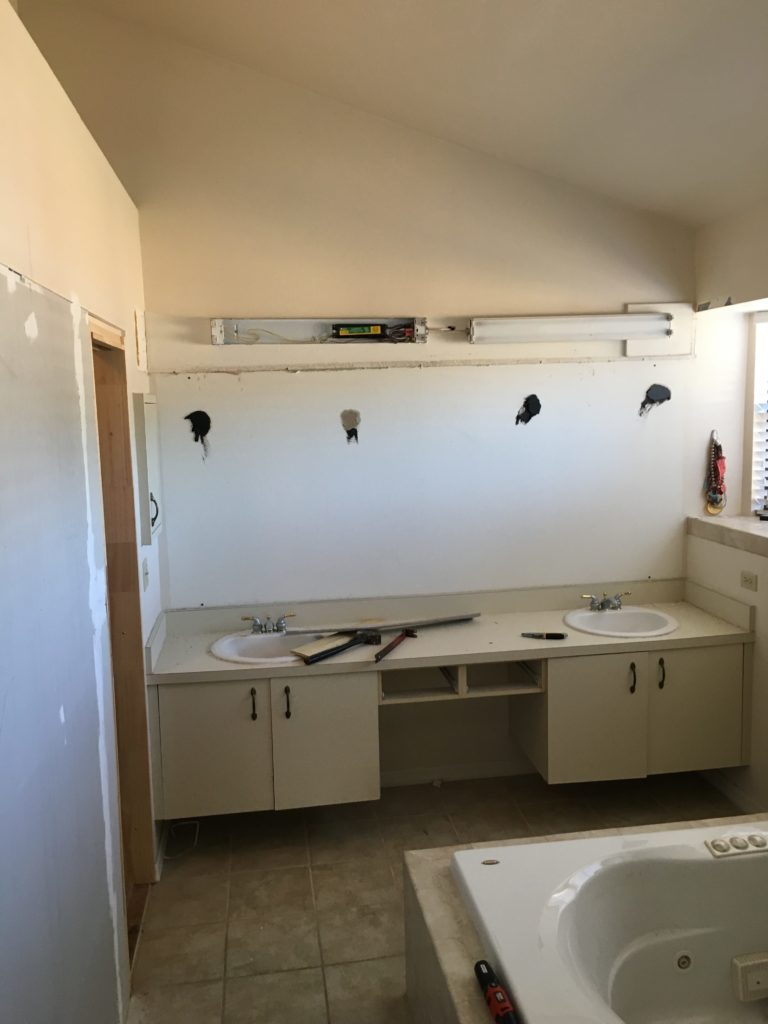
I came home one afternoon and Melissa had ripped out the light boxes. This was apparently her way of telling me that she was ready for us to really get started! The mirror over the sinks came down soon after.
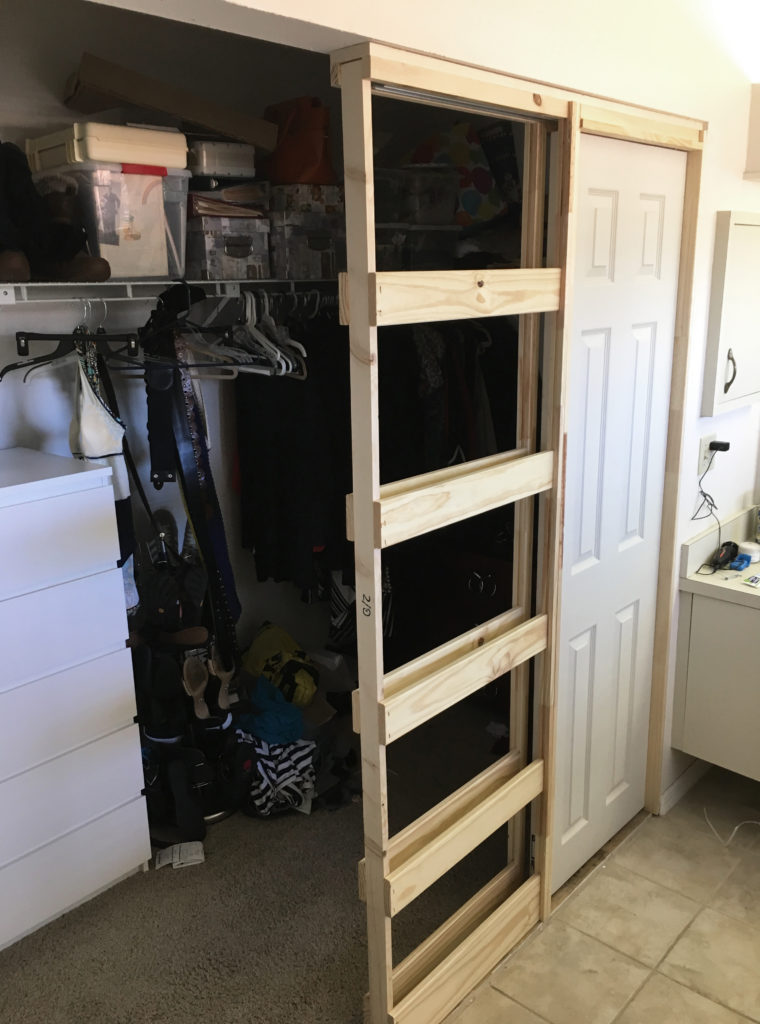
The closet to the left of the sink had two large mirrored sliders. We removed them and framed in a pocket door.
Drywall went up over the pocket door. We didn’t need to worry about the tape and spackle since shiplap was in the plan. Score one for shiplap!
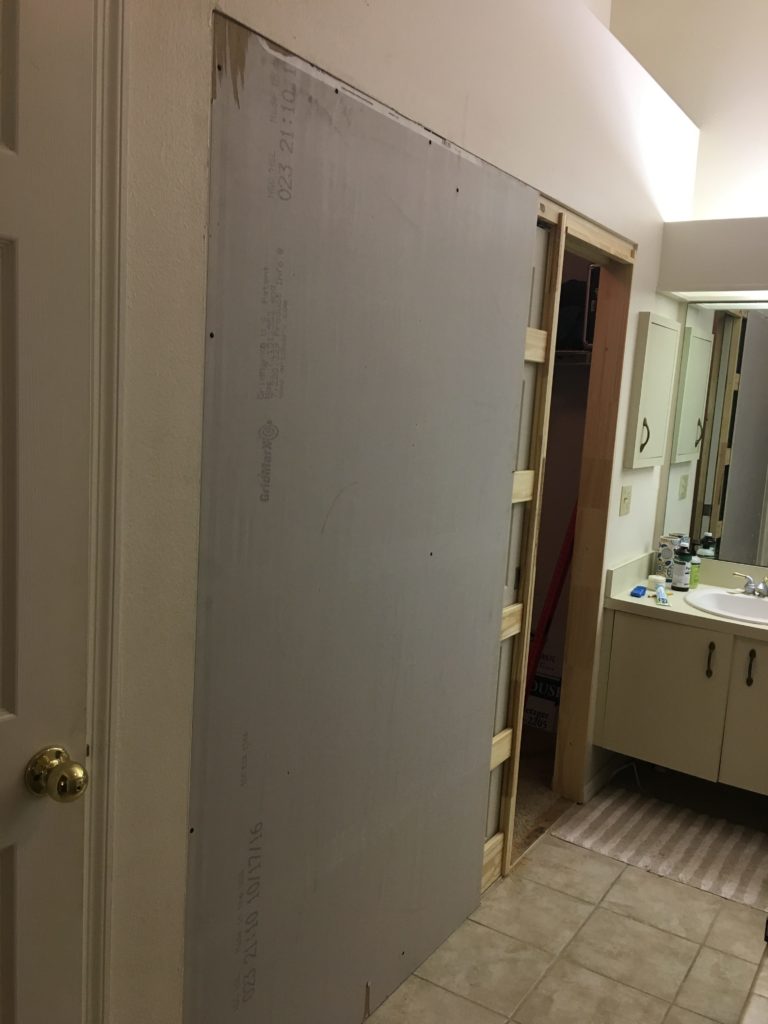
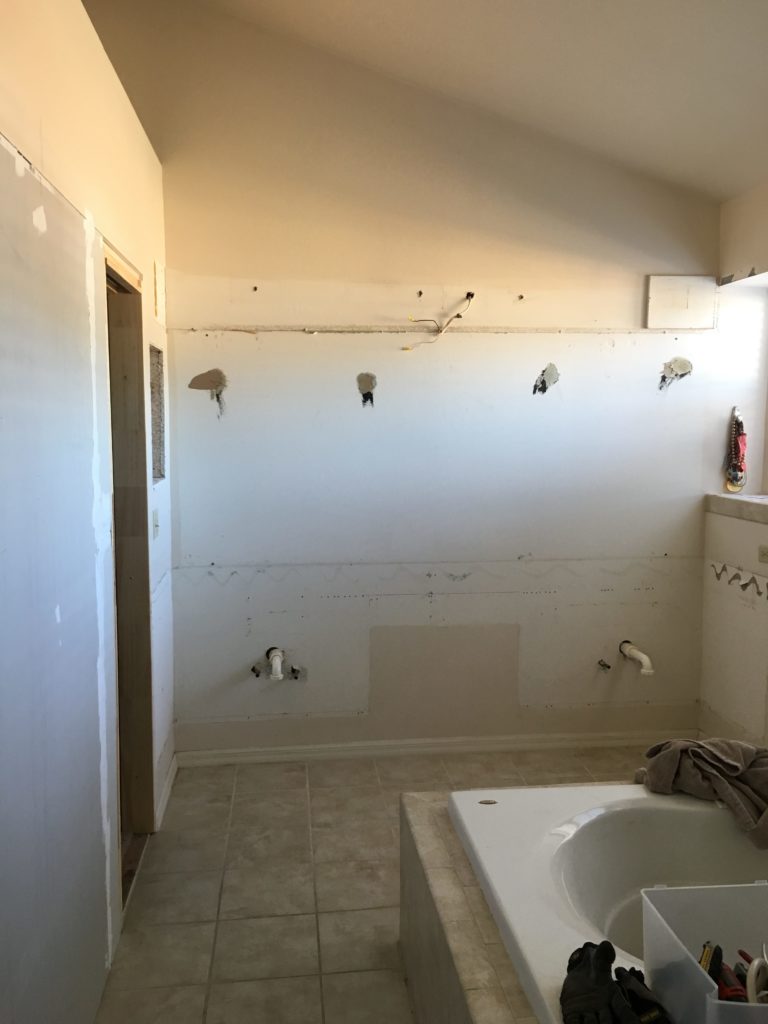
Next, we demo’d the flimsy, cabinets. But…we didn’t quite have plan for the new ones yet. Our newly bare bathroom stared back at us…well, blankly.
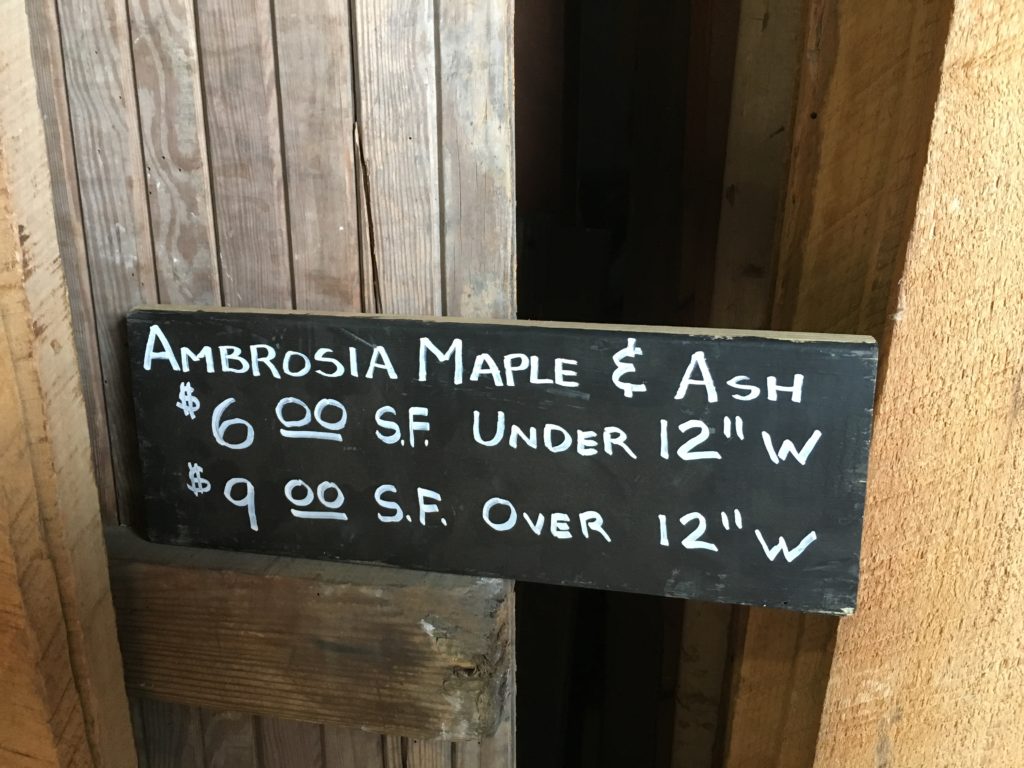
We went a local salvage store and found some sweet reclaimed ash wood with plenty of countertop potential.
The wood was rough-sawn and needed to be planed. We have a secondhand planer from an estate sale that we use for these tasks. Here is a link to a planer from DeWalt that is almost identical to ours.
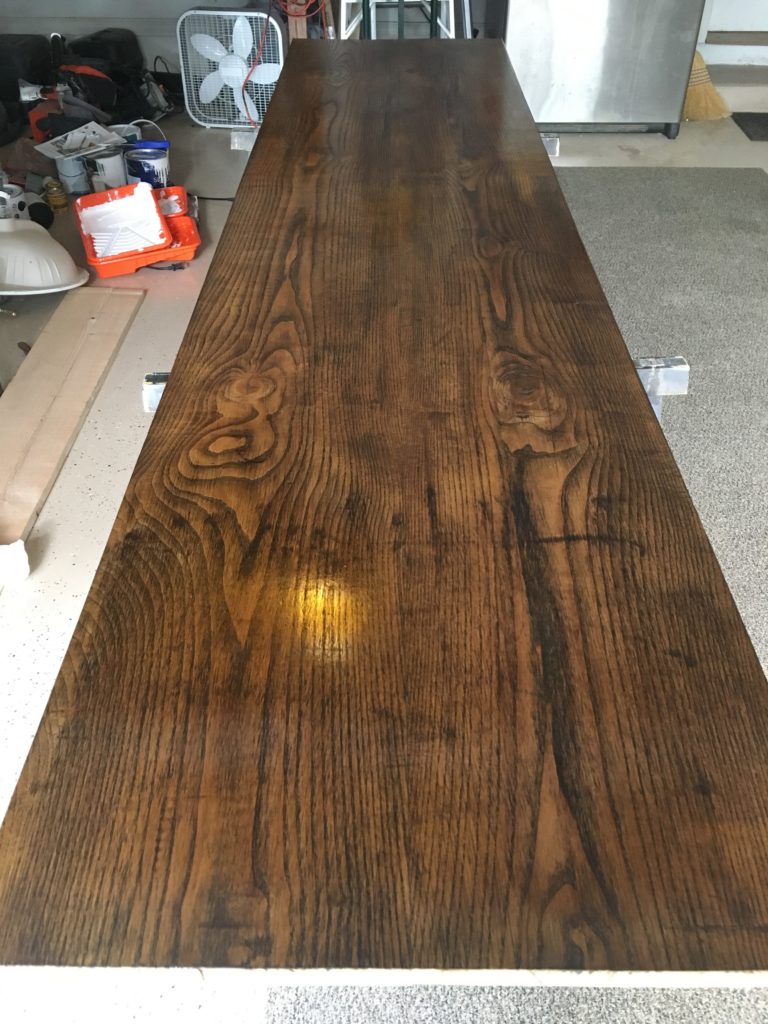
After an initial planing of the wood to remove the rough saw marks, we joined the best two pieces together, planed again, stained, and sealed. Then, we had ourselves a countertop. We just needed some cabinets to go with it.
The new floating cabinets were built higher up on the wall than the previous ones….so they were….you know….grown-up size.
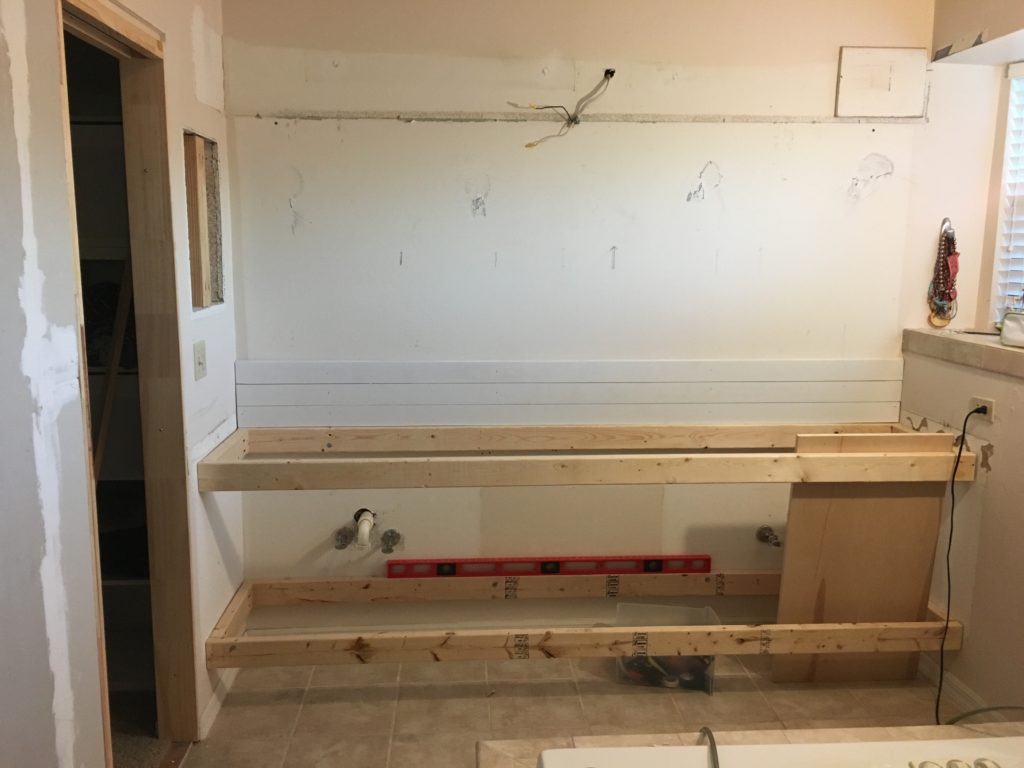
As you can see in this image, our basic box frame is constructed from simple 2×4’s. We screwed the top and bottom wood frames into the studs. The top frame will hold up the countertop and sinks. The bottom frame will support the cabinet base.
The beginning of the shiplap is also going up here too, in what will be the sink backsplash area.
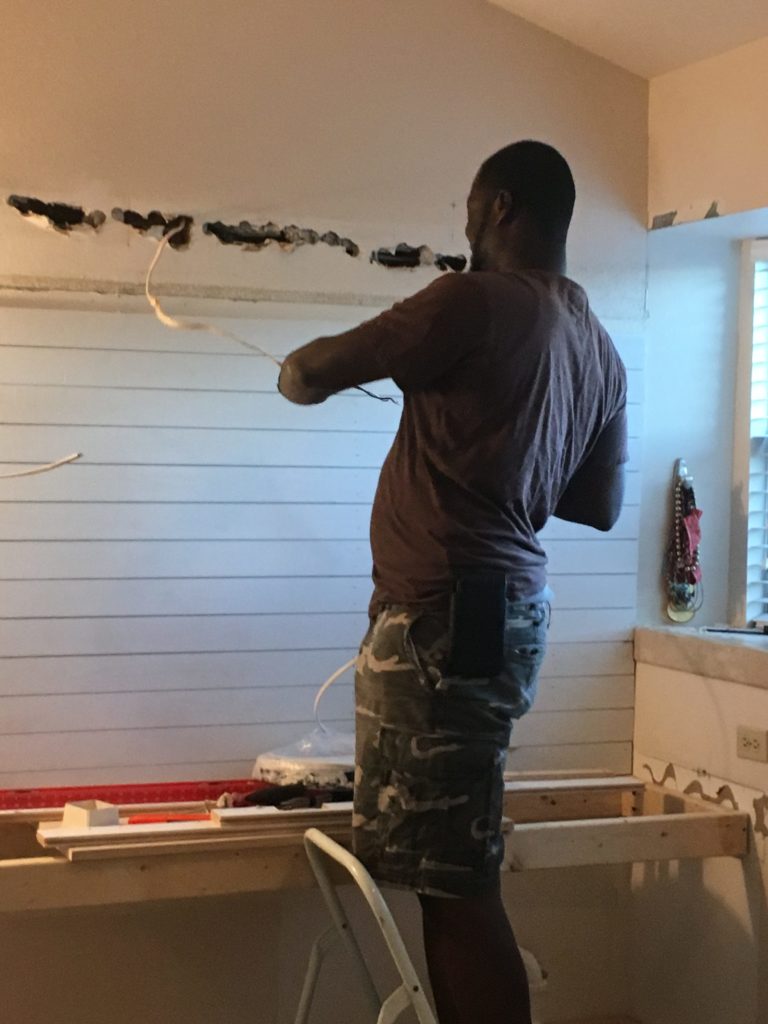
Our friend/electrician (also named Chris) came out to help us wire our new lighting. Bye, bye florescent lights…forever! Note: the hole in the wall were a little joke. It was all covered up later. 🙂
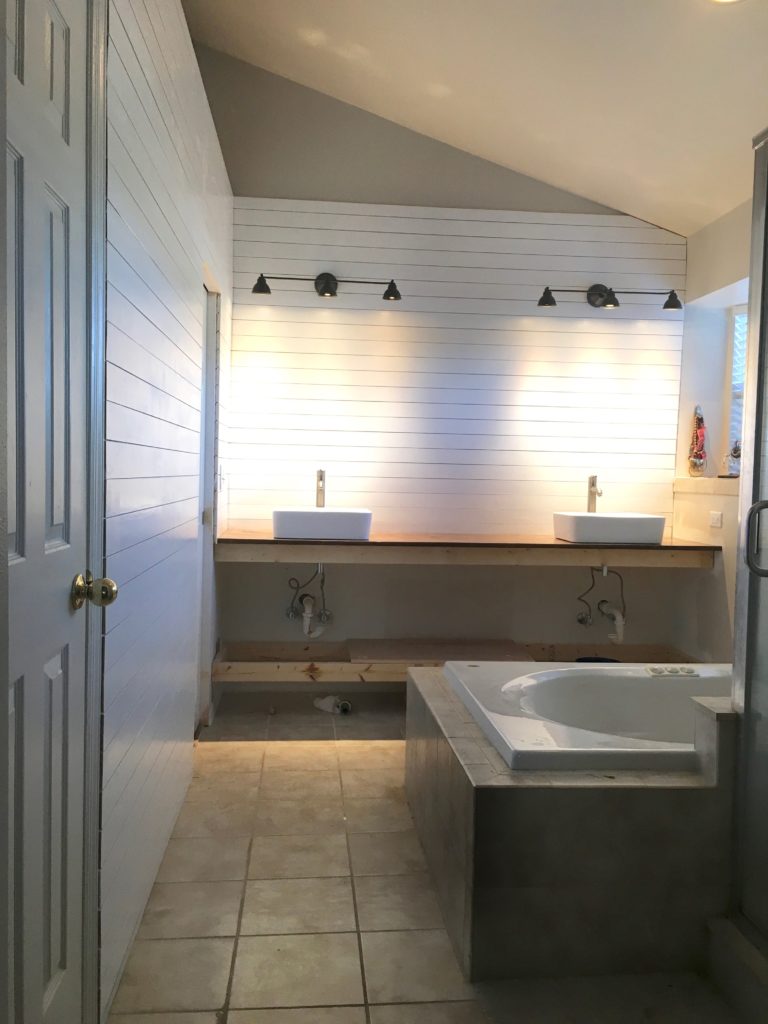
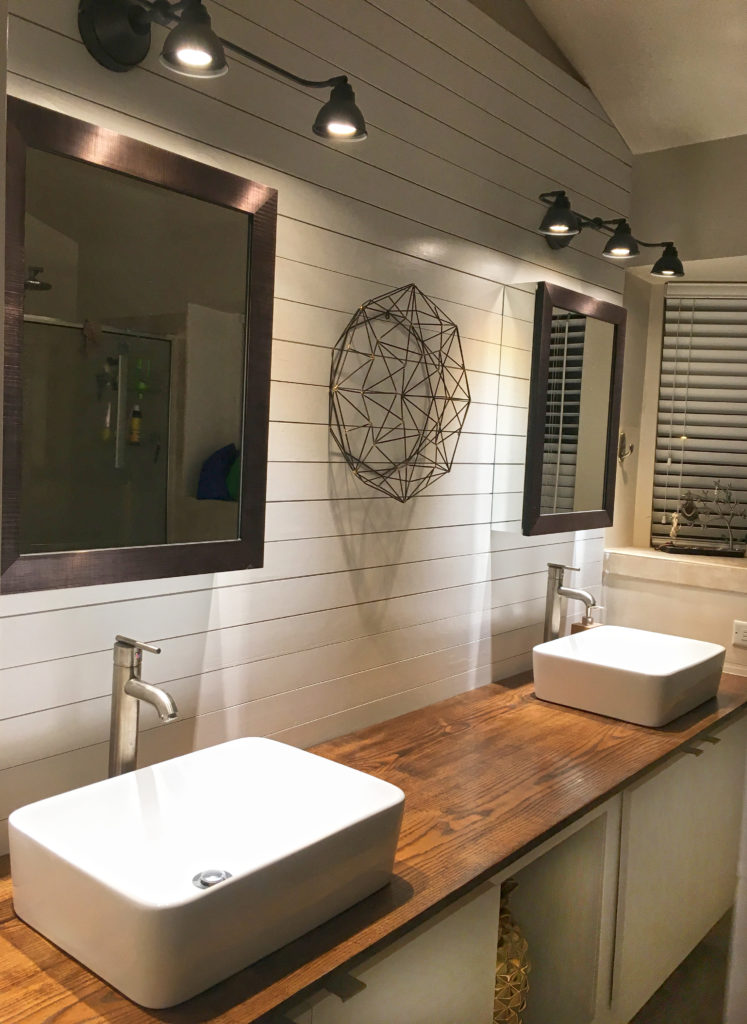
Here we have the shiplap up on the walls and painted. The Ikea Hektar lighting, vessel sinks, and Vigo faucets are also all installed. The cabinets are still missing something…..err, everything. One last look at the old door handle too.
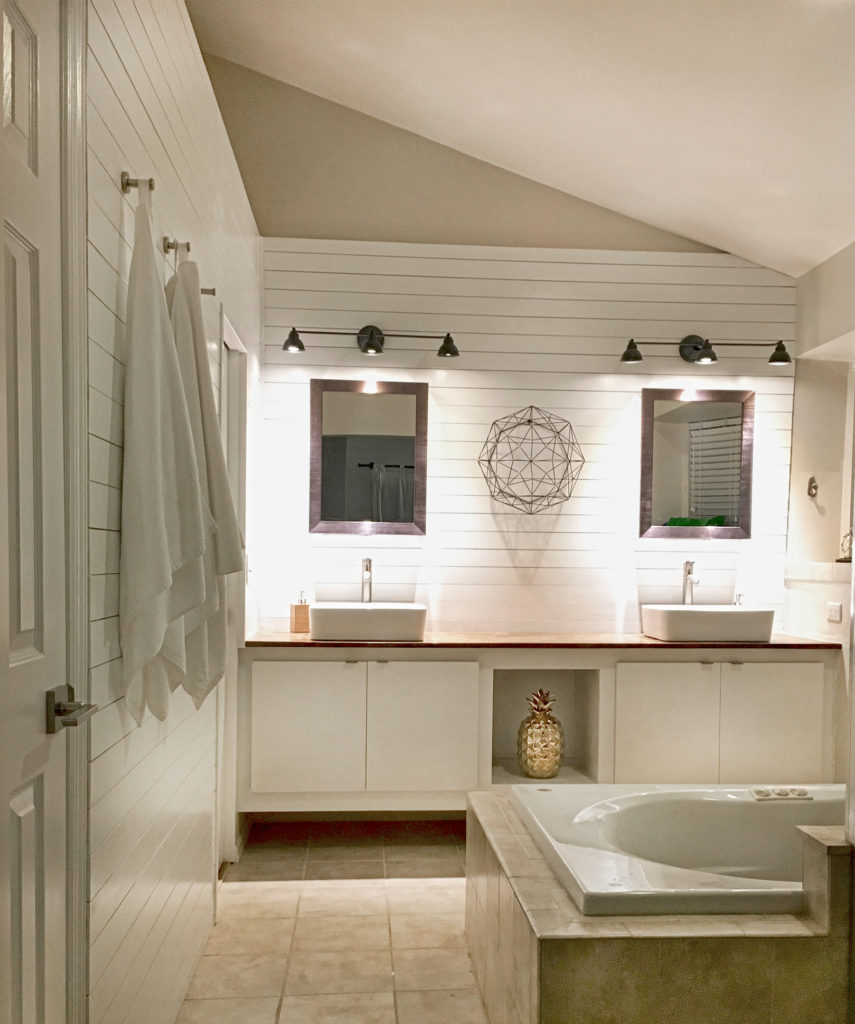
We used paint grade plywood to finish the cabinets. We added soft-close euro-style hinges and some sweet brushed nickel finger cabinet pulls to finish the minimalist look.
Everything was painted the same white as the shiplap. We upgraded the door handles to modern levers and tossed the gold. But arguably best of all, we finally had a place to hang our towels (small wins!)
Semi-Pro Tip: These little knobs from Amazon are super inexpensive and are strong! We use them in the bathroom, laundry room, and mudroom. AMAZING! We love them.
Another look at the countertops! They turned out really great. The mirrored medicine cabinets were a good functional addition.
One last look at the before and after!
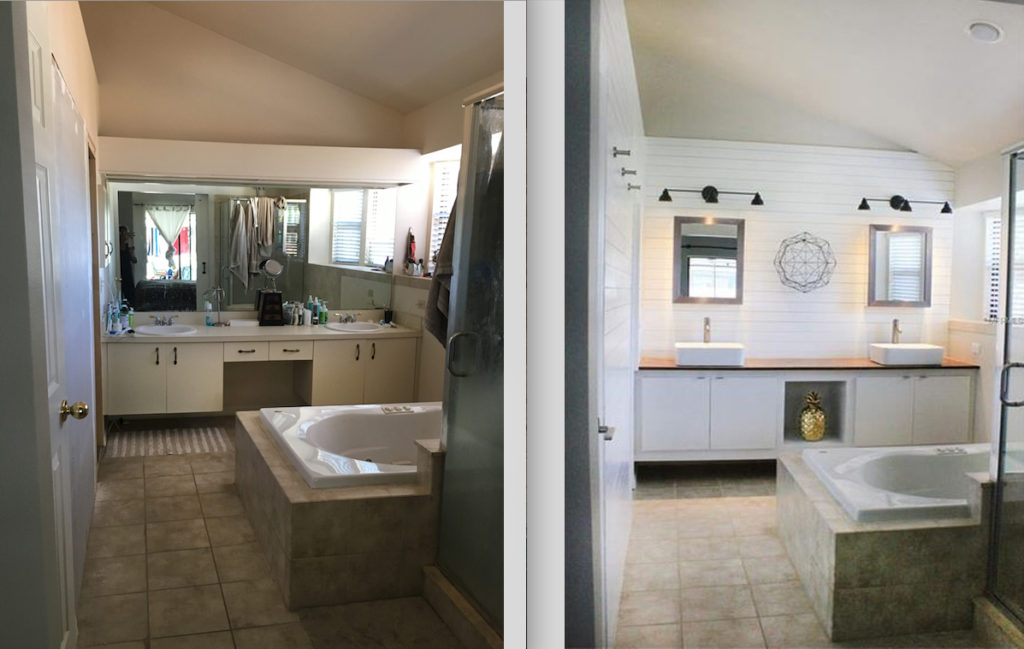
[…] is the ‘After’ – that is, after we changed up the master bathroom with new lighting, cabinets, sinks, faucets, mirrors, towel racks, door handles, and much more. Oh […]