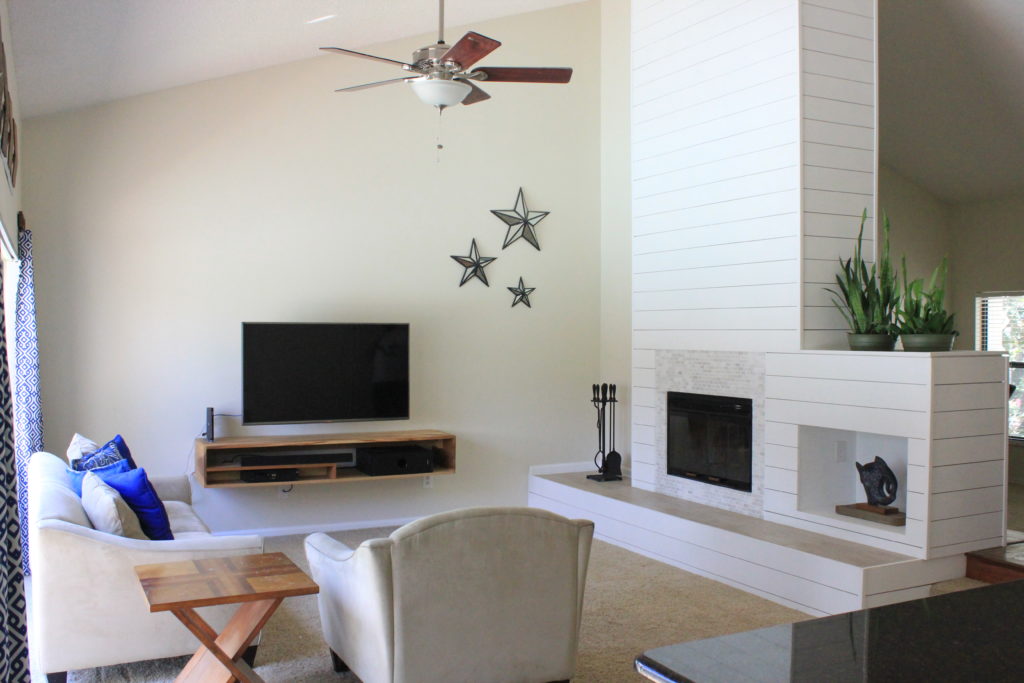
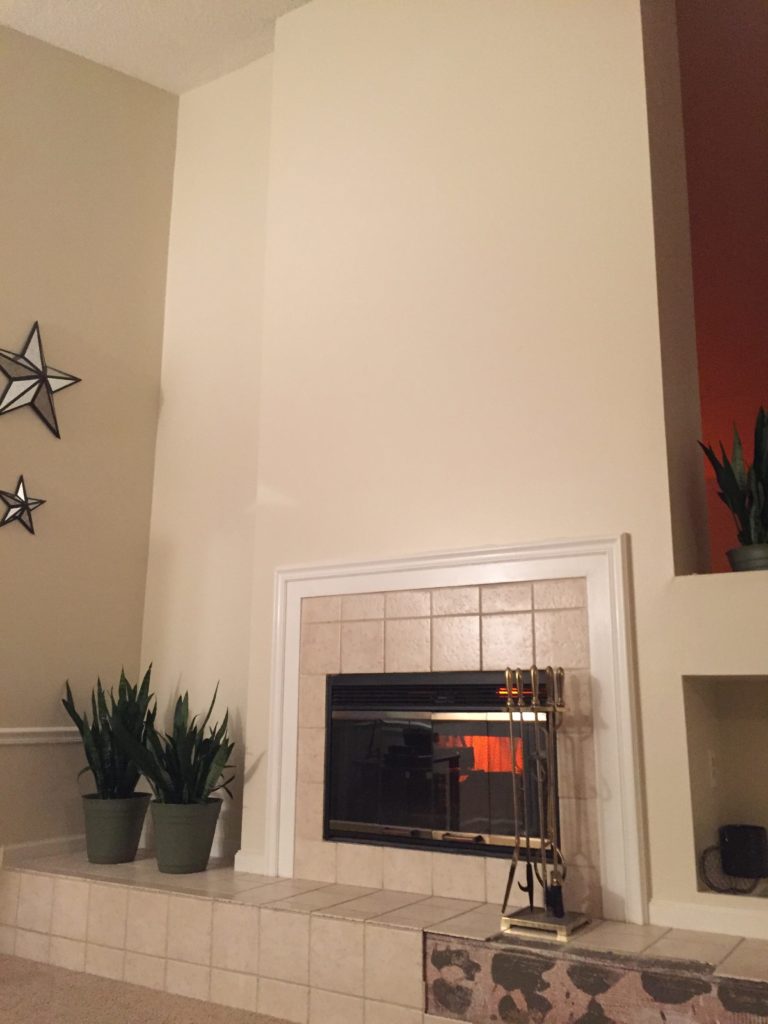
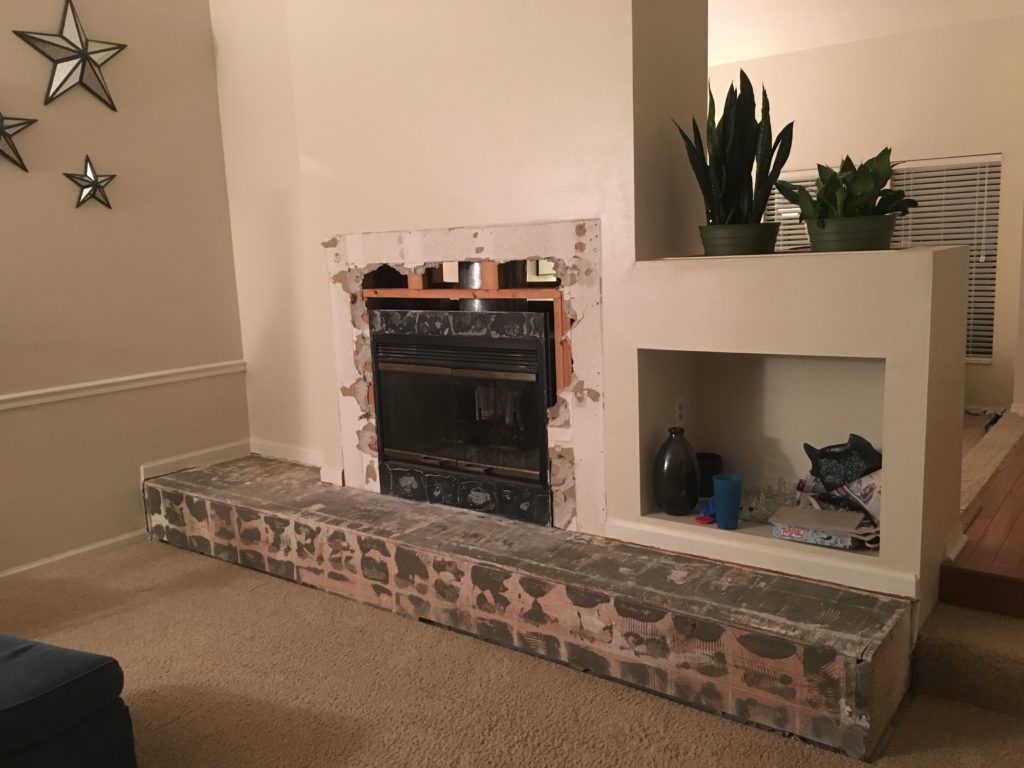
The fireplace was originally very boring. It was a color I nicknamed ‘super beige’…not in a nice way, either. The tile was old and literally falling off.
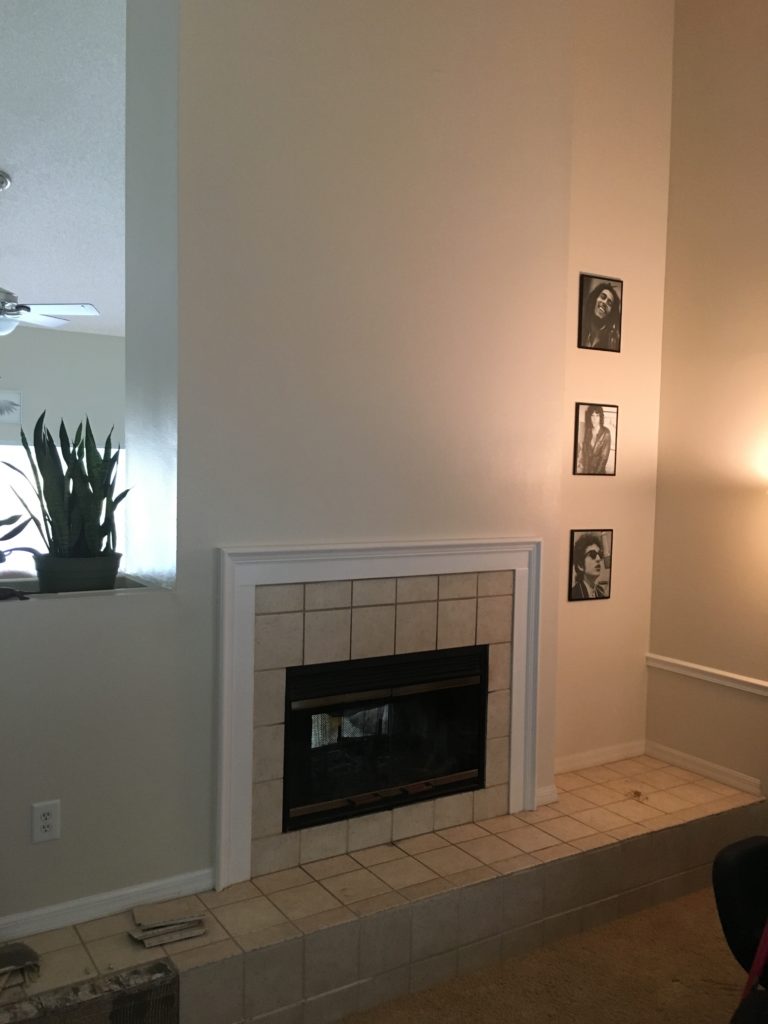
So much potential though peeps. It was double-sided and begging for us to make it pretty. Even Bob, Jim, and Bob on the wall couldn’t make it cooler.
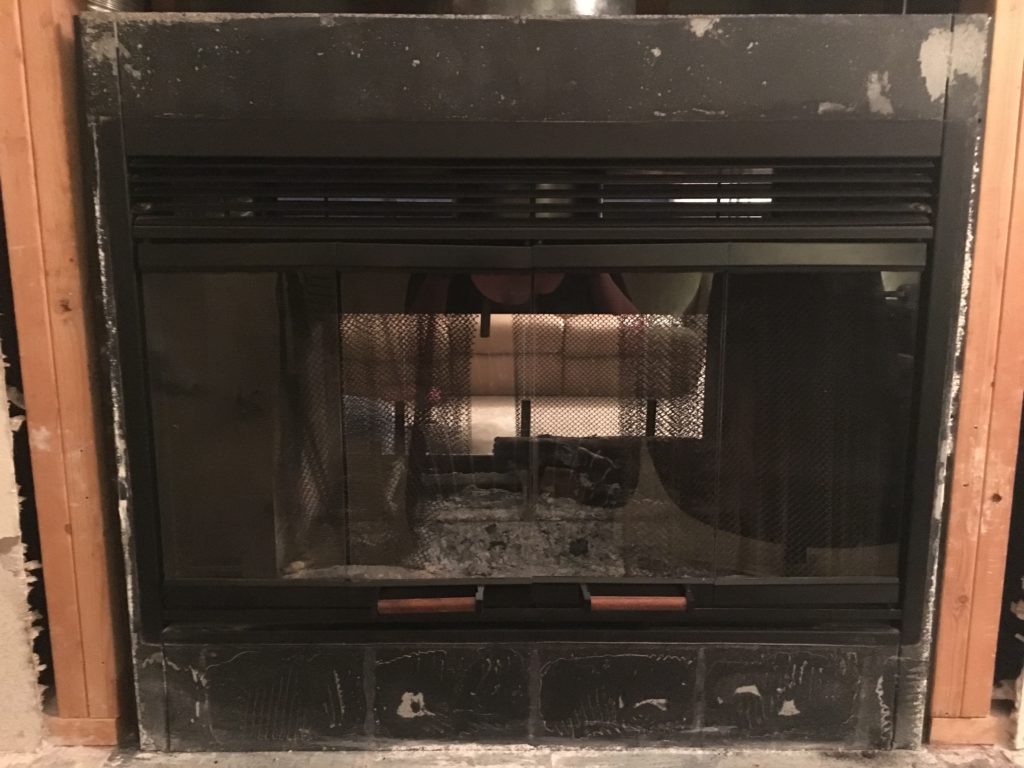
It was almost like someone exfoliated the entire area. The fireplace looks so naked. The studs around the fireplace insert are visible here too. This is the last photo before the rebuild begins.
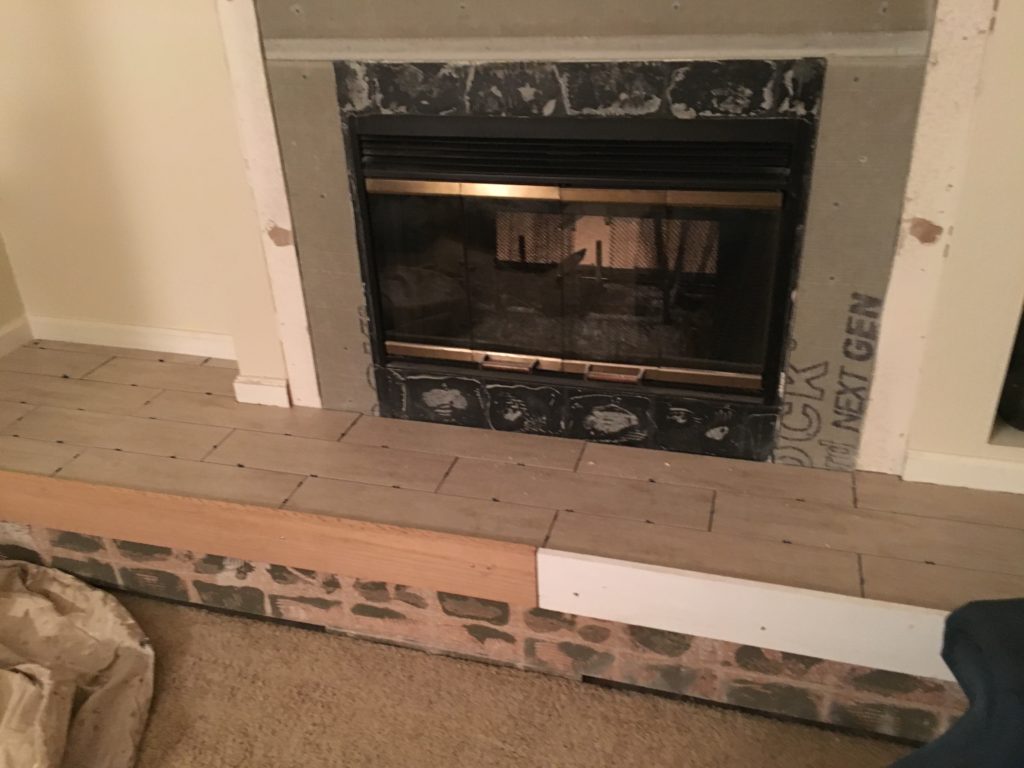
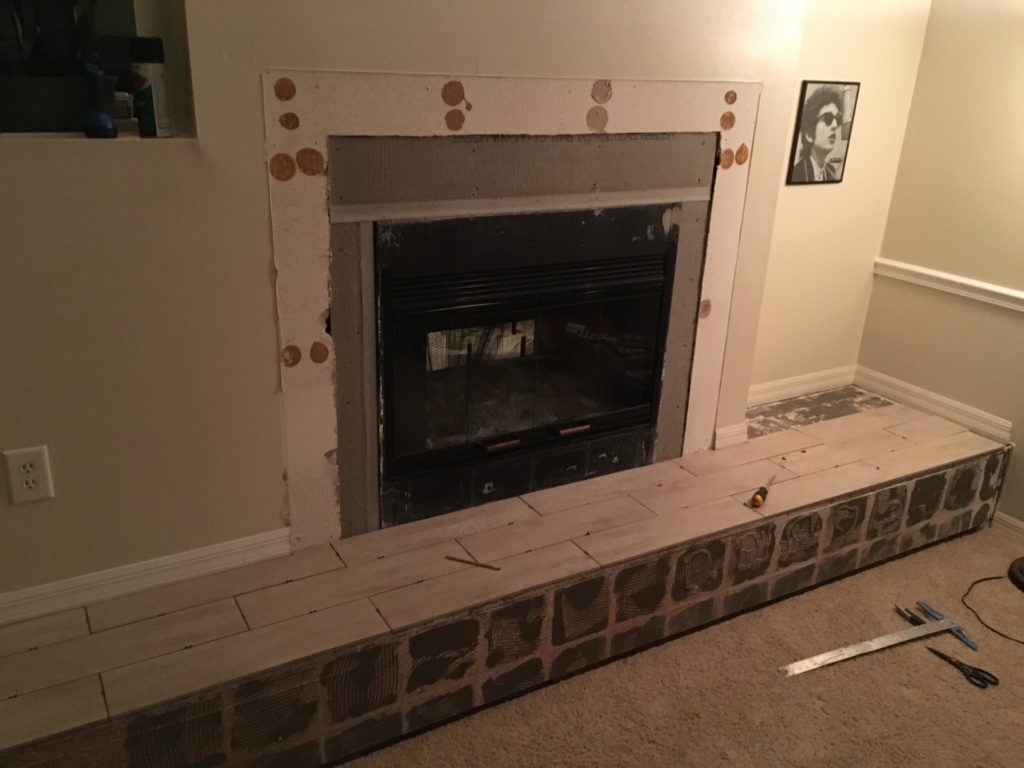
This photo really shows a lot of work progressing on the A side:
- Boards around the rim of the hearth are used to a) keep thinset from running over the sides and b) keep our tiles butted against a straight edge.
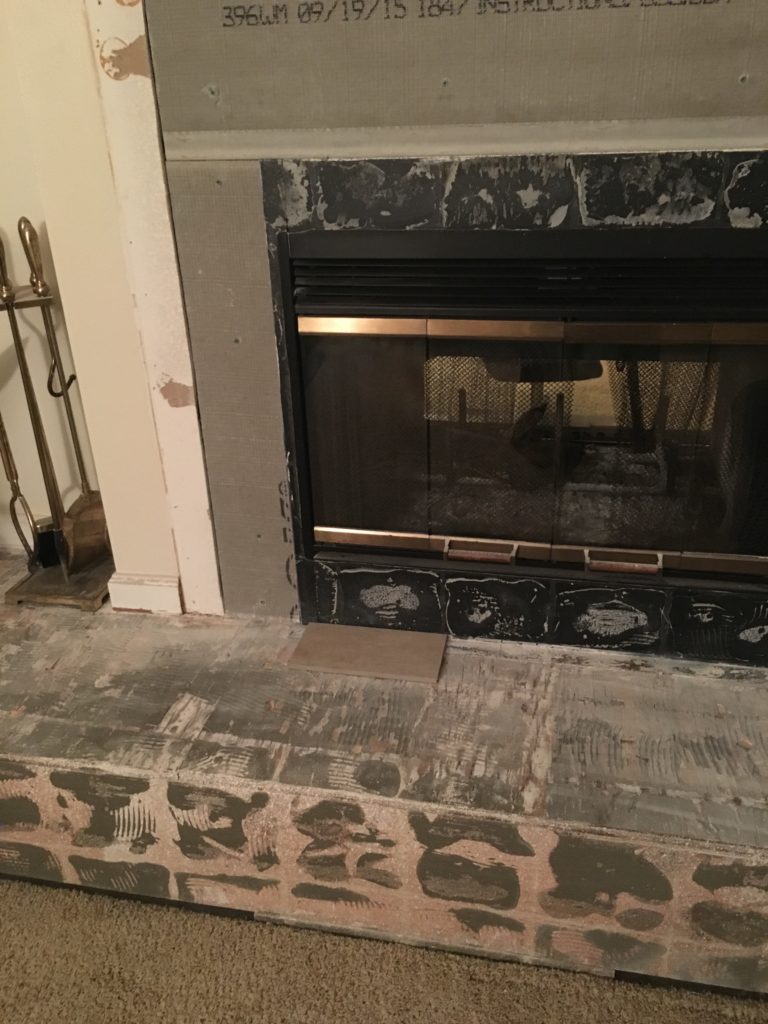
- Wood-look neutral tile (we purchased on clearance, 60% off, but there was only 70 sq ft – that would SURELY be enough #facepalm)
- Spacers are in place for the grout lines in the hearth
- Cement board has been cut and screwed in around the fireplace opening
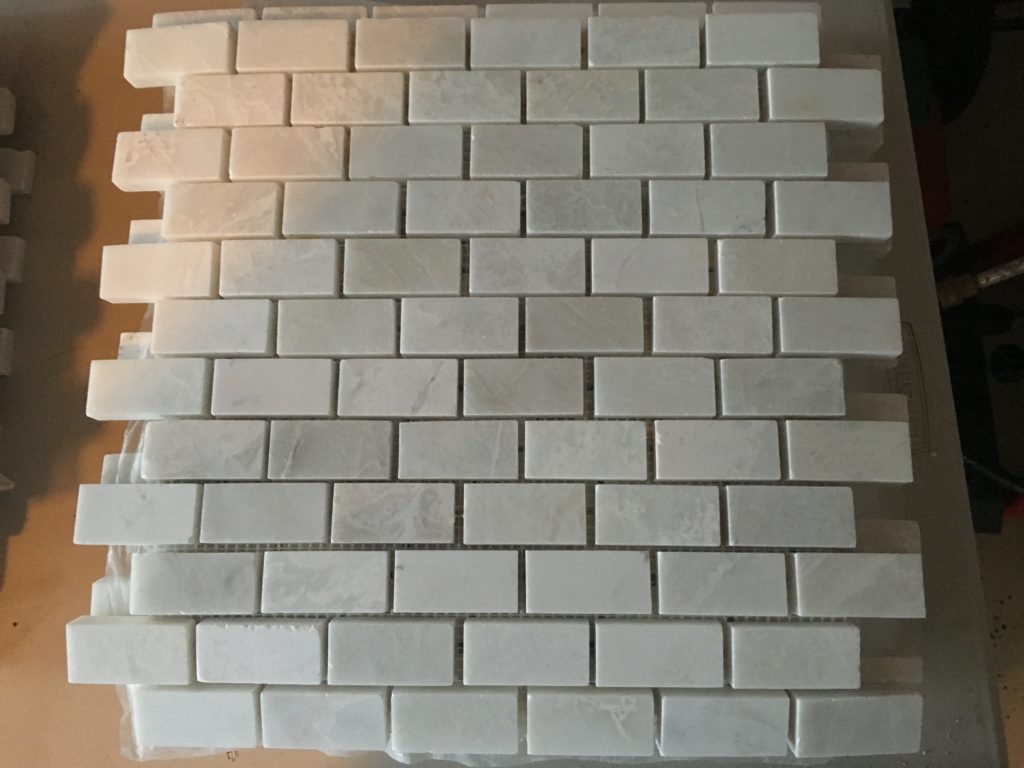
We wanted to splurge a little on the tile surround for the fireplace. So, we chose these mini 1″ x 2″ marble tiles. They come in sheets which tricked us into believing they would be easy to install. That was not the case. In hindsight, these might be the most troublesome tiles we’ve ever worked with.
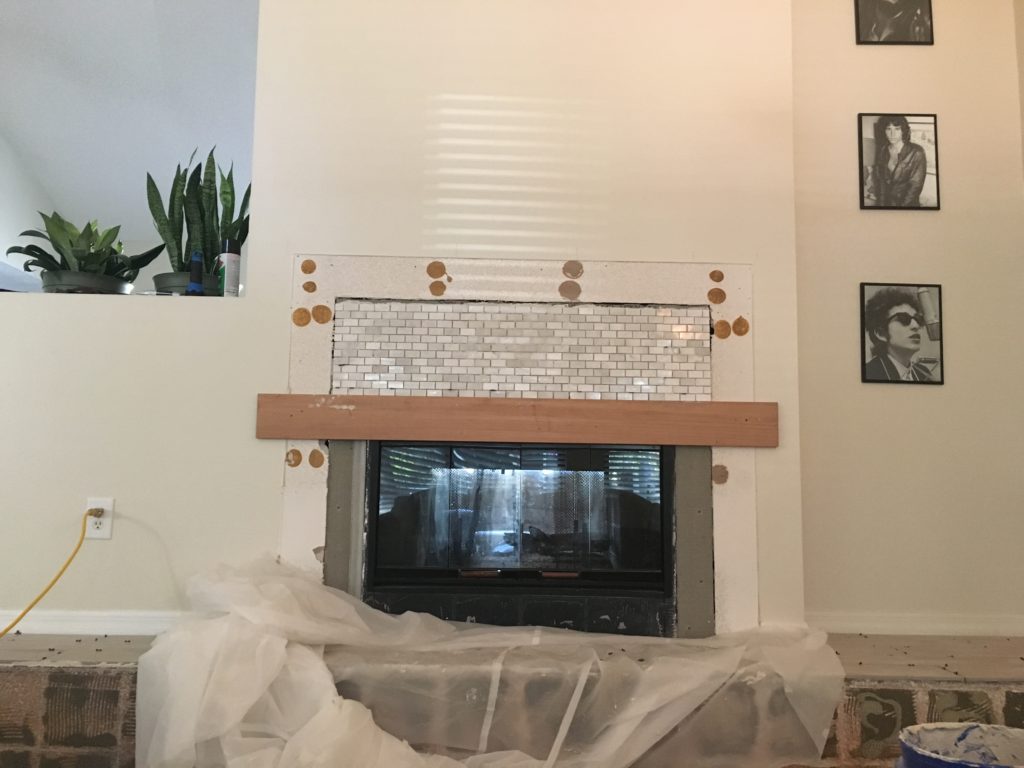
Don’t let this photo fool ya. We installed these tiles 3 times before we got it to stay. Because the marble is so heavy, even with the horizontal board holding it up, they still wanted to slide down. I was ready to give up on these, but Chris kept trying until he got them to stick.
The trick? We used a tiny fraction of how much thinset we thought we needed.
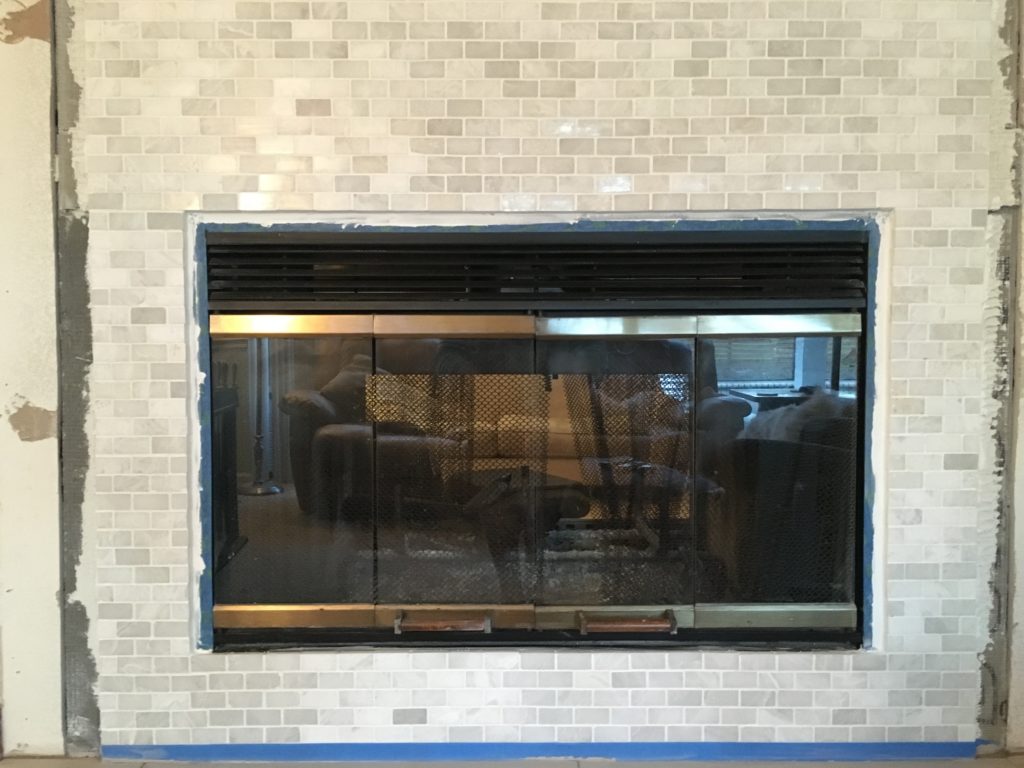
Here is a view from side B looking through to side A.
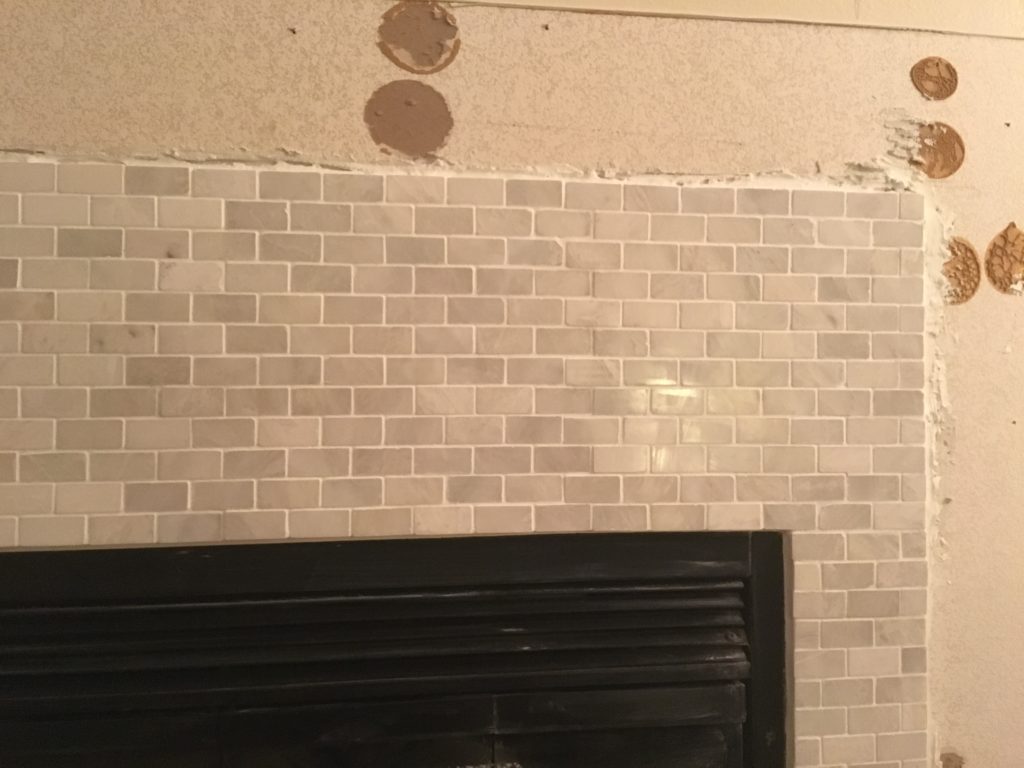
Here’s a closeup of the same side. There are some minor imperfections, but overall, it was really starting to come together.
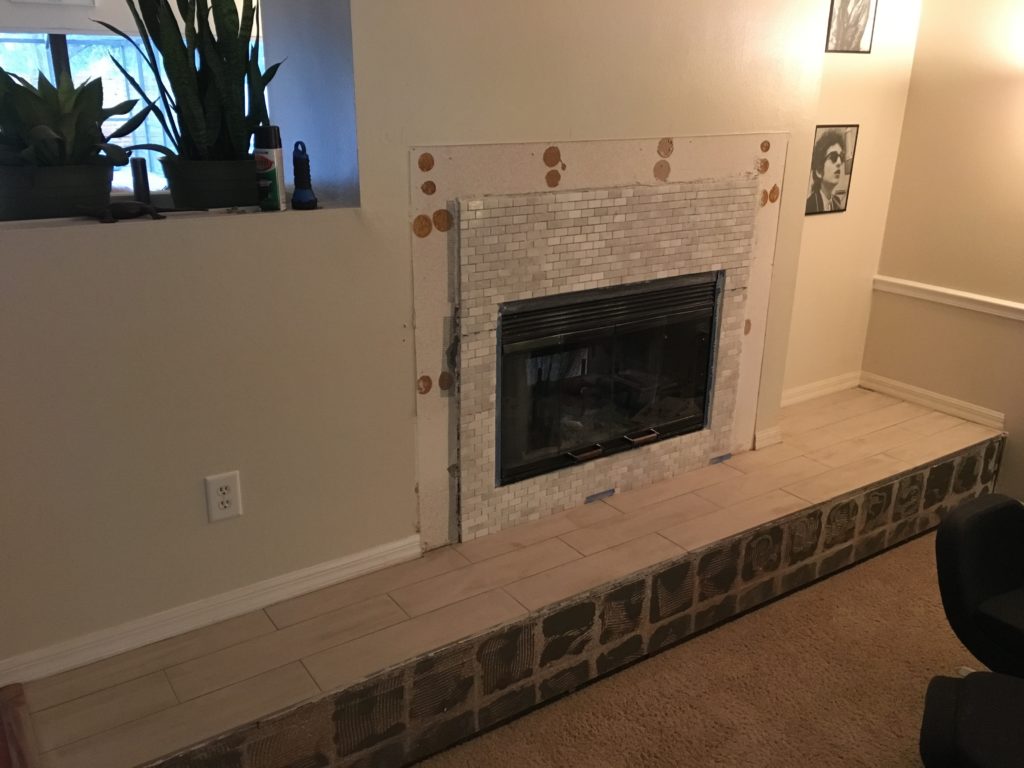
Wood-look hearth tile set (check). Marble fireplace surround tile set (check). Now, to the ambitious part of our design. LOL
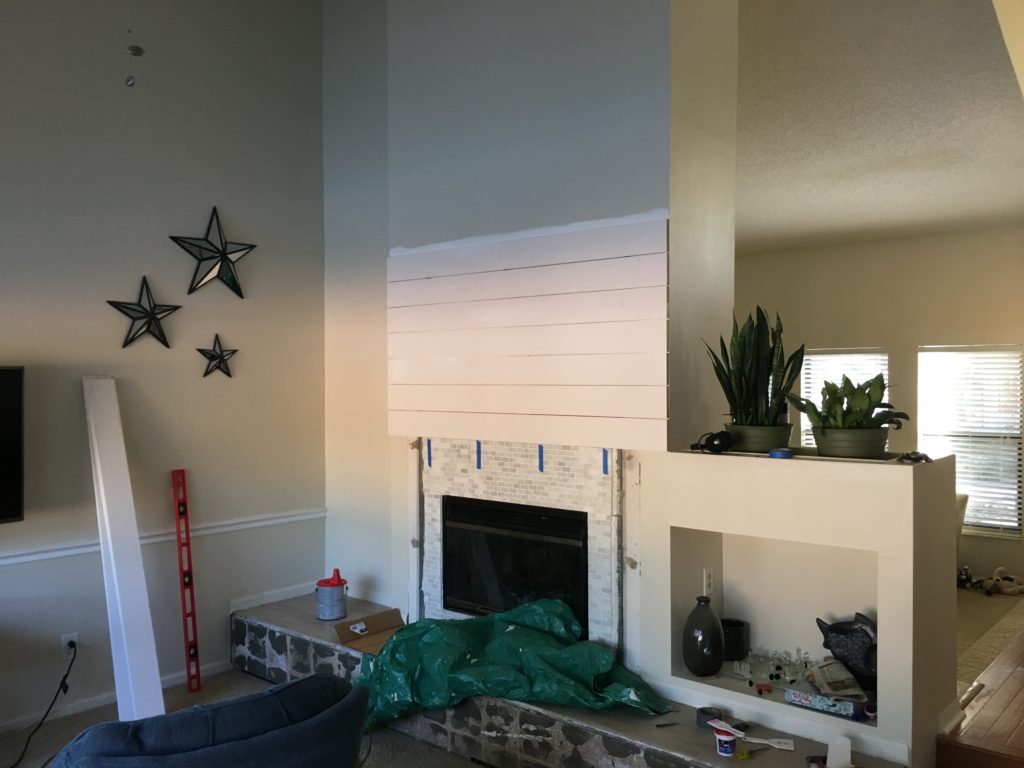
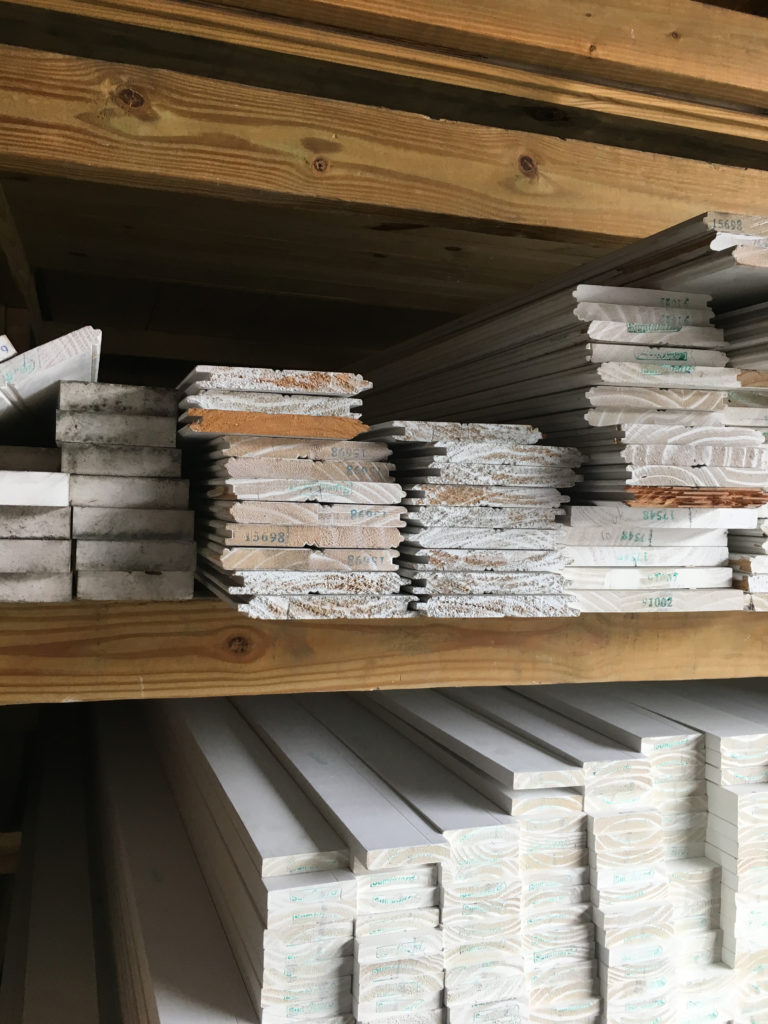
Shiplap begins! 
And keeps going… 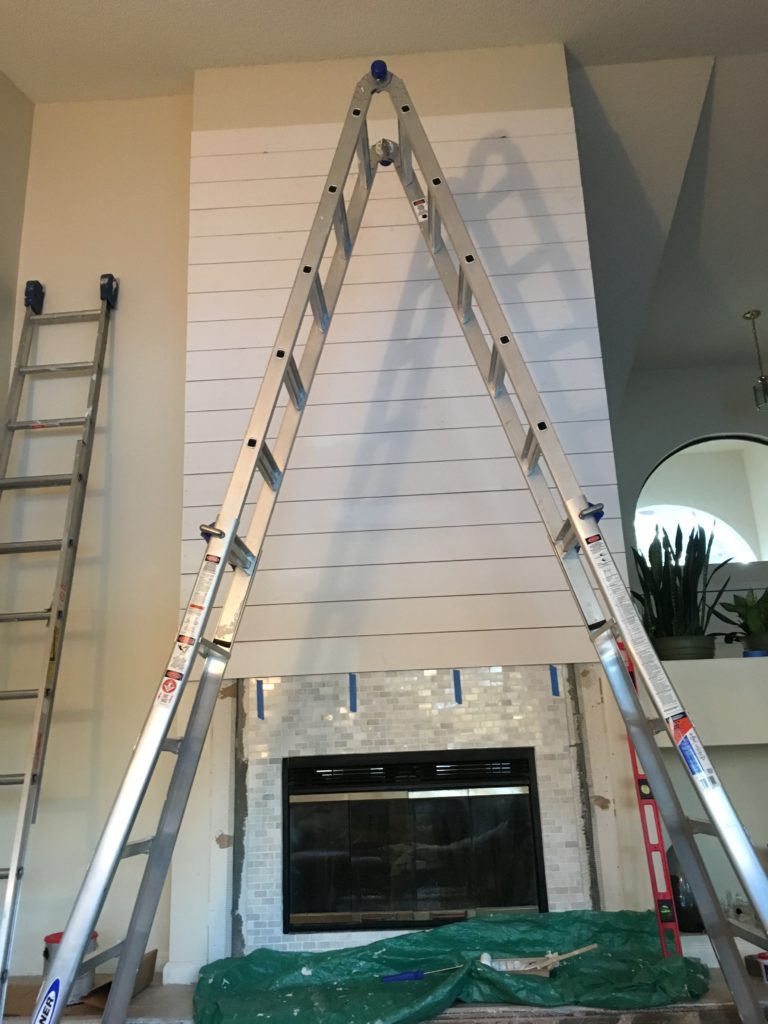
….and going…. 
…and going! 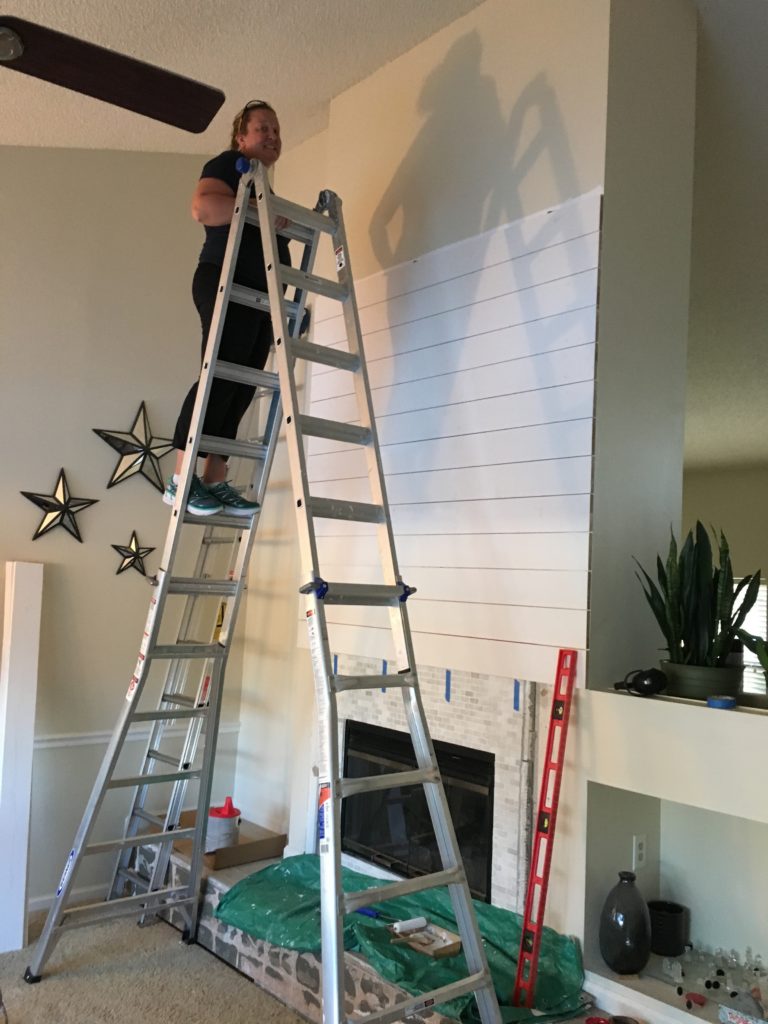
This is my NOPE face. Heights 1 > Melissa 0
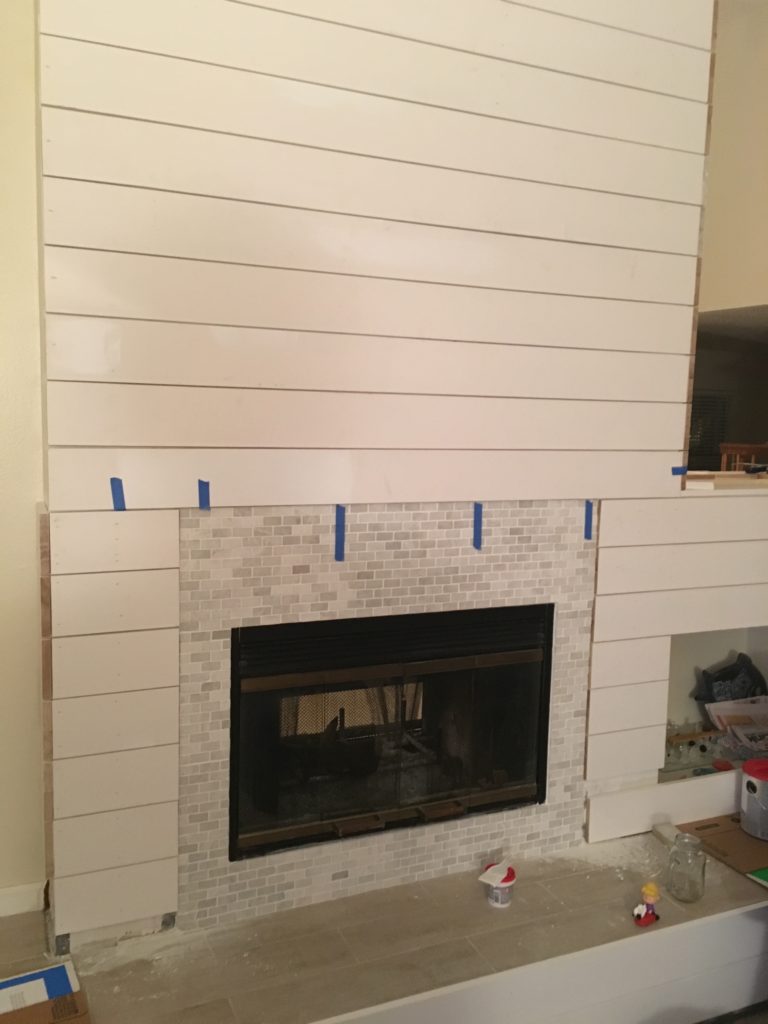
This offers a good glimpse of the construction. Notice a few things:
- We didn’t start the wood at the bottom. We wanted the top of the fireplace to have one board run all the way across. So, we started up there and worked our way down.
- We used our handy, dandy finish nail gun for this project (sans glue). This meant we needed to know where the studs where to make sure nothing fell off (hence the blue painters tape). It also meant we had a TON of teeny, tiny nail holes to spackle afterward.
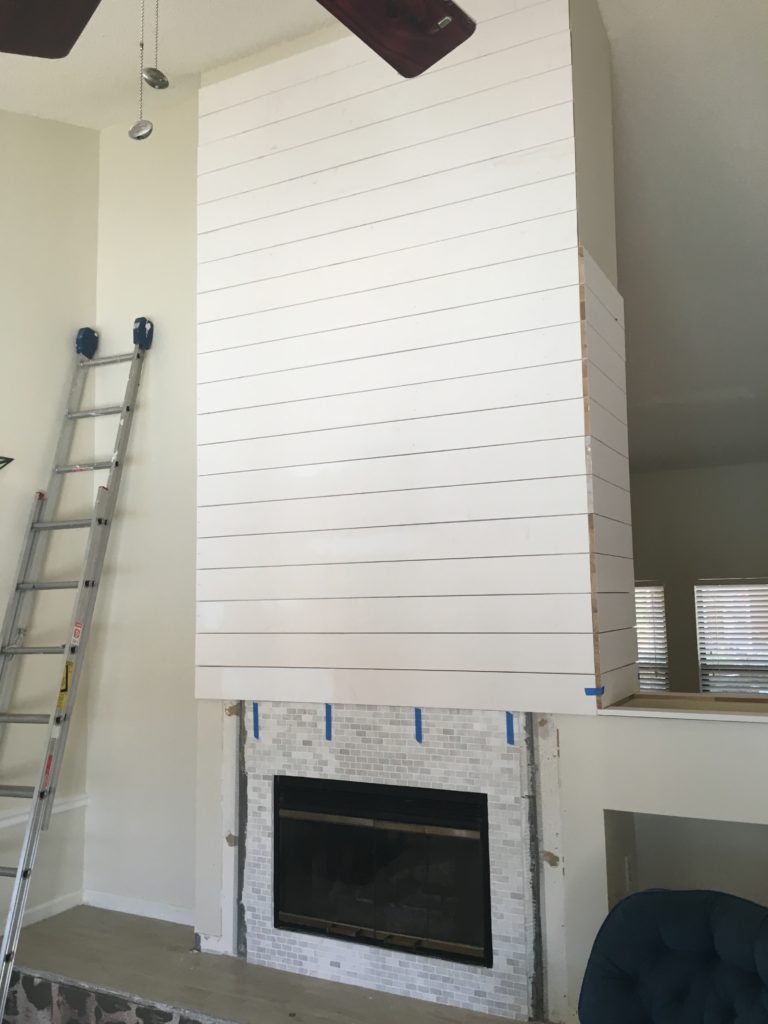
To the ceiling! 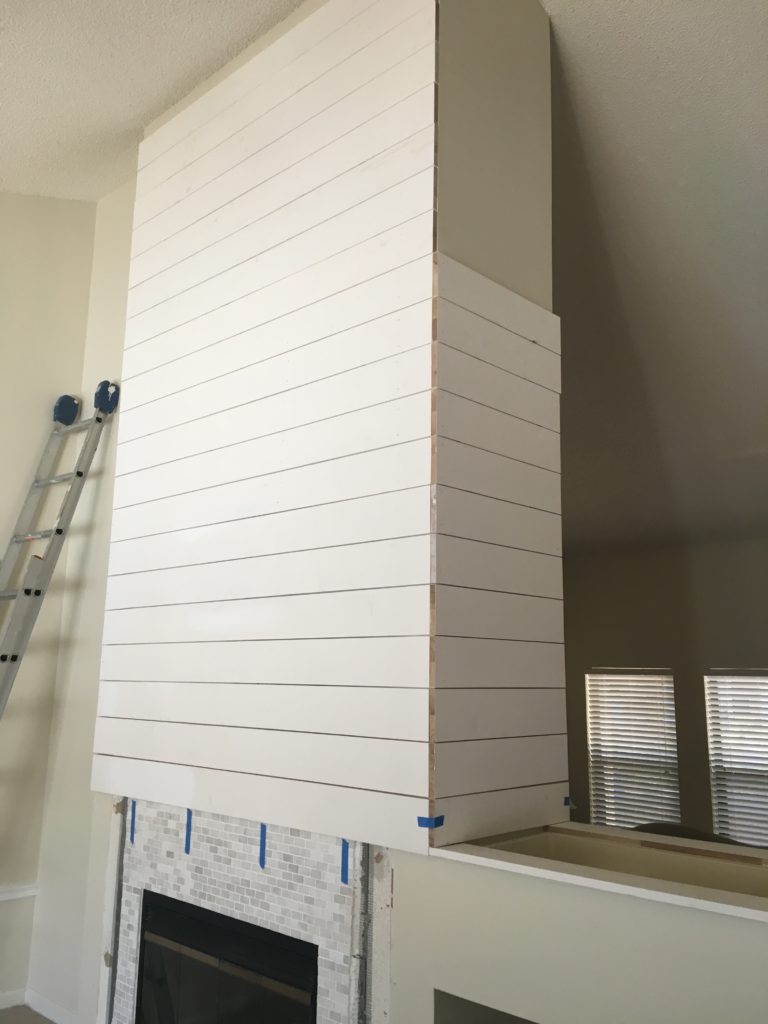
Side boards start the wrap. 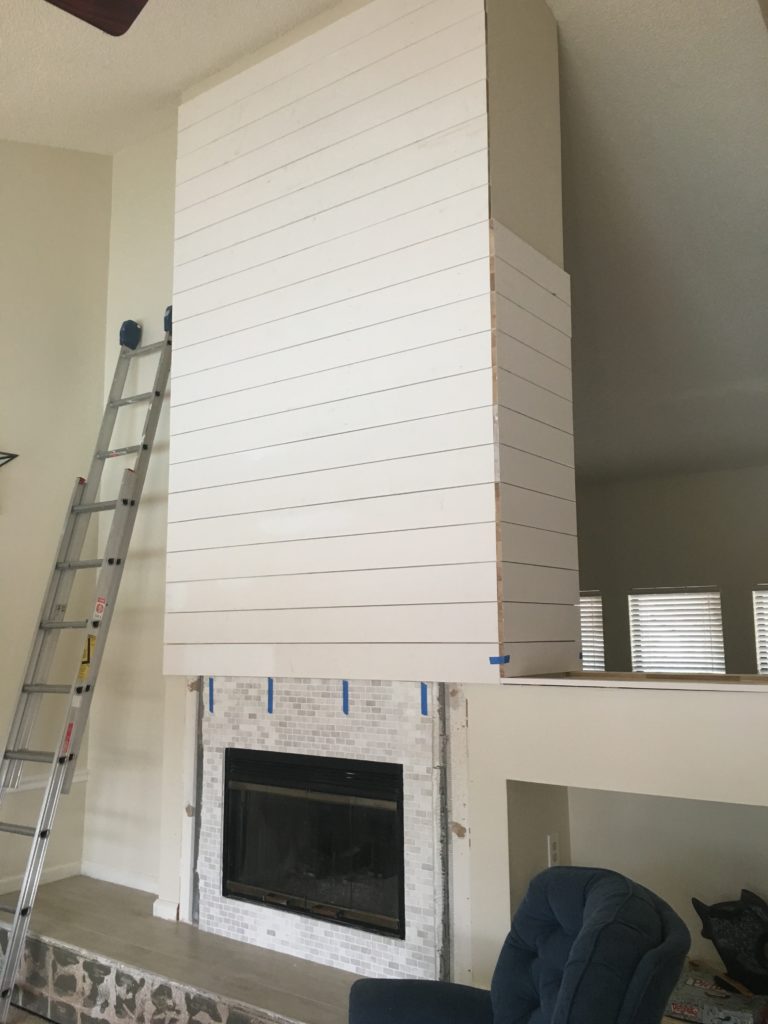
Taking in the hard work. 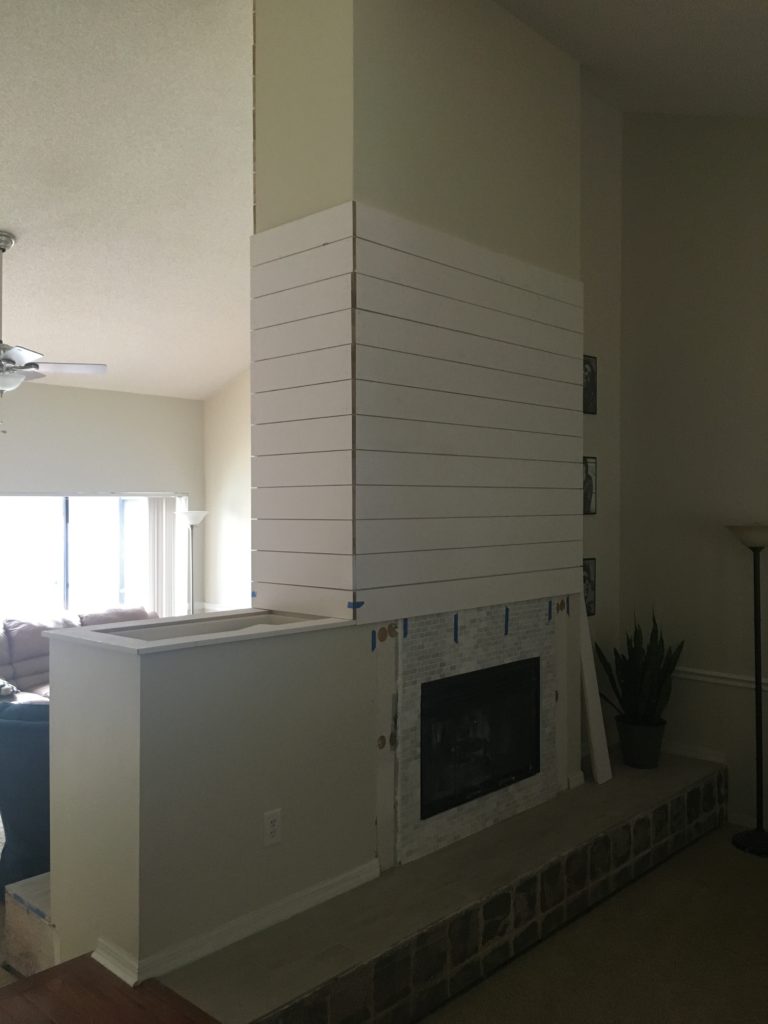
The backside received the same ‘treatment’ and we wrapped the whole darn thing all the way to the vaulted ceiling.
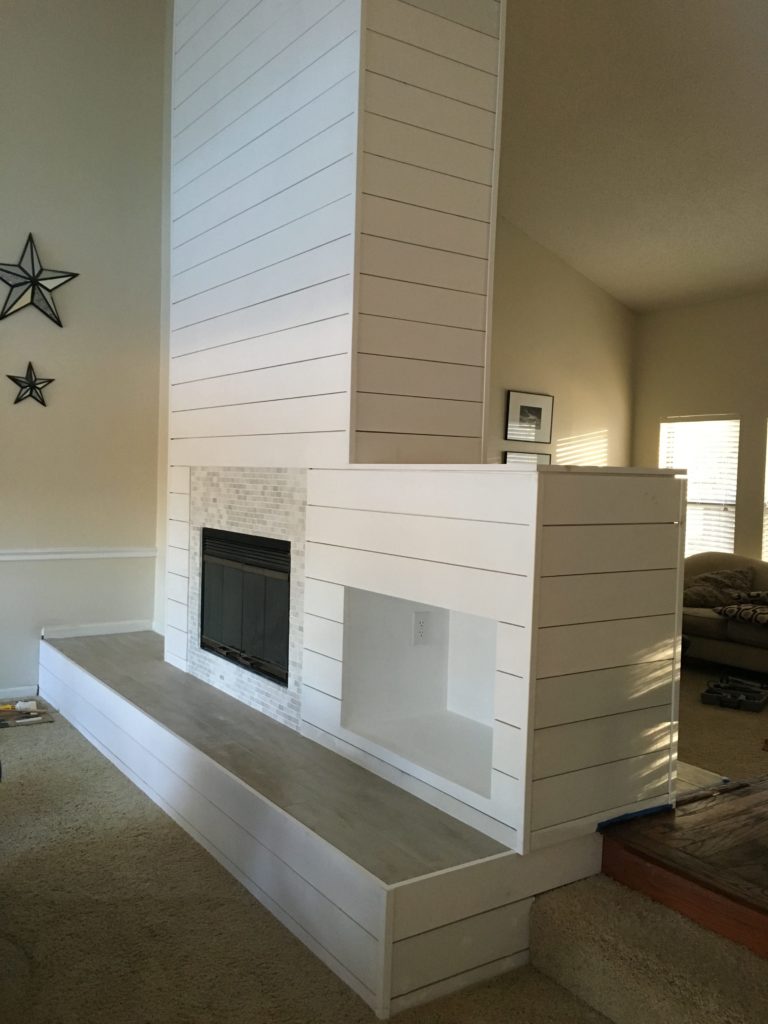
We thought about not wrapping the bumped out section with shiplap, but we opted to do the entire fireplace instead. All the edges were finished off with corner trim as well.
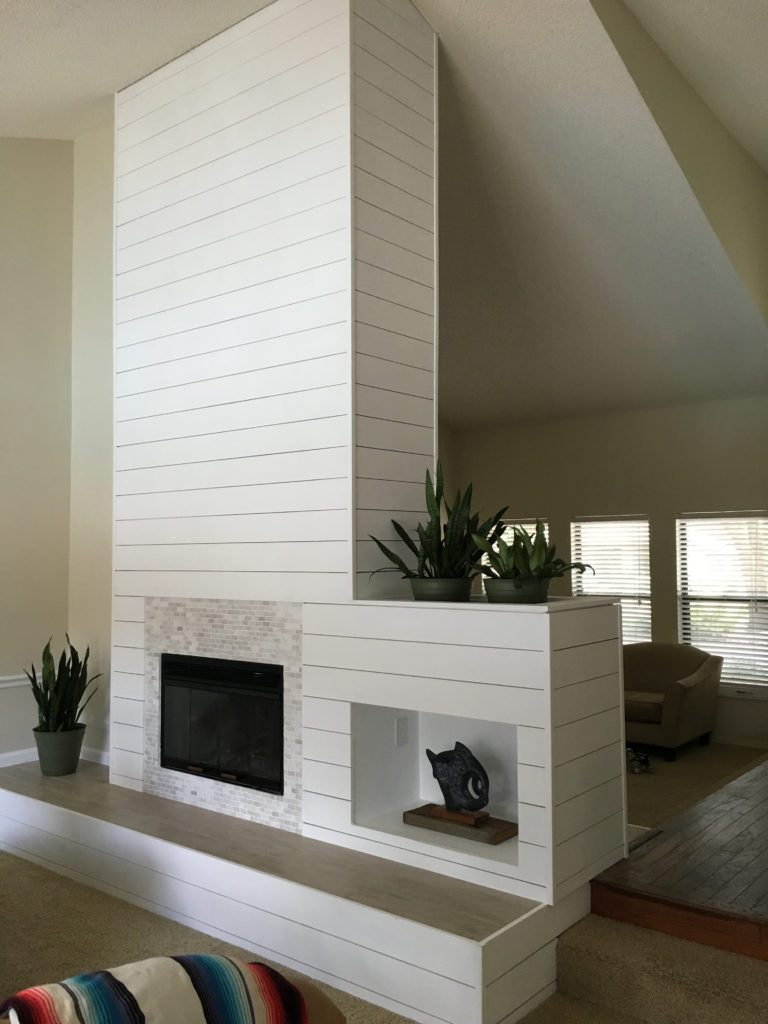
This angle shows just how tall the fireplace was (16 ft at center) but just how grand and pretty it became, with the white shiplap and marble touches.


Leave a Reply