We hope everyone, especially everyone in Florida, reads this post and takes action. We hope this inexpensive transformation will inspire you to get you out there in your backyards fixing your neglected fences!
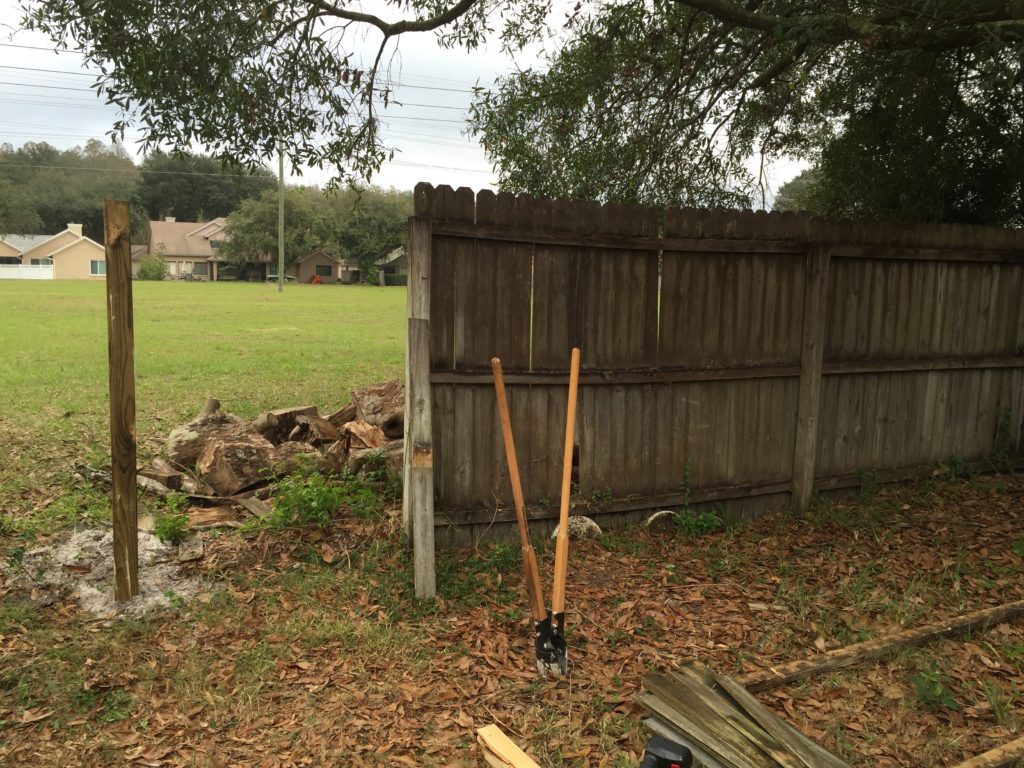
Tired and rotting fences, like the one you see below, litter the Floridian landscape like forgotten lawn art outside of Chernobyl. Sadly, when we think back to our many years in FL, the ugly-fence landscape is one of the first things we remember. Kids are staring out of car windows right now as millions of these rotting planks drift flash past their eyes, imprinting themselves across their young minds.
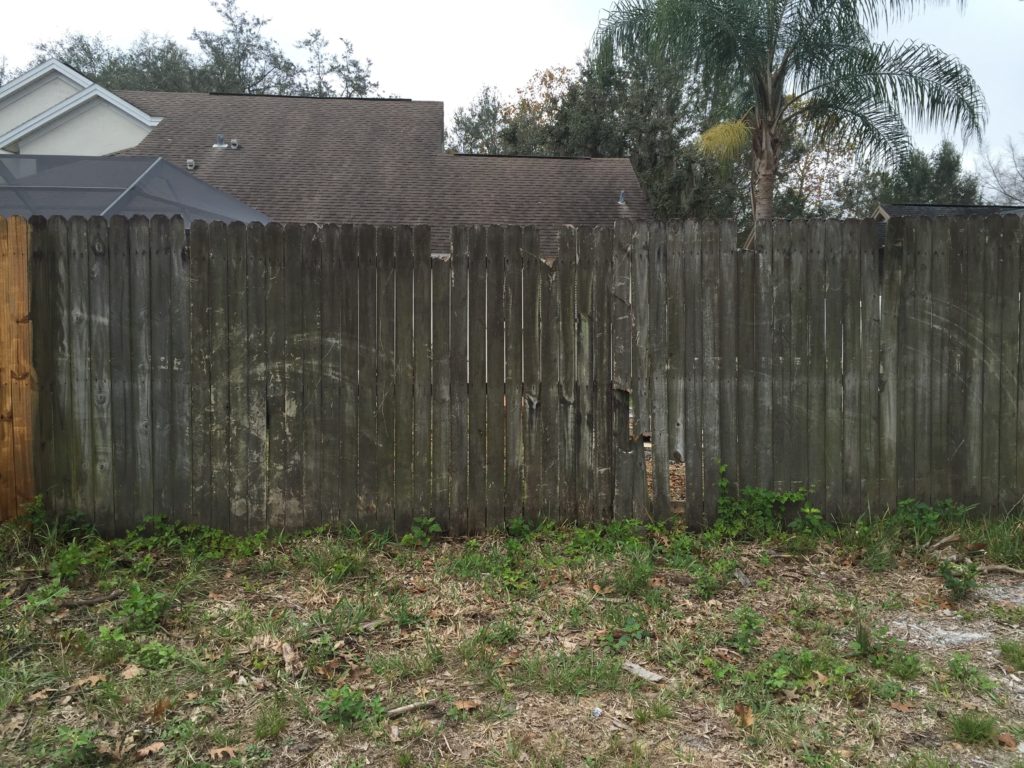
Since they serve their ultimate purpose of providing privacy and dividing each 1/8 acre of land from the next, it seems people completely forget about them. They never give them a protective coat of stain and never fix their broken pieces or parts. They just sit out there on the edge of miles and miles of suburbia withering away under the Florida sun.
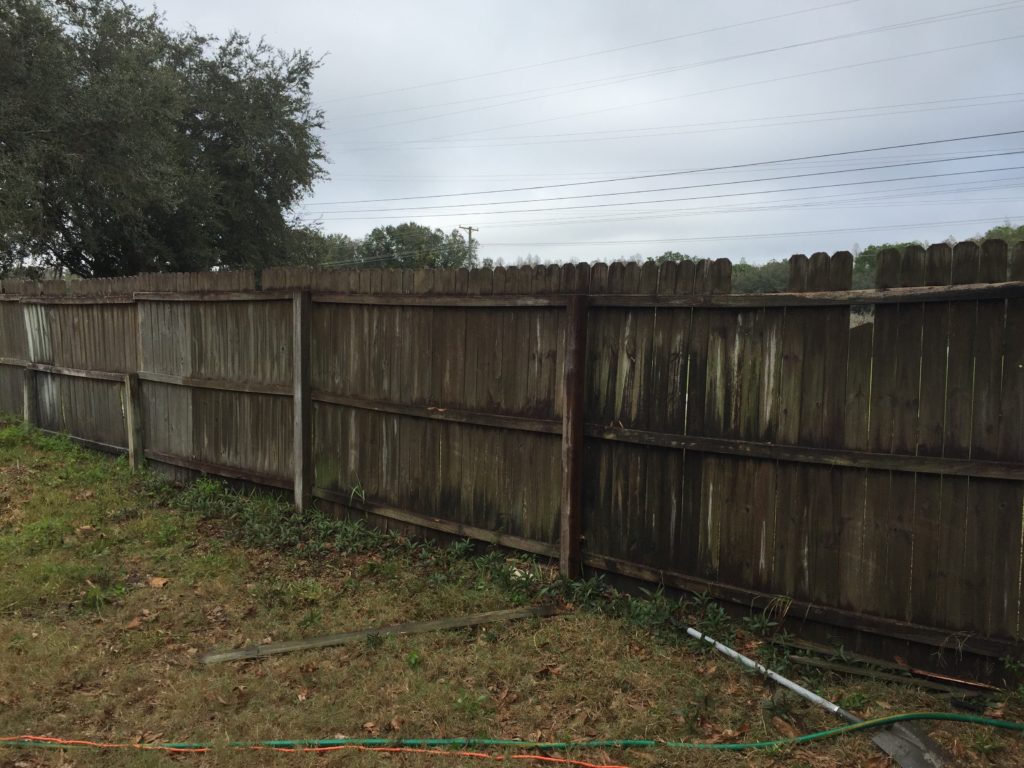
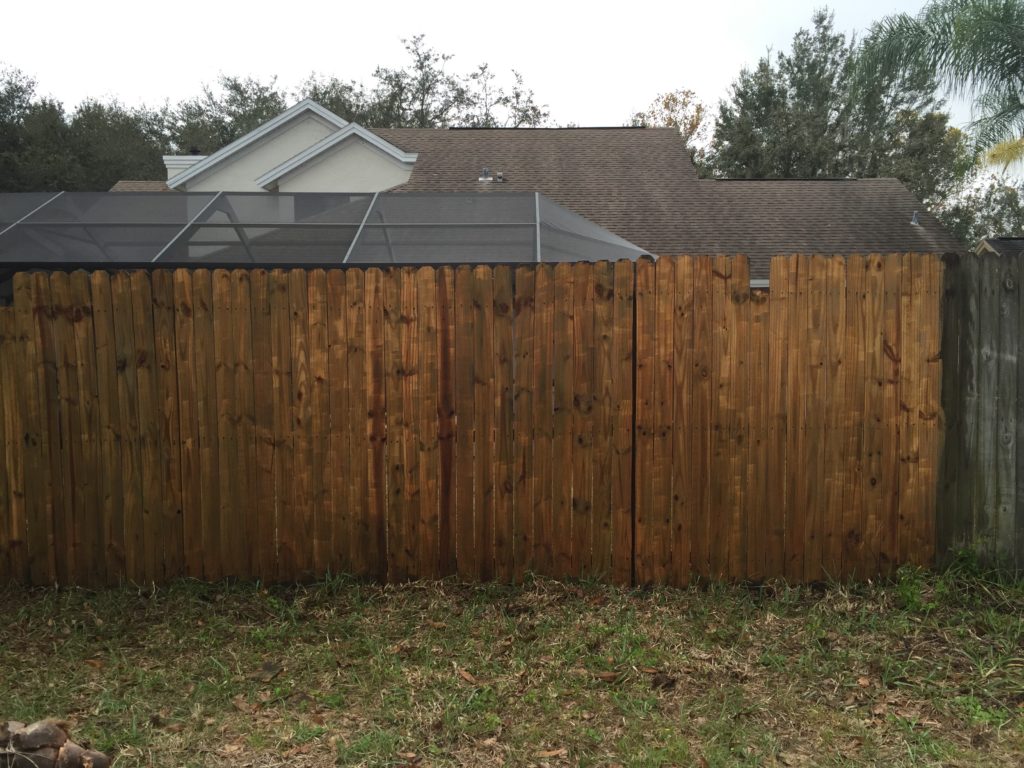
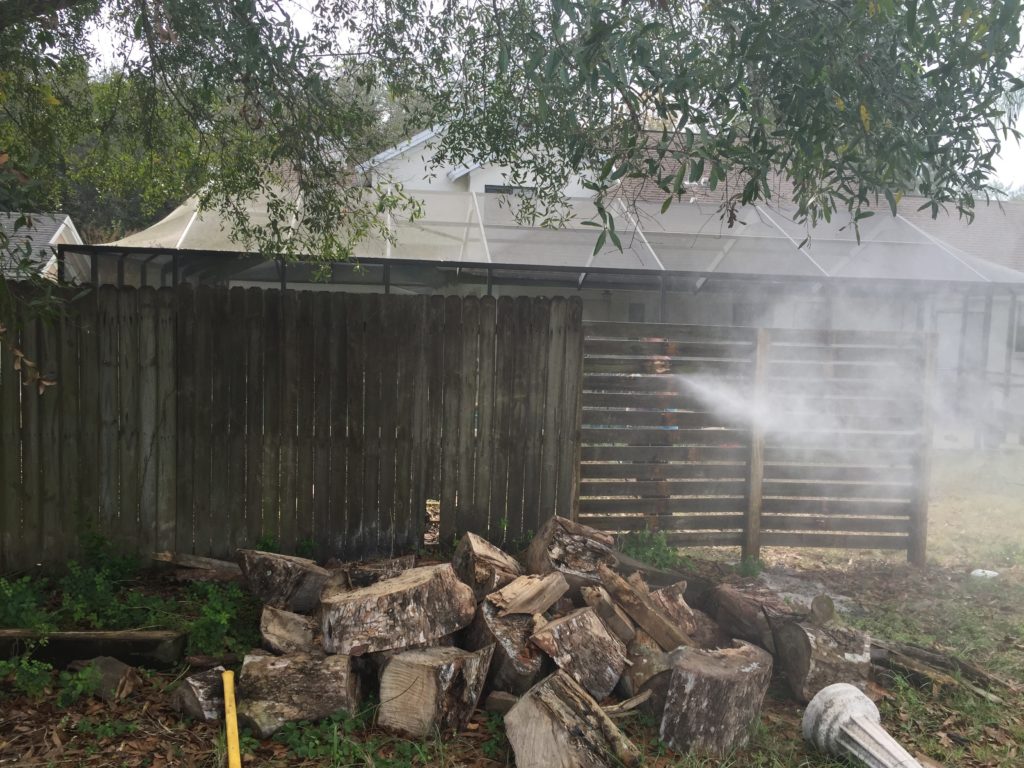
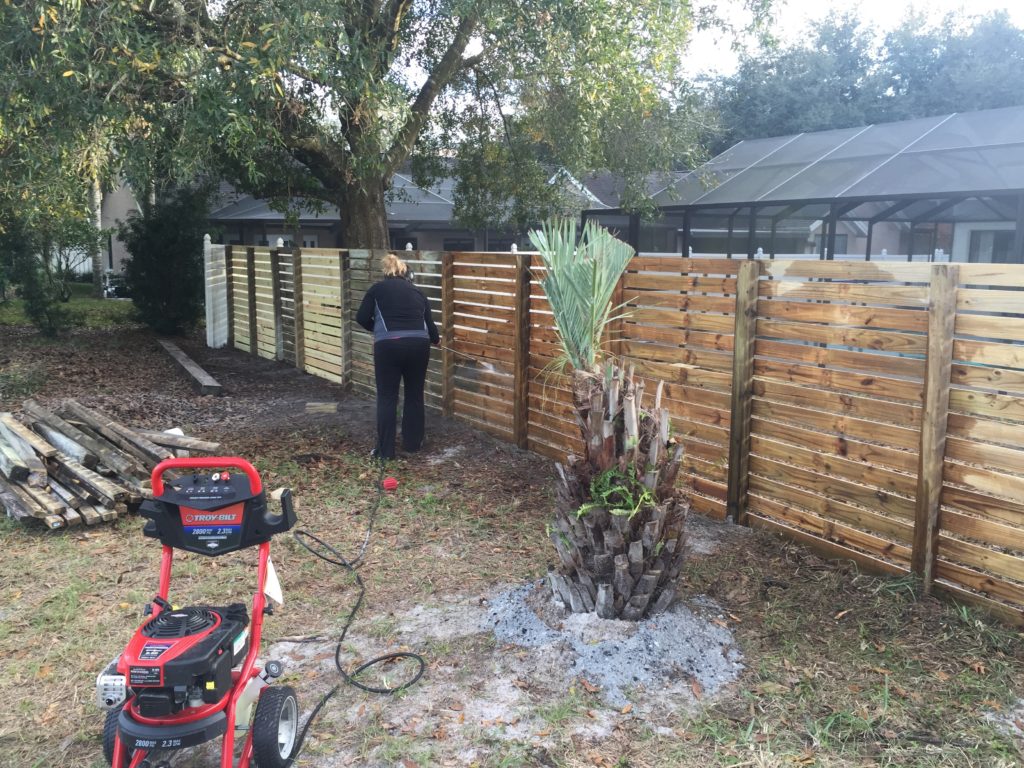
Even though it took us a while to get the fence project, it was one of the first projects we recognized as a must-do as we walked through the house with our Realtor. We started by simply pressure-washing the fence, a truly cathartic experience if you’ve never pressure-washed anything. We thought the planks might disintegrate back into their molecular form as soon as we hit them with the water. Fortunately, their basic structure held. It was if the mold and lichen protected the planks underneath.
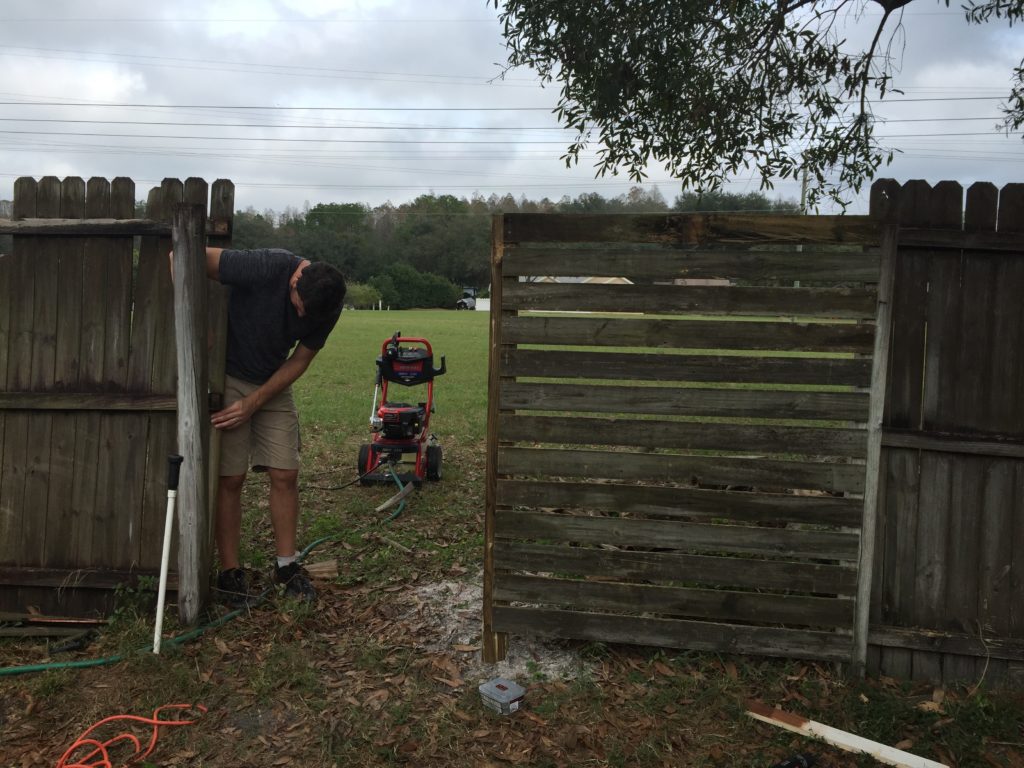
Next, we took everything apart leaving only the posts. This a big demo job, carefully separating all of the old planks from the cross beams and then removing all of the old nails. We got rid of the cross beams. You won’t need those for this design. This job works best if you have a teenager.
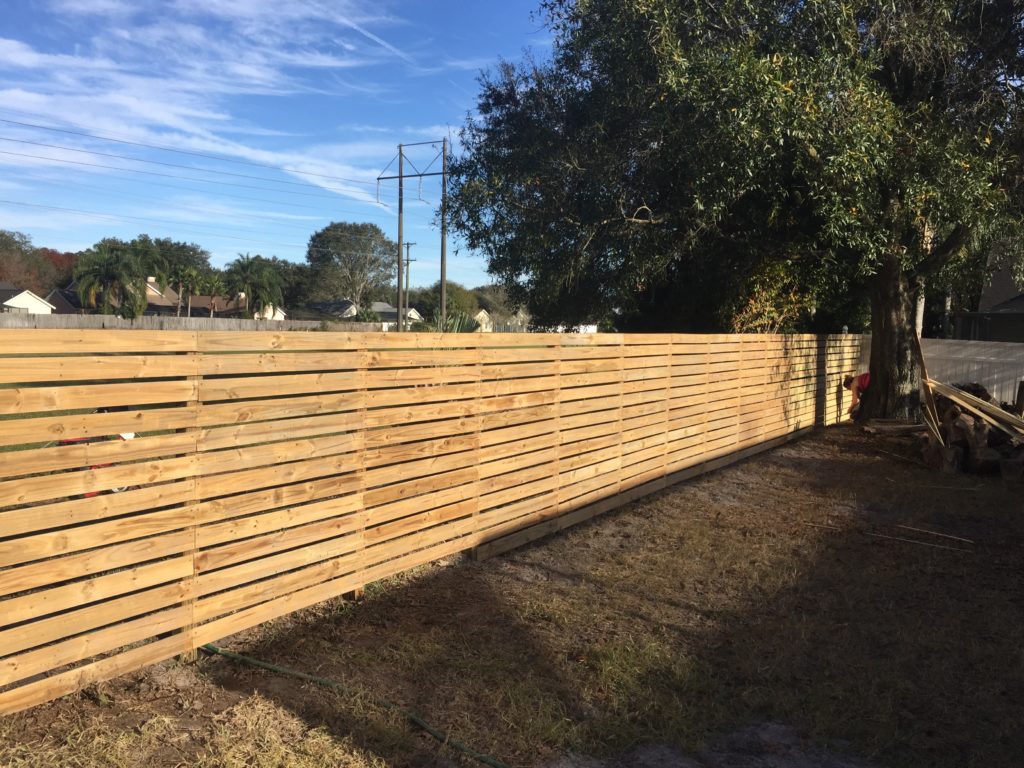
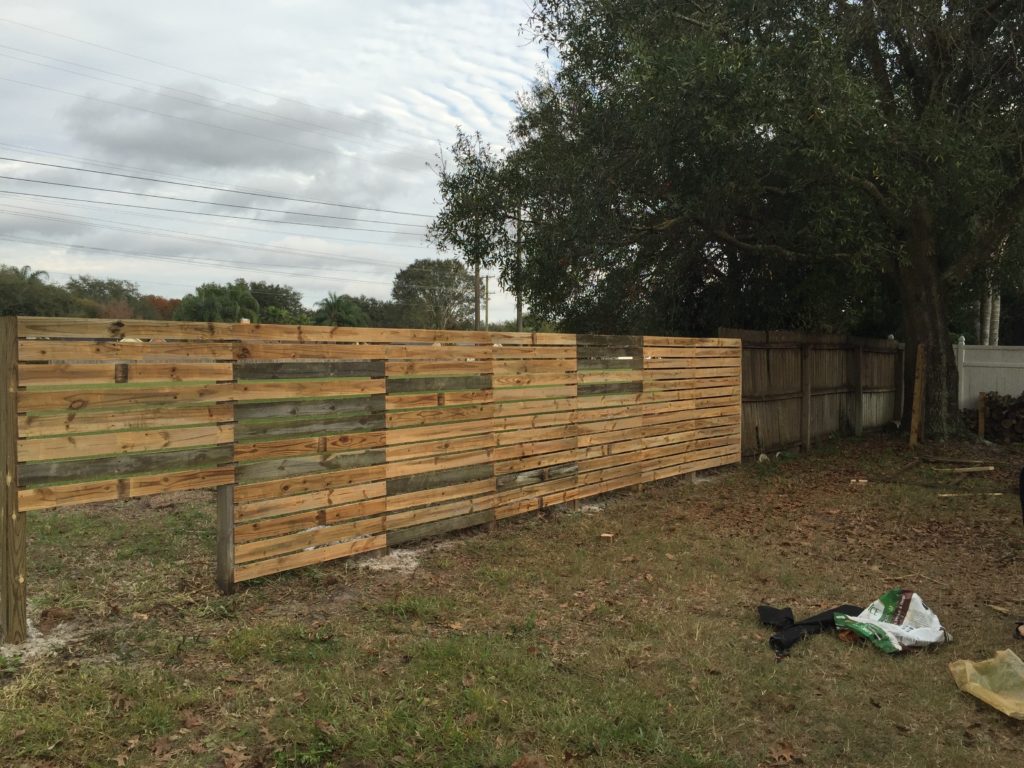
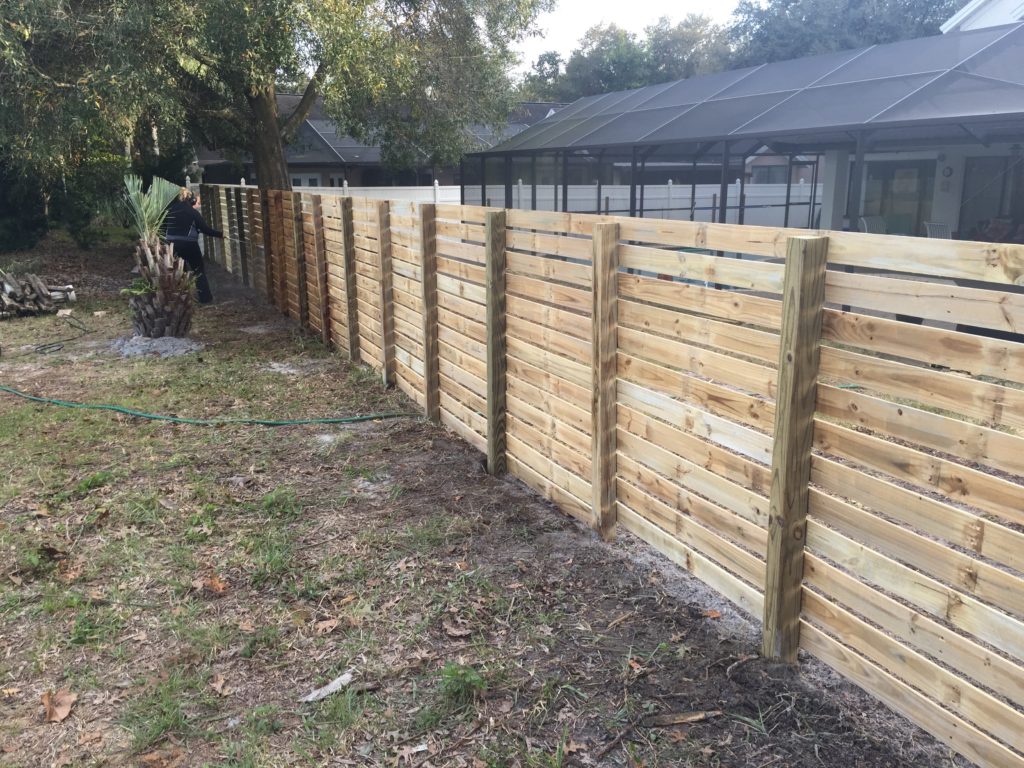
Next, we set new posts in-between the old posts. This way each post (new and old) would be about 4 feet (on center) apart. We cut off the scalloped tops and the rotten bottoms of the planks, which left us with the 4 feet span we needed. Then we went to the Horizontal Dimension, which is modern right? Starting with level top planks, we used a 3/4 inch spacer board as we screwed in each plank on down. We used stainless steel screws (maybe the most expensive material on this project). You don’t want rust from cheap nails or screws streaking down your new modern-looking fence.
First 8 foot section is finished. And on down the line we go…
Also, we moved the planks to the inside of the posts. We wanted the appearance of length, as if the boards run continuously from one end to the other, without the posts breaking up the design every four feet.
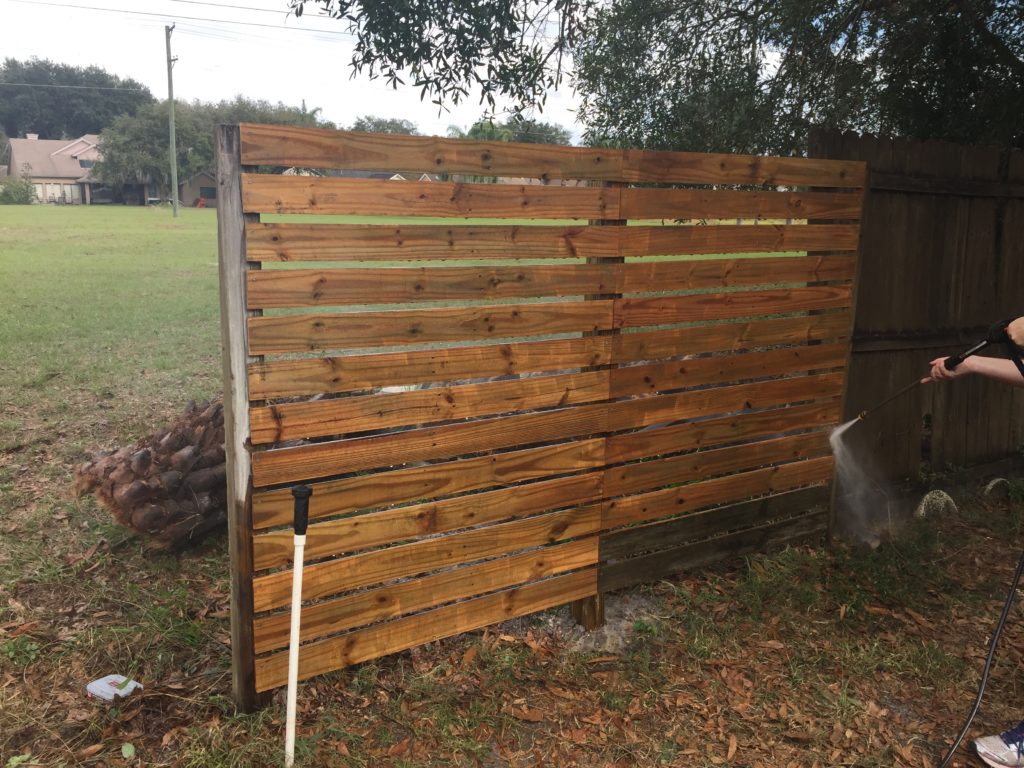
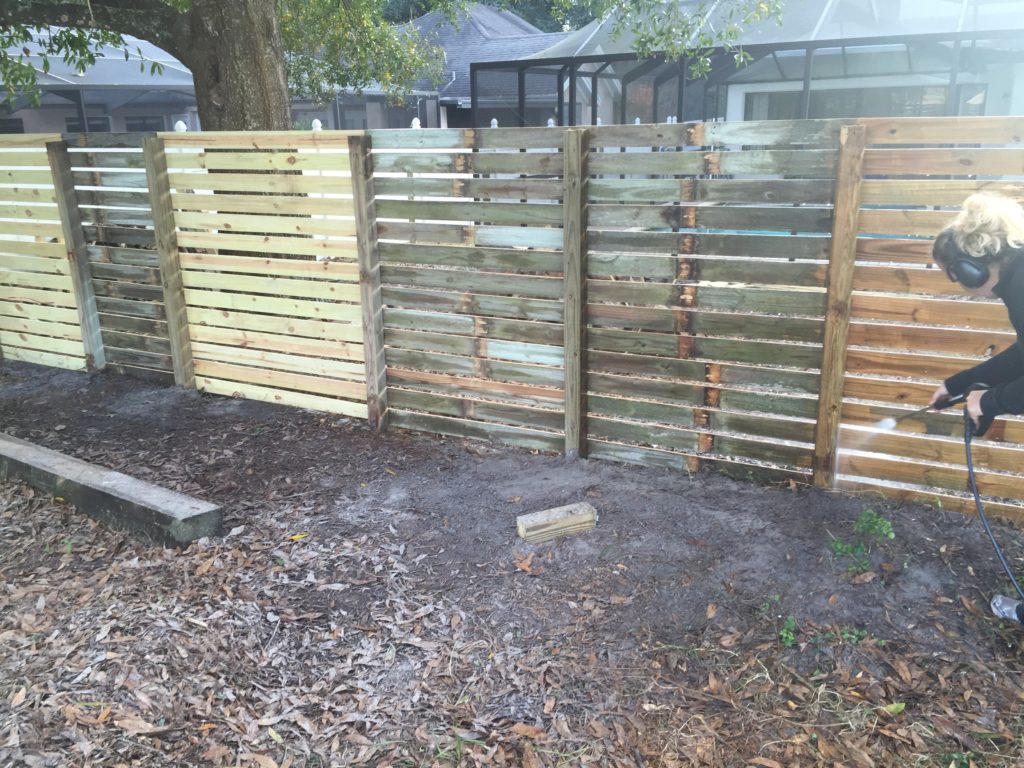
These planks were pressure-washed after we’d installed them anew. That’s Melissa behind the fence in cathartic repose.
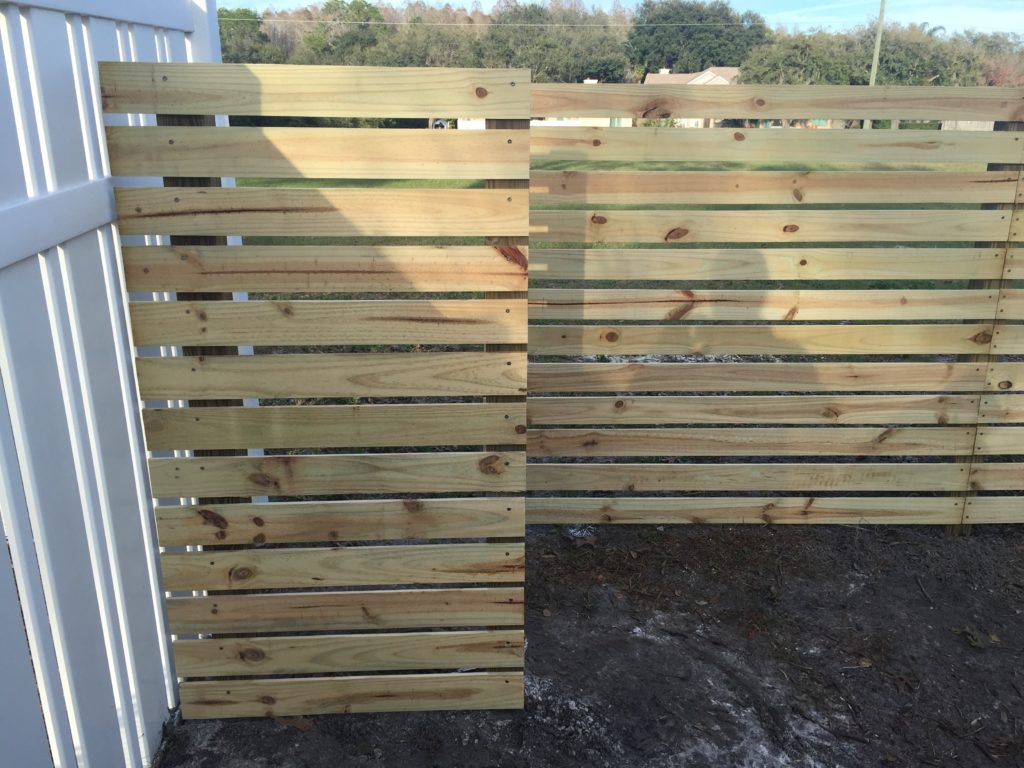
Coming to together and coming back to life! Don’t worry about too much about the mismatching, nail holes, or other imperfections. Just remember, it’s going to look a thousand-times better than the old fence of disarray and dilapidation you once had damaging your curb-appeal. And, from a distance, no one will ever notice. We sold this house in 3 days even with power lines just beyond the property line!
More pressure washing as we worked are way down the line. Evie’s not helping.
We added some new planks to fill in some sections. One section needed to be about 2 feet across due to some tenacious tree roots. Since this section was directly behind the tree it looked somewhat purposeful.
More pressure-washing down the line as the modern fence takes shape.
More relaxing and productive pressure-washing… And, yes, these are the old planks. Only a few sections on the ends were new.

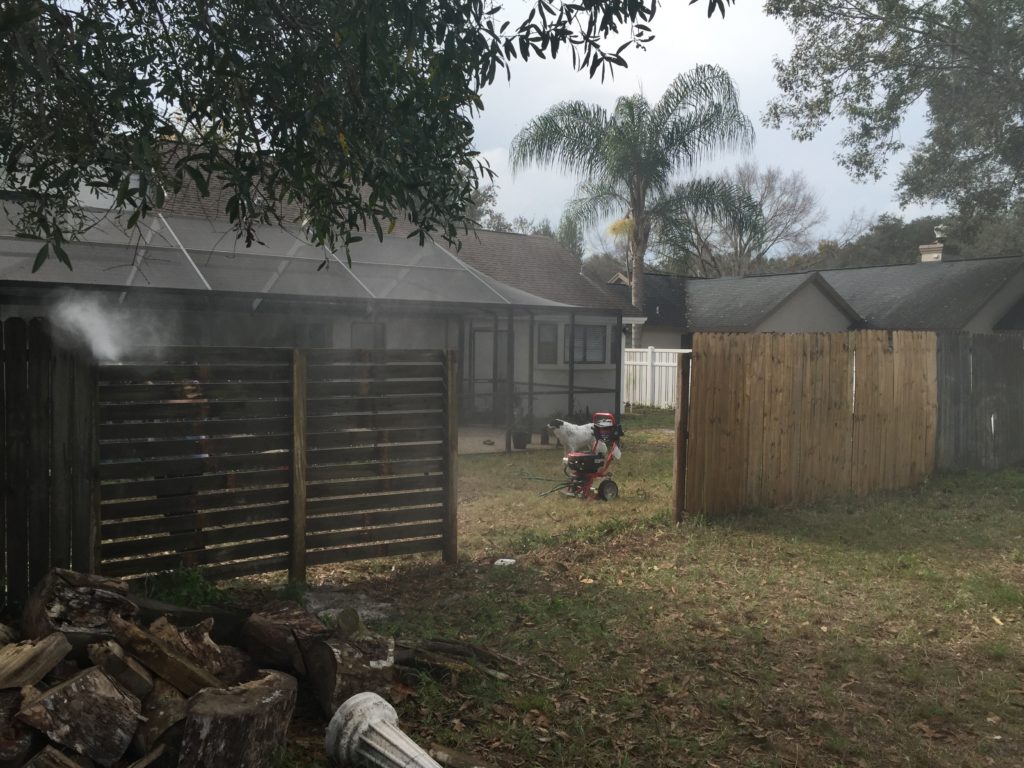
With help from the teenager, we added an opening. We didn’t want gate so we just staggered a small section inside the yard. Easy to get in and out.
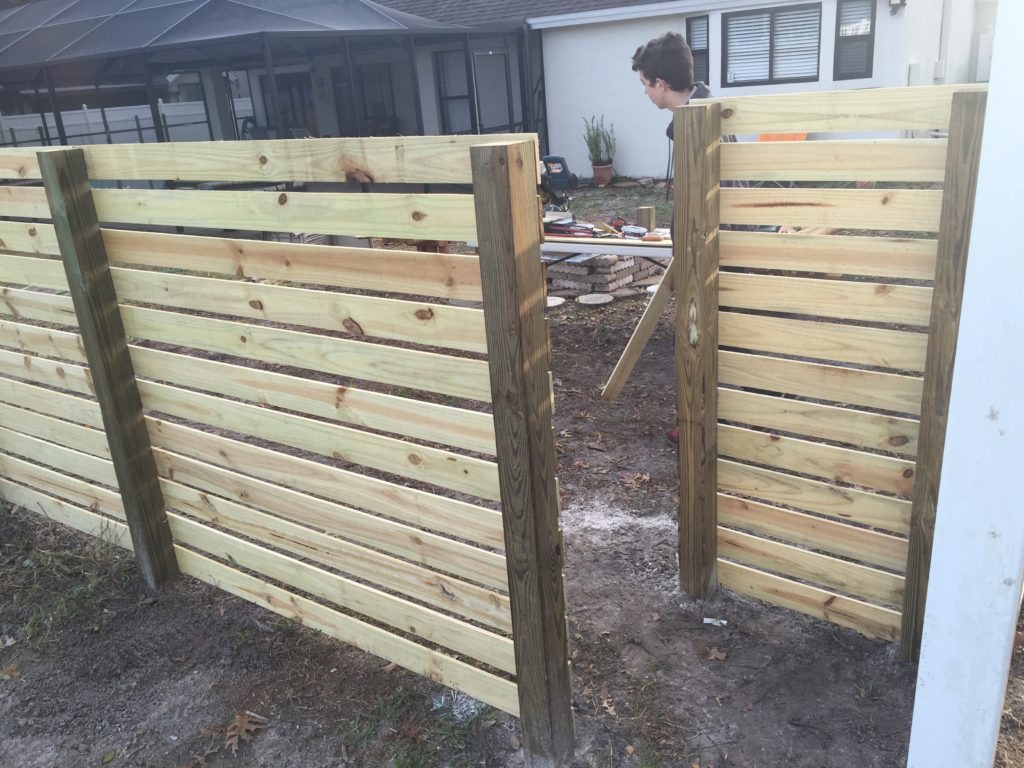
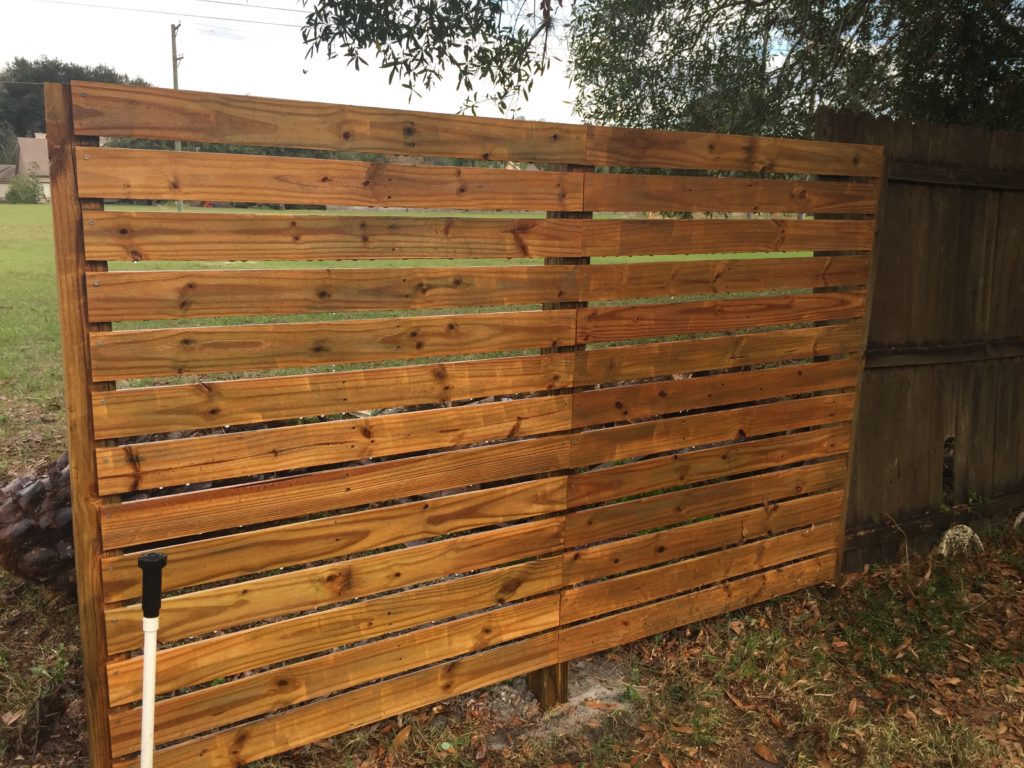
When you look directly at the fence (or even from inside the house) it appears to be solid.
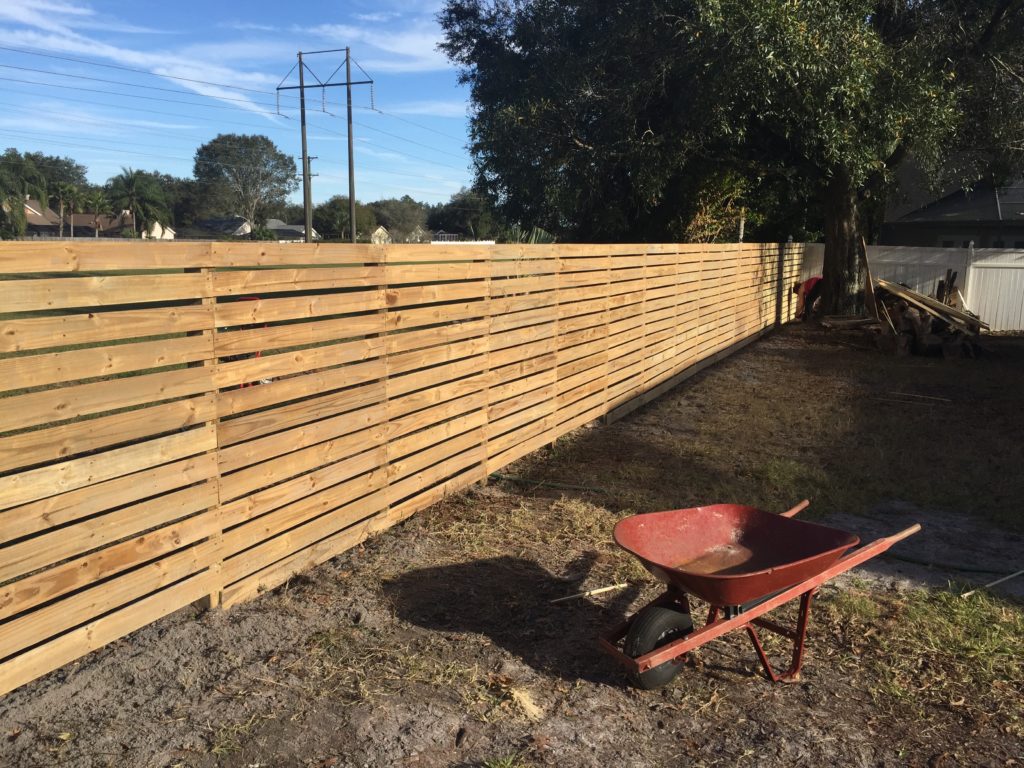

The finished product. An added bonus of the horizontal design: we were able to see through the fence out across the field and still have privacy. This really gave the feeling of openness, especially in a small yard. Get going and good luck!

[…] the very back section of the yard, next to the modernized wooden fence, we created 8 raised garden […]