The beautiful new hexagon tile floors in the mid-century house’s kitchen are installed! Melissa and I have successfully removed many layers of flooring and elevated the kitchen from borderline cringeworthy to perfectly charming. In this post, we’ll show you how we removed decades of old flooring, set up our kitchen flooring for success down the road, and installed beautiful hexagon tile in keeping with the classic style and age of the home.
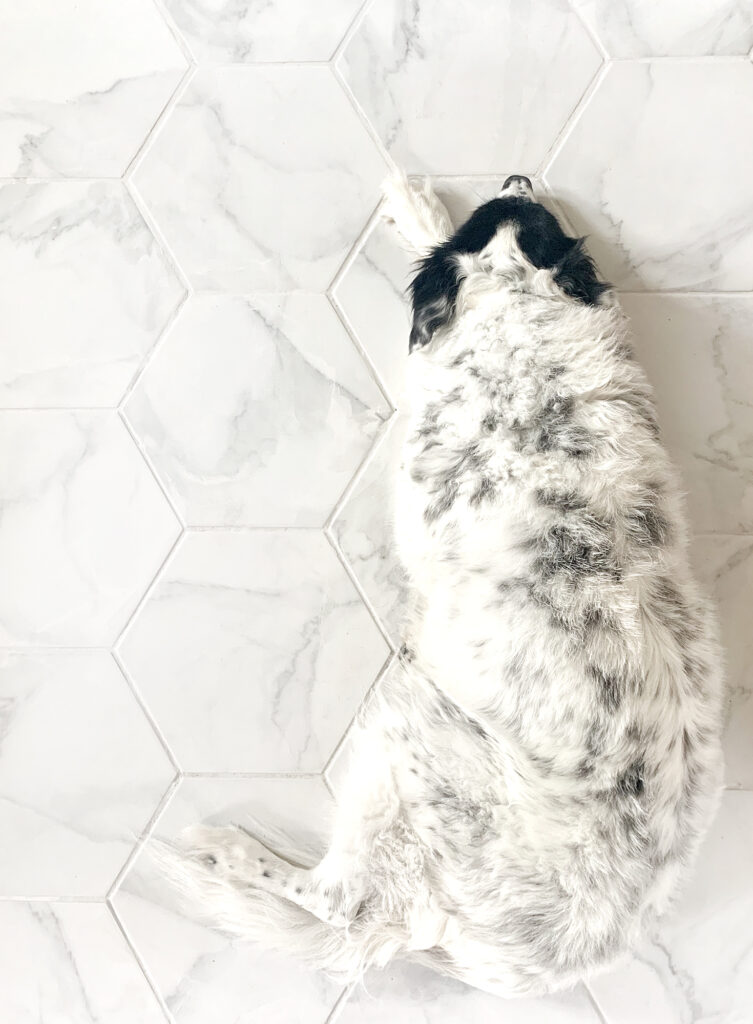
To start this off right, here is one of our Border Collies, Evie, unintentionally matching our new kitchen floors. Haha!
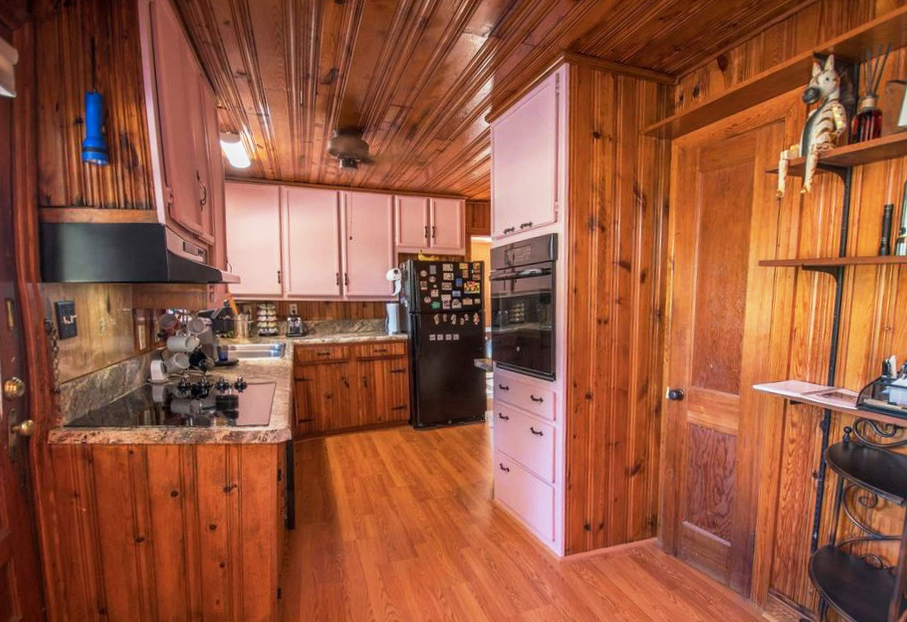
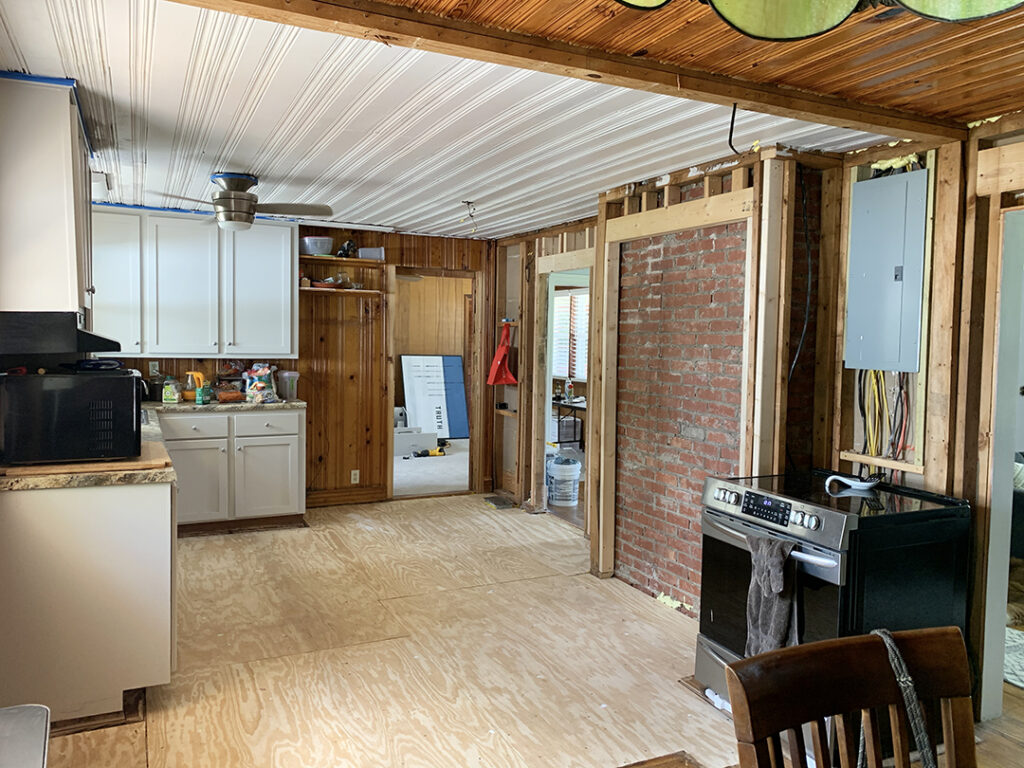
If you read our previous post on the deconstruction of the kitchen, you might recall the “before” condition and the dream layout Melissa mocked up for the space. Let’s just say, our starting point with the flooring made the “final vision” difficult to imagine.
The dream layout originally called for oak floors in the kitchen to match the original hardwoods throughout the house. Though the overall vision stayed the same, Melissa changed her mind and decided on a different flooring material — more below.

Painstakingly Removing Flooring, Layer by Layer
We already knew that the kitchen had several layers of flooring, which represented several renovations done over the decades. Digging into this layer cake of 2000’s, 1970’s, and 1950’s flooring ended up being a bigger task than we anticipated.
Avert your eyes!
The very top layer was a newer vinyl flooring with a thin foam underlayment. Removing that layer took us all of 5 minutes. Our confidence soared to a 10 and we were on a roll y’all! “We should be done in a couple of hours,” we said so confidently to ourselves.
Ahh….We were so young and naive last month.
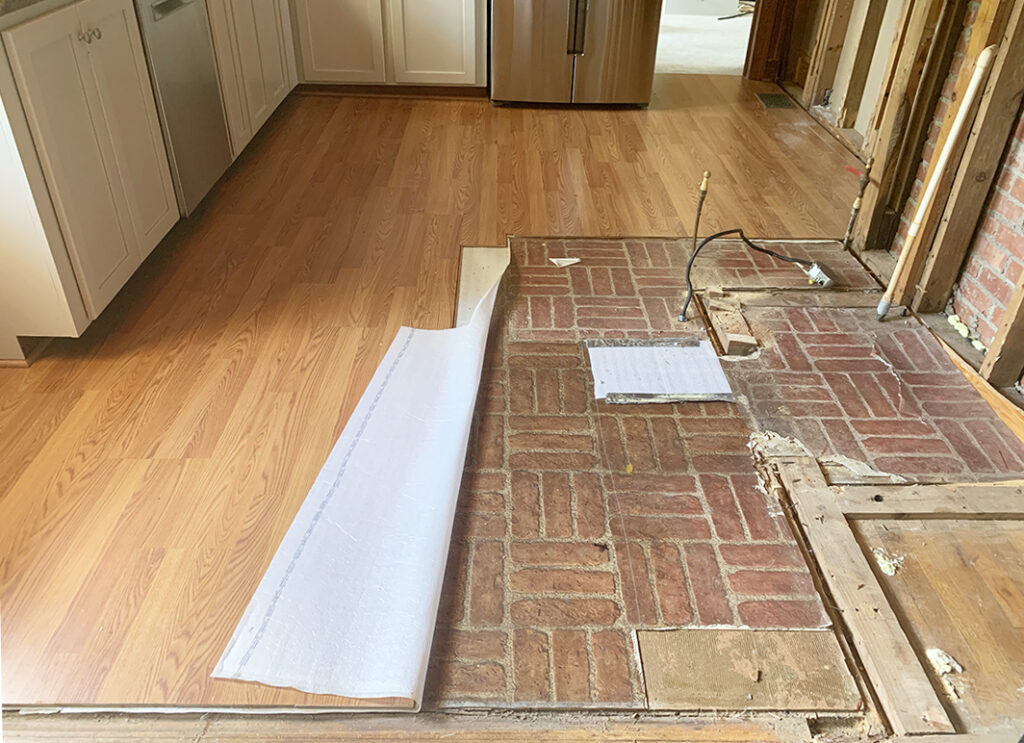
Immediately below the vinyl flooring layer was a red brick-look sheet linoleum. We’ve removed linoleum before…how difficult could it be?! As it turns out – VERY.

The linoleum was very-well adhered to a 1/4″ fiberboard. So, removing the linoleum quickly morphed into removing the fiberboard. But the fiberboard was, in turn, firmly nailed into the original heartwood pine floor.
Melissa likes to quote the title of a children’s’ book in scenarios that take a turn like this, called “If You Give a Mouse a Cookie.” Lemme give this analogy a try. So, if we want to remove some linoleum, first we need to remove the fiberboard underneath…but the fiberboard was firmly nailed down…so we really just need to remove ALL of the solid pine boards and start from scratch.
We wished we could have saved the original pine floors, but they were covered for a reason. They were in rough shape and had been water damaged near the sink.
Once we realized everything would need to come up together, we thought we could pull the linoleum + fiberboard + pine planks up with a crowbar. “Not so fast,” they whispered (maybe that part was in my head). These layers refused to go out without a fight.
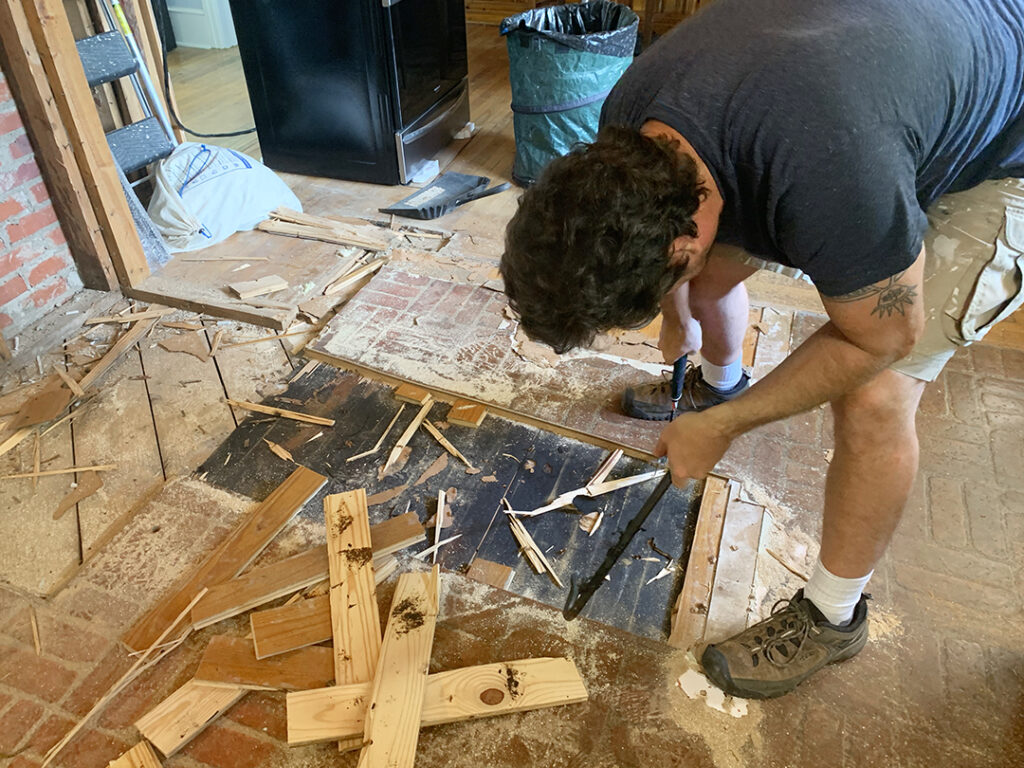
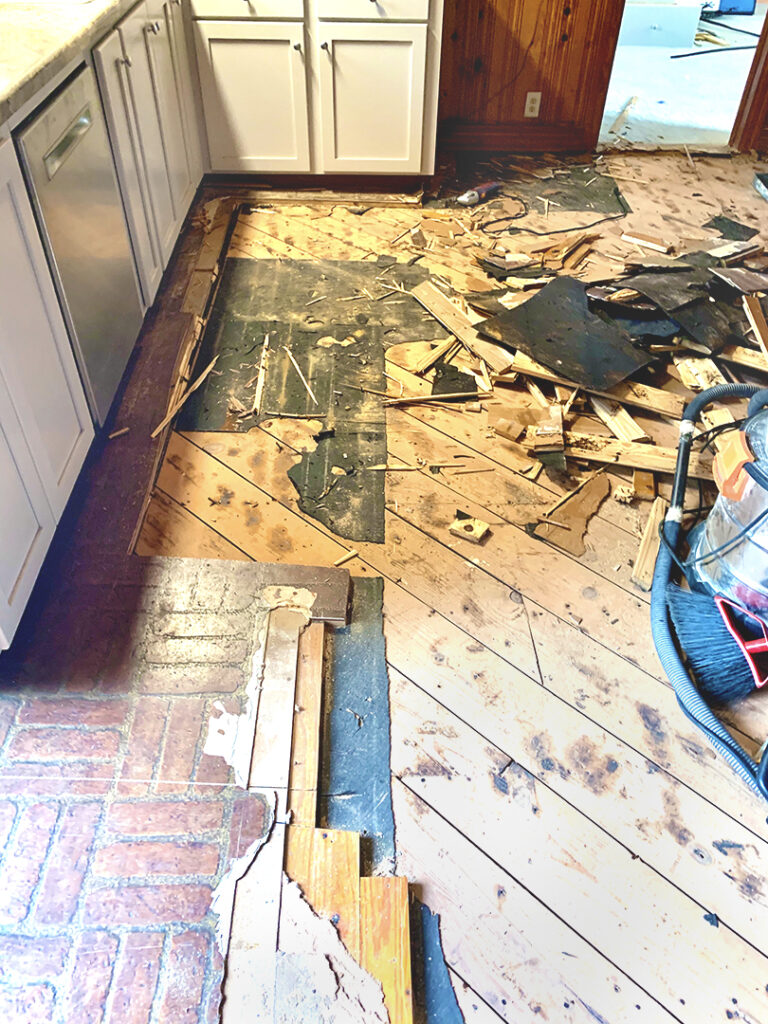
So, we broke out the circular saw and set the blade to the same depth at the linoleum + fiberboard + pine planks (just over 3/4″). Cutting through the layers at once was a breakthrough for progress.
We worked in sections. First, we’d cut through the layers, then we’d remove each section with a crowbar. There were nails every 4-6″ along every pine board groove, so it was pretty tedious.
Melissa tackled entire sections and then I would tackle others. All told, we spent a solid weekend removing every last board and nail. Not hours….oh no….#DaysLater.
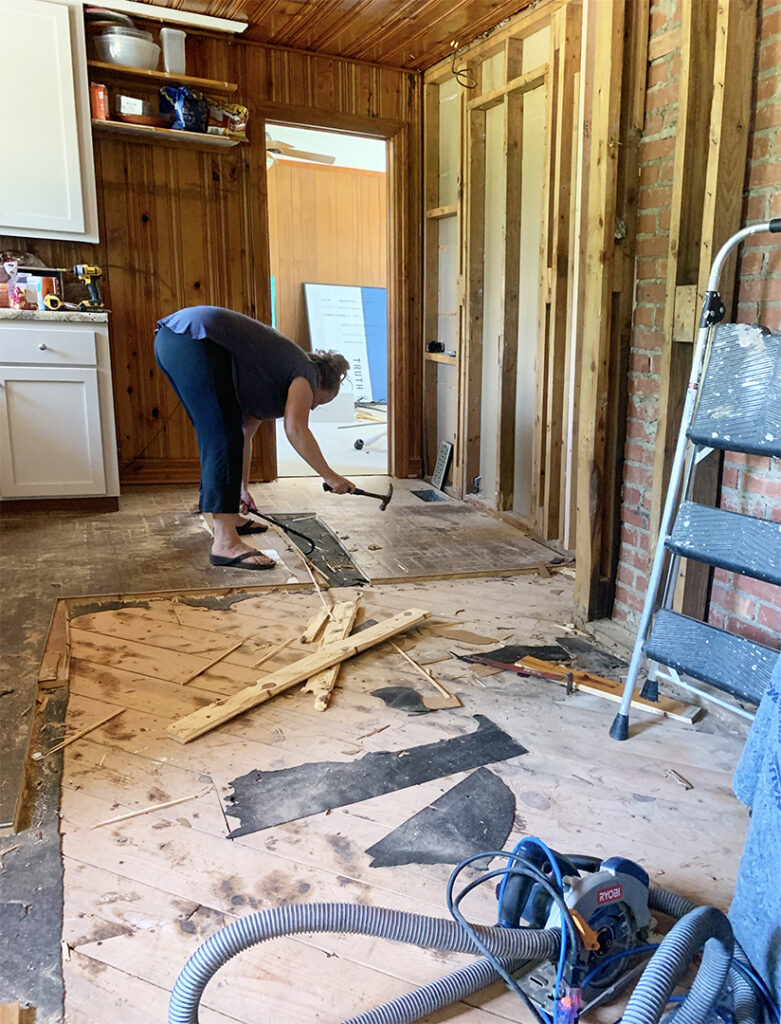
Here’s Melissa, ever in flip flops — even during demo.
New Subfloor Layer
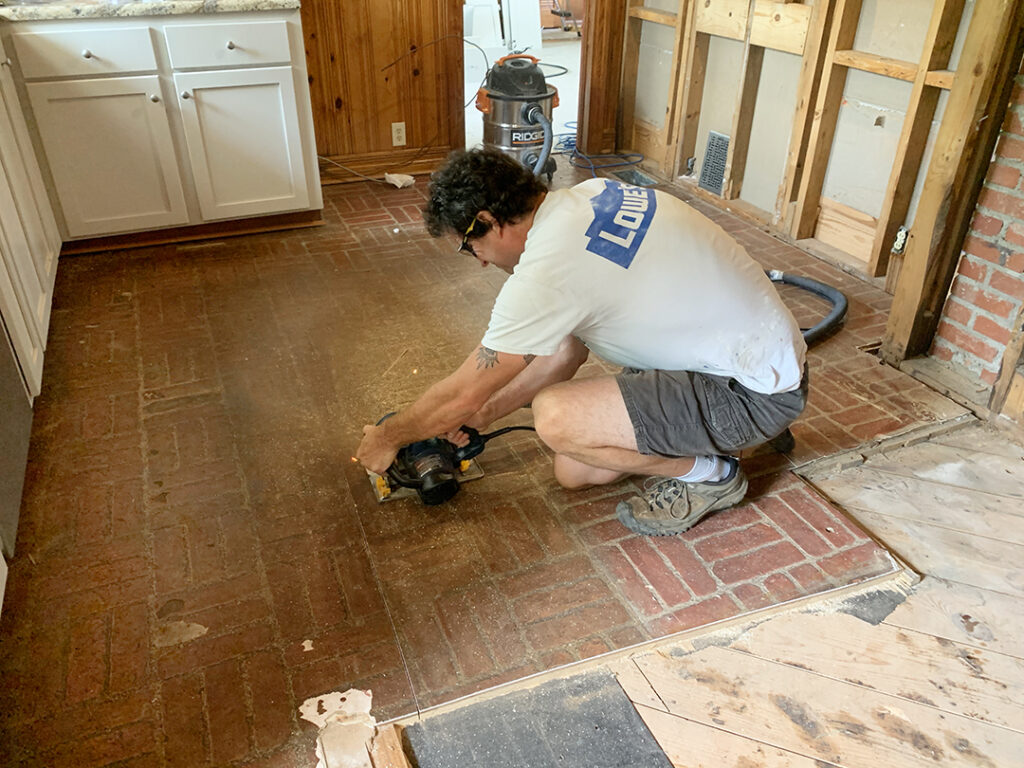
The kitchen subfloor in the 70-year-old midcentury house is 1″ x 8″ wide wood planks. Once uncovered, we realized they were in excellent shape and built to last. However, there were a few spots where the floor sloped. From side to side, there was less than an inch of level change, but we wanted to make certain the new tile wouldn’t crack. To address this, we added a layer of subfloor to the kitchen and leveled the floor as we went.
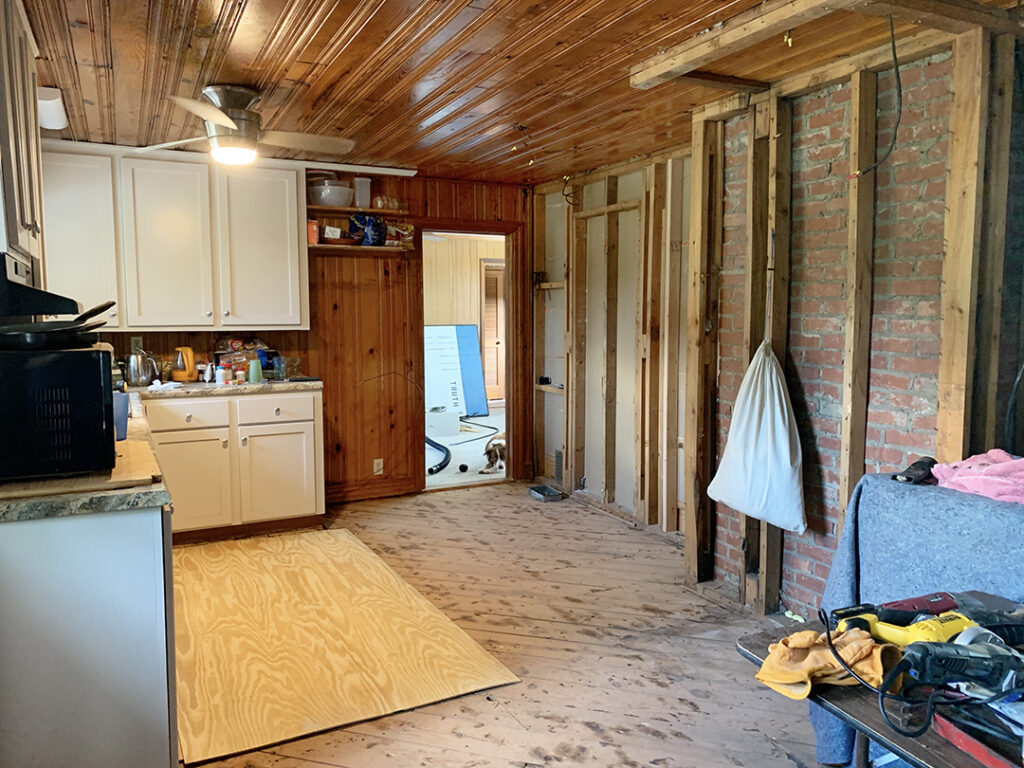
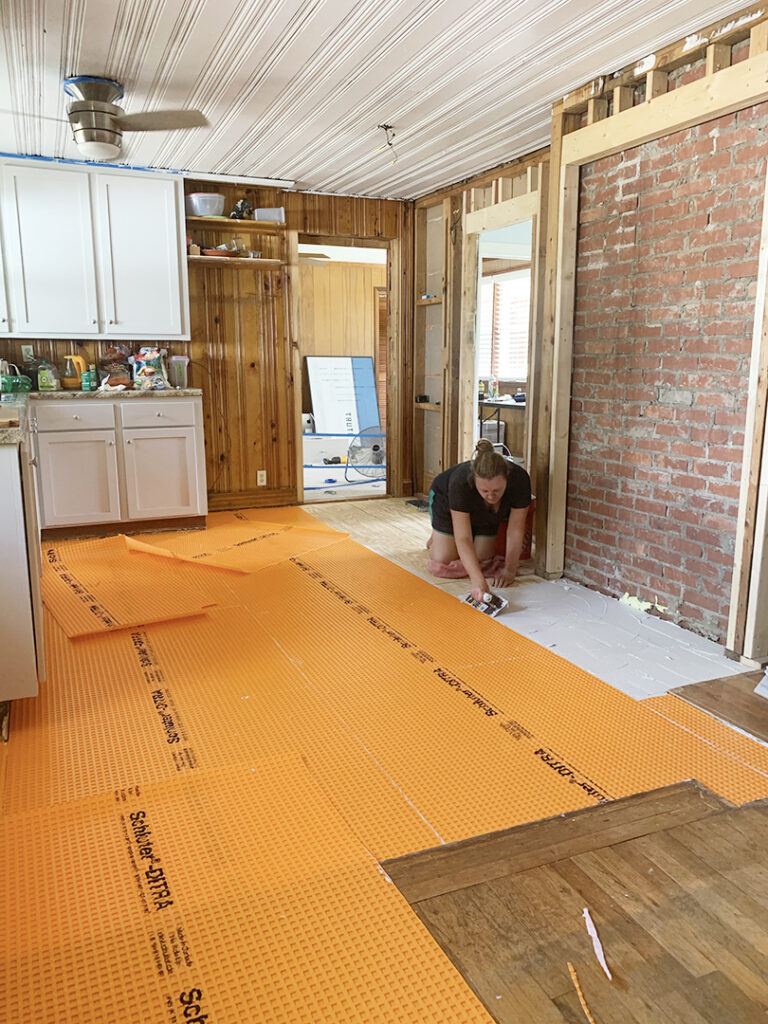
Notice how dark the kitchen still felt! Around this time we started to paint the wood ceiling too, and it helps brighten things up.
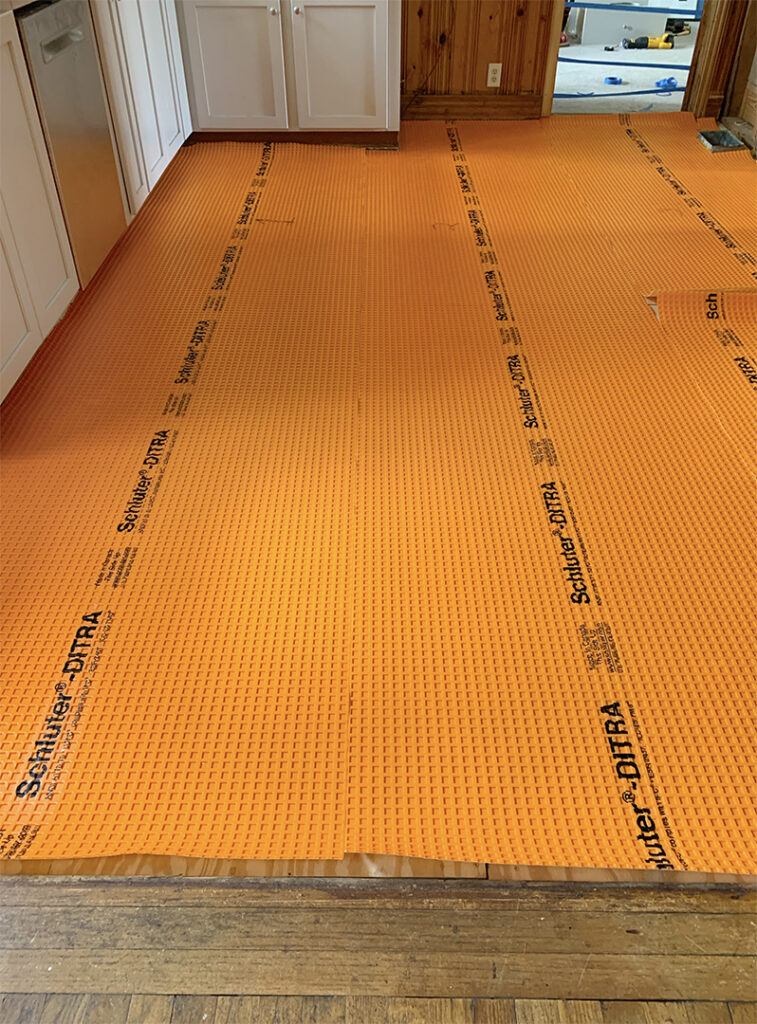
Waterproof Membrane
On top of the new subfloor, we added a layer of Schluter Ditra waterproof uncoupling membrane. The waterproof material prevents damage to your subfloors, but the membrane’s “uncoupling” abilities allow for independent movement between the subfloor below and the finished tiled surface above. This greatly reduces the possibility of tiles cracking in the future. We previously used Schluter in the master shower at the Forest House and it’s SUPER easy to work with.
The membrane is adhered to the subfloor using Schluter All-Set Modified Thin-Set Mortar. Trust us – just use the Schluter mortar instead of trying to find another product that works! Once adhered, you can tile on top of the membrane almost immediately.
Melissa used a trowel to spread out the thin-set mortar and stick the membrane to the subfloor. Then, she presses firmly on the top of the membrane to make sure it’s secured.
Selecting Floor Tile
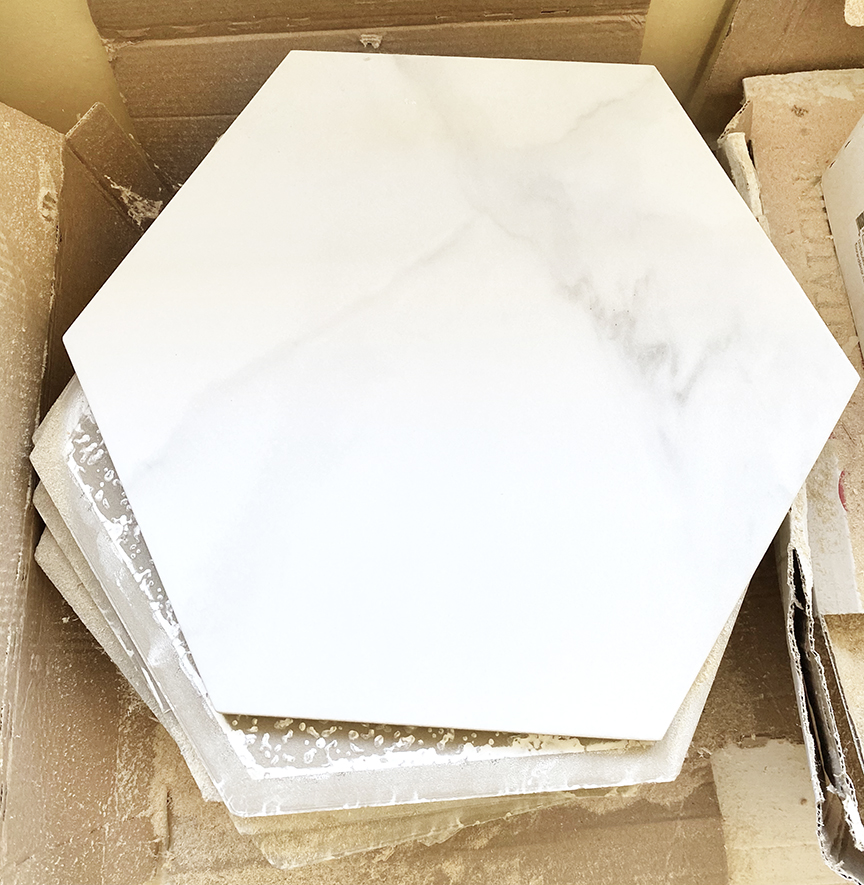
With the waterproof membrane applied to the subfloor, we were ready to tile. Melissa selected the Arina Bianco Matte Porcelain Tile from Floor and Decor for this project. This 11″x13″ tile is a neutral light gray with medium gray veining, and it has nice, subtle variations like those found in natural stone.
They also carry a near-identical tile in marble, if your space demands that sort of elegance. Either would look great in a master bathroom too.
Installing Hexagon Tile
Before you begin, we cannot stress enough the need for pre-tile testing. In other words, test your layout before installing your tile.
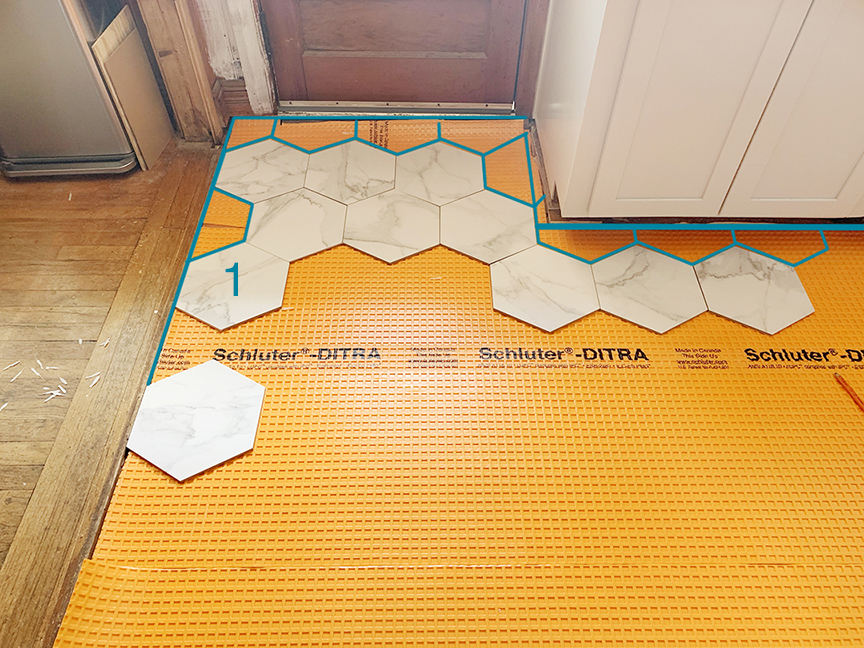
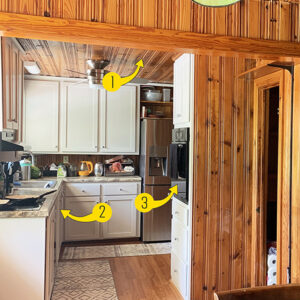
We knew that we wanted the tiles to line up with the existing wood floors, the exterior doorway, and the cabinets. More specifically, under the cabinets we the pieces would be a ‘half tile’ all the way across.
So to get this right, we moved tile along the wood floor (on the left in the image below) until we found the sweet spot. This first tile is labeled (#1) in the image below. This gave us the starting point and then set up the layout for all of the subsequent tiles.
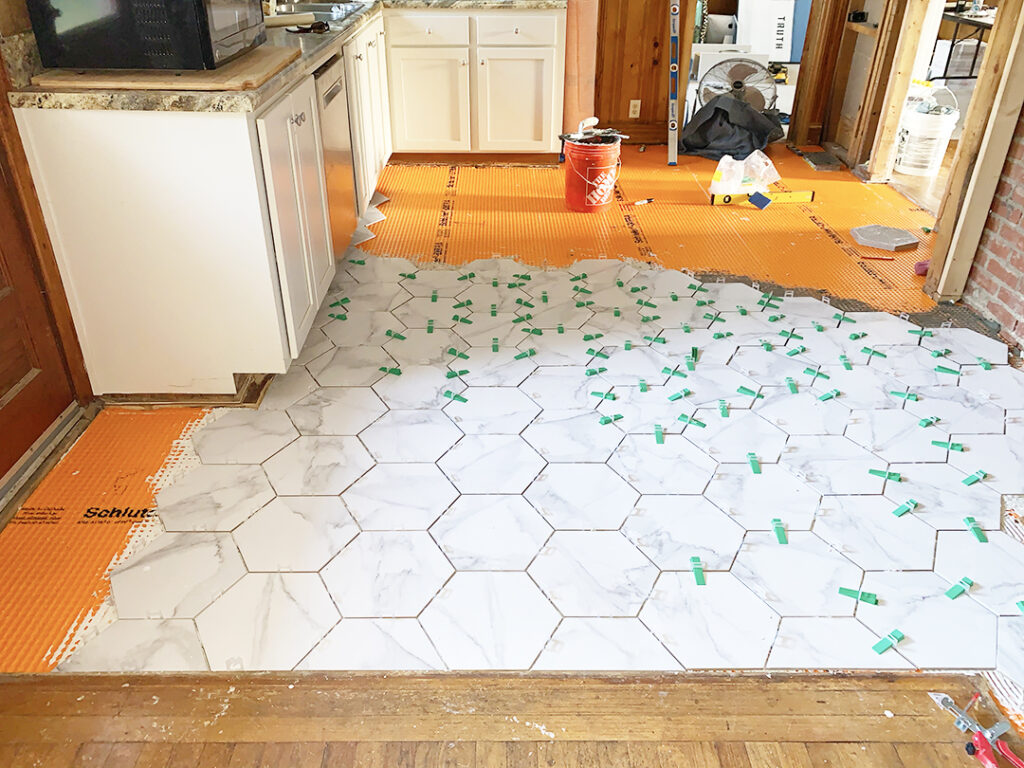
Full disclosure for fellow semi-pros!!! Laying large scale hexagon tiles is not as simple as laying square or rectangular tiles. Melissa is the primary tiler in our relationship (while I am the primary thinset mixer and tile cutter), and laying these tile took extra time and LOTS of patience.

We also used a simple tile leveling system to keep all six sides of the hexagon as even as possible. This was very helpful, and I honestly don’t think it would have turned out as nice as it did without the wedges and spacers.
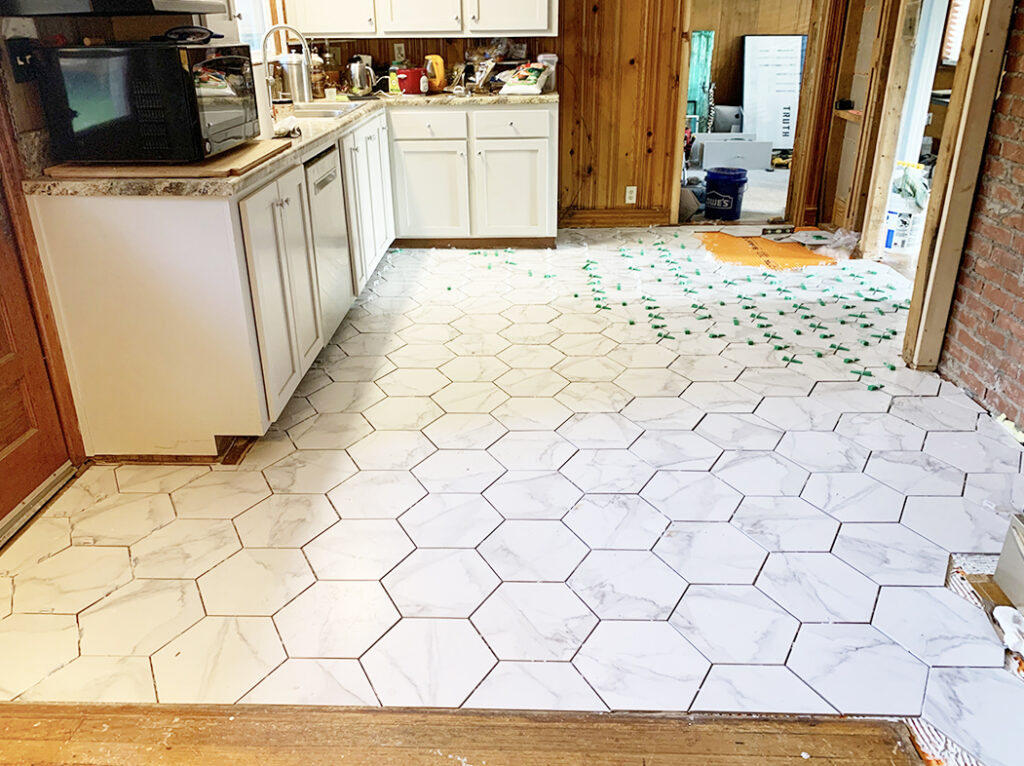
You guys…when grouting was done, it was three days later. BUT IT WAS 100% WORTH IT!
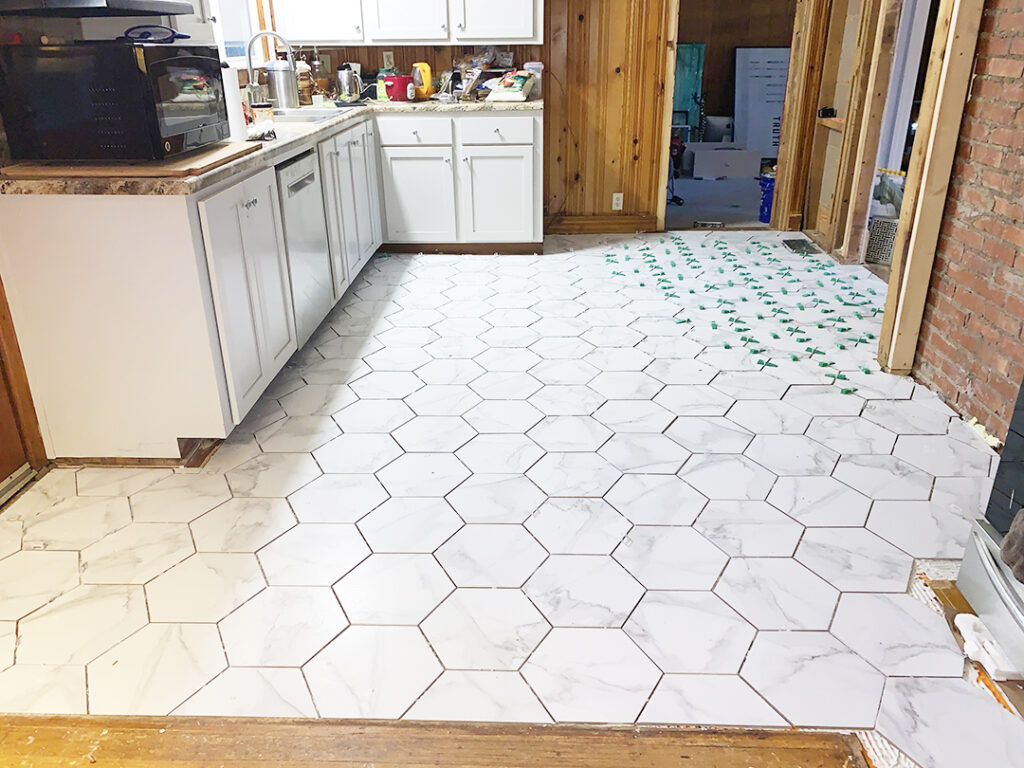
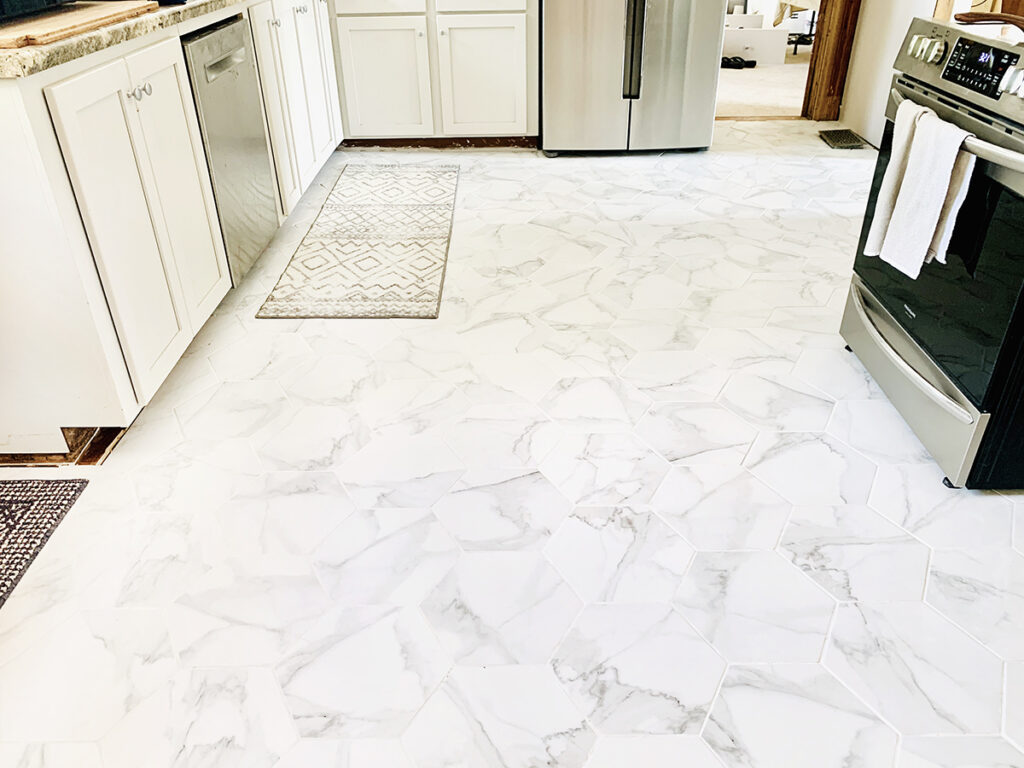
Here’s the final tile look with grout.
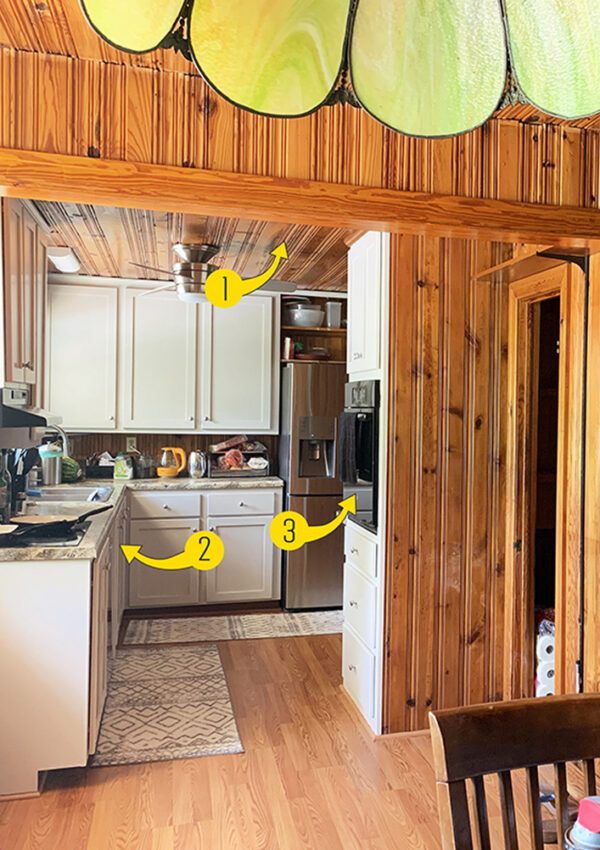
Let’s turn back the clock for a quick second — ‘before’. Whoa. Dark, dated, and hiding fun layers of flooring under that innocuous surface! Ha!
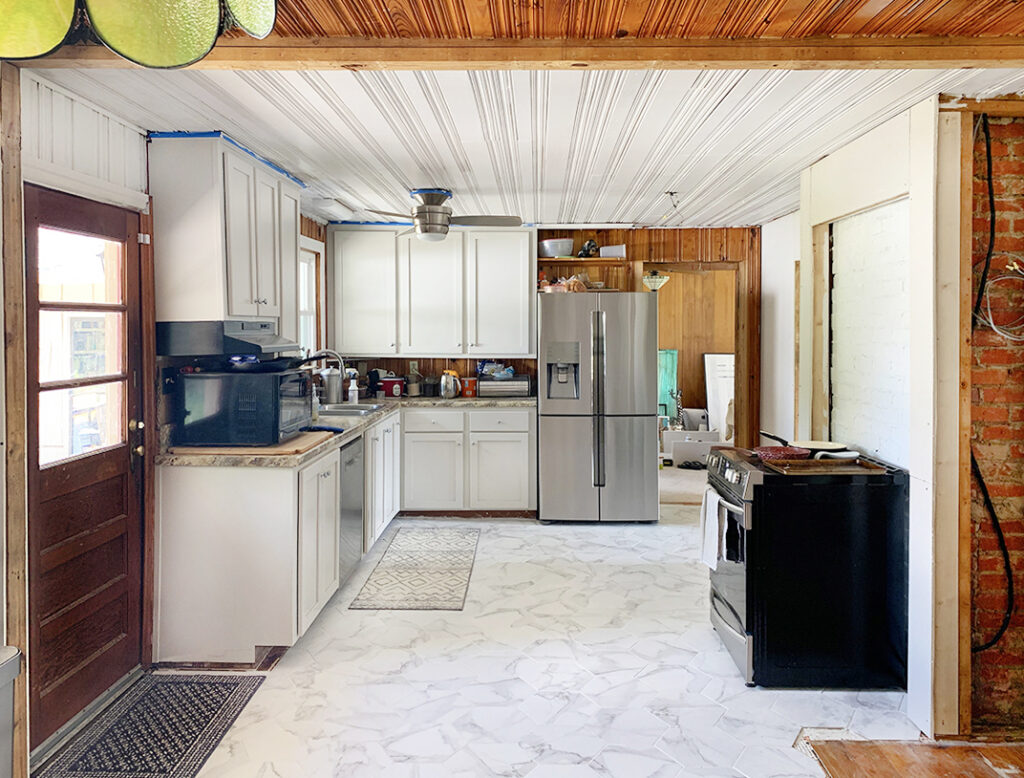
And then, here’s our middle-of-kitchen-renovation photo — ‘during’.
And Evie again, for good measure.
Next up — we’ll show you how we built our custom custom custom cabinets (yes, three customs, because they are super custom lol). Then, more tiling, new countertops, and lots of paint to finish our updated kitchen in the midcentury house!
Let us know what you think in the comments below!


Looks amazing! Wow! I too wish that the pine flooring could’ve been salvaged but the tile looks incredible. Bravo—