In 2015, we purchased our 3rd home. It had good bones, but a seriously 1980’s sensibility. We started the initial reno work the day we got the keys. Then, over the next two years, we changed stuff – lots and lots of stuff.
Our kids (okay, us too) thoroughly enjoyed the pool. And Chris and I really enjoyed all the reno projects. Here’s a recap!

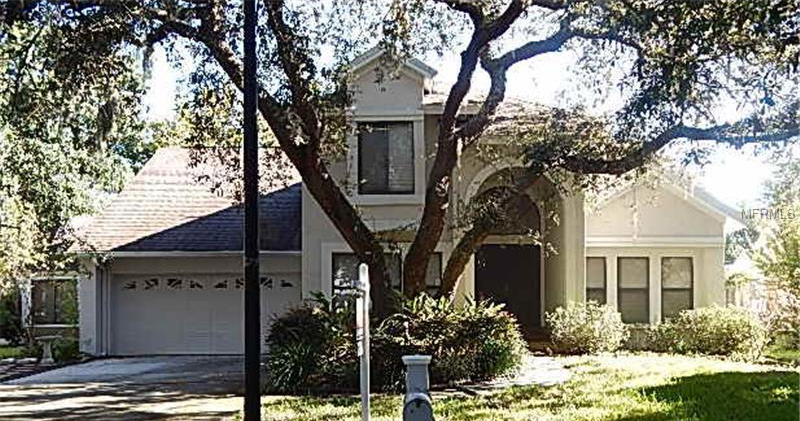
The exterior of the Palms House was pretty shabby when we purchased in May 2015. The home hadn’t been occupied for some time, so things outside were a little, shall we say, overgrown. Or sad, or scary, or droopy – ______ insert your own adjective folks. 🙂
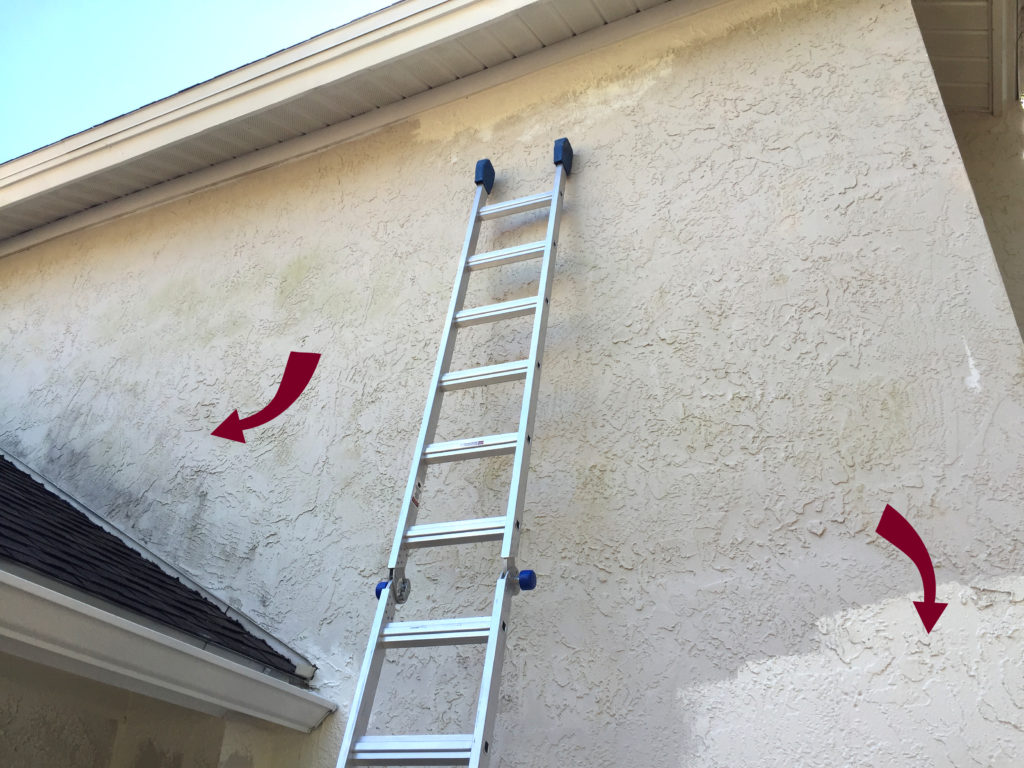
We started painting the chalky exterior, which was a thick thick thick (did I mention thick??) stucco, within two months of closing. I say ‘started’ because it took us about a month total to complete, with trim, windows, and me getting stuck on the roof (true story and my knees are knocking just thinking about it!!).
But we didn’t truly appreciate how BADLY it needed paint until we began.
The double solid wood front doors were painted a lovely shade of plum, but they were screaming for a natural finish. So we stripped, sanded, stained, and resealed them.

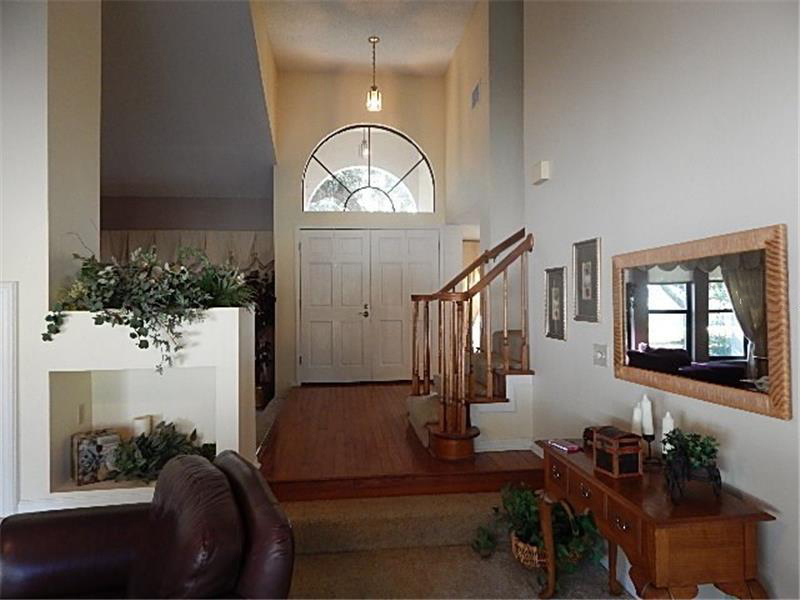
Inside the front door, there was an elevated platform entry and stairs leading up to the second floor. The entry felt dark and the wood floors and stairs needed a refresh.
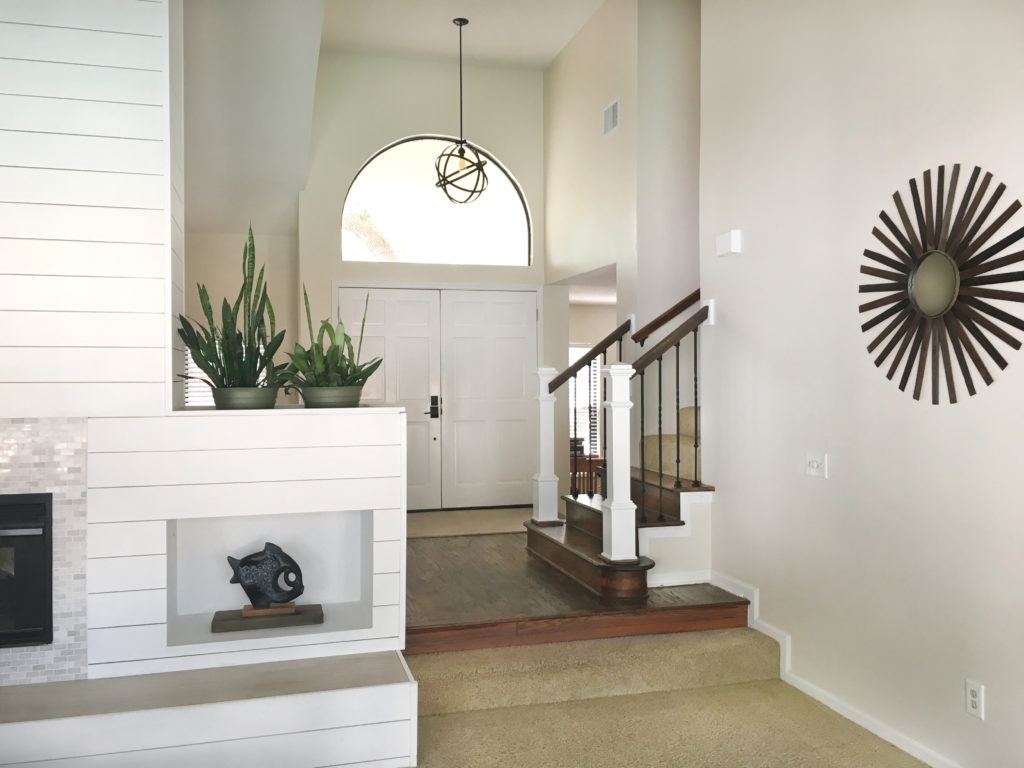
After the entryway reno, this space felt MUCH lighter and brighter. We refinished the wood floors, remodeled the stairs, removed the heavy drapes in the surrounding rooms to add more light, removed the black metal insert from the glass over the door, and added a new DIY atom light fixture.
The double-sided fireplace has SO much potential, but the dated late 80’s vibe wasn’t doing it any favors.
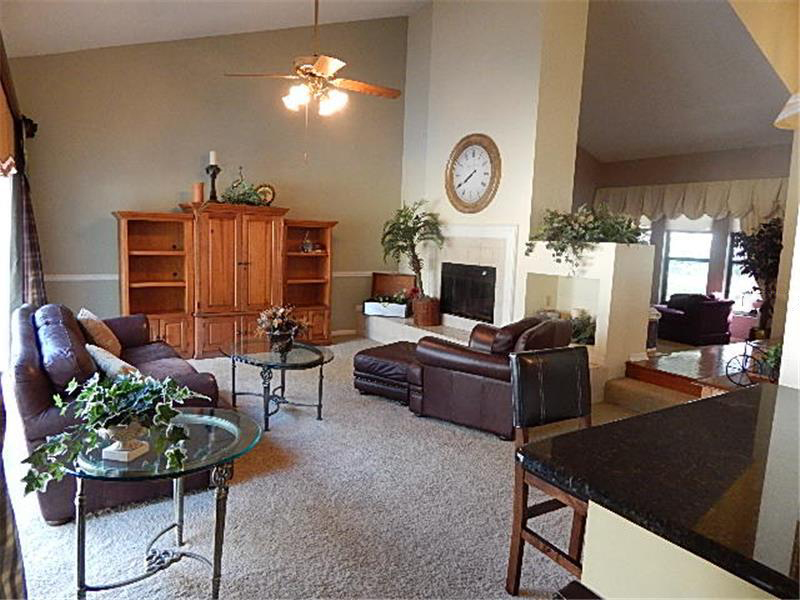
We removed the tile surrounds (from the double-sided fireplace) and the trim. Then, we added wood-look tile to the hearth and a marble tile around the fireplace opening. The biggest change (improvement) was the addition of white shiplap! The clean lines really helped to modernize the room and brighten things up. This fireplace reno was a huge transformation
This ‘after’ photo also shows the DIY floating entertainment center we built.

The adjacent kitchen and breakfast nook also needed a refresh. The dark cabinets were in good shape and the counters were new-ish granite, but the rooms felt dark.
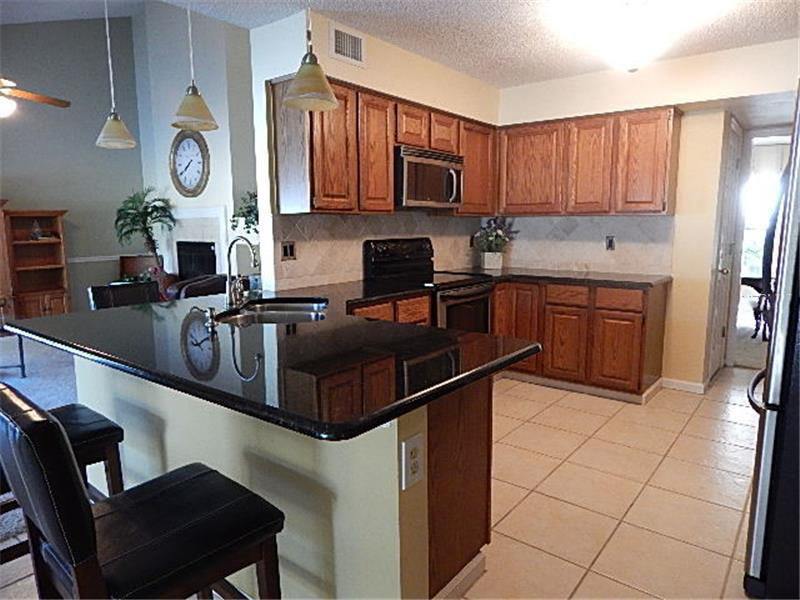
We scraped the popcorn ceiling and added shiplap to brighten the room up some. We added can lights (buh bye florescents), installed under cabinet lights, and put in a fan. The grout was sad but the tile was solid, so we painted the grout to breathe new life into the space.

The breakfast nook area attached to the kitchen also got the shiplap treatment. Custom DIY drapery flank the sliders that lead out to the pool.

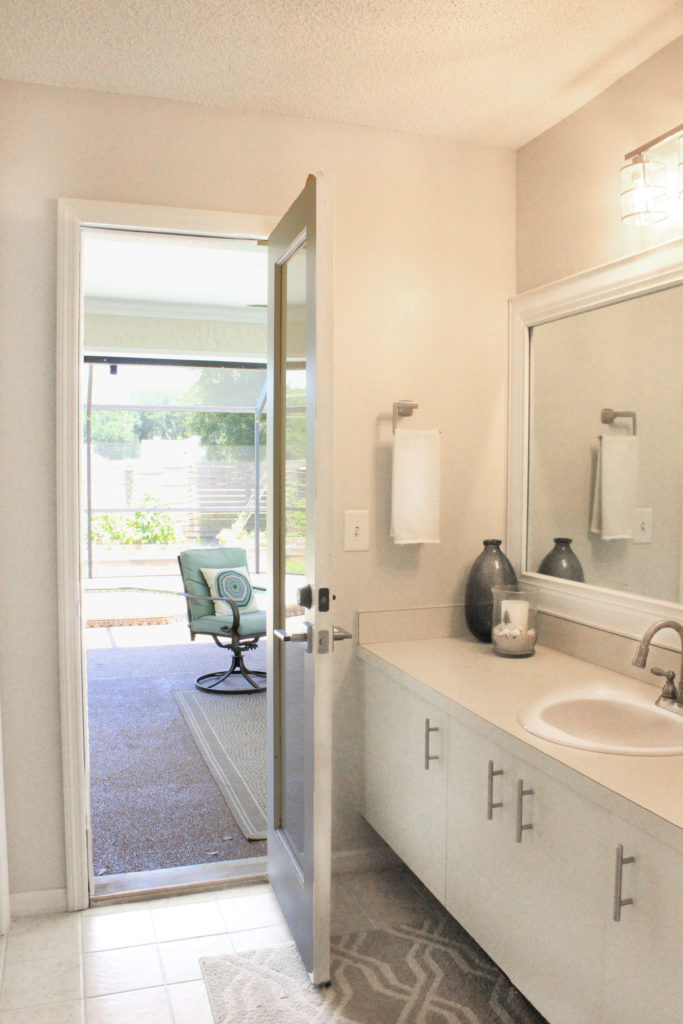
On the one hand, we were fortunate that the Palms House had a pool bath, to prevent little wet feet from marching around through the kitchen. On the other hand, it needed some love. Where to begin?

With new some new paint, a frame around the mirror, new lights, new towel racks, new cabinet hardware, and a new faucet, this once afterthought of a bathroom was all prettied up and ready for wet pool feet.
The double doors entering the master bedroom indicated something grand. Imagine our disappointment when we opened them. Womp womp.
There was a huge, random, arched opening over the entrance to the master bathroom. Turning on a light in the middle of the night? Um yeah, it shined oh so bright through that arch. Needing some quiet time in the restroom? Um yeah, there was a huge hole in the wall. LOL
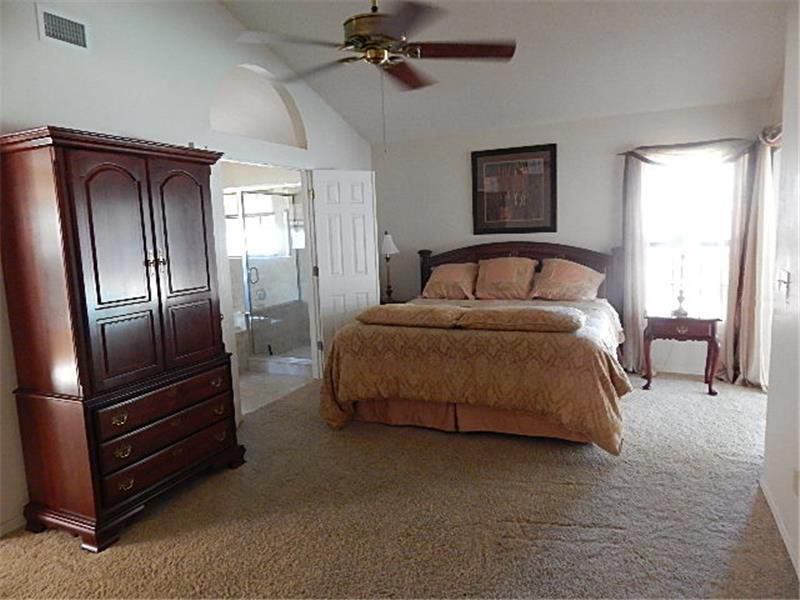
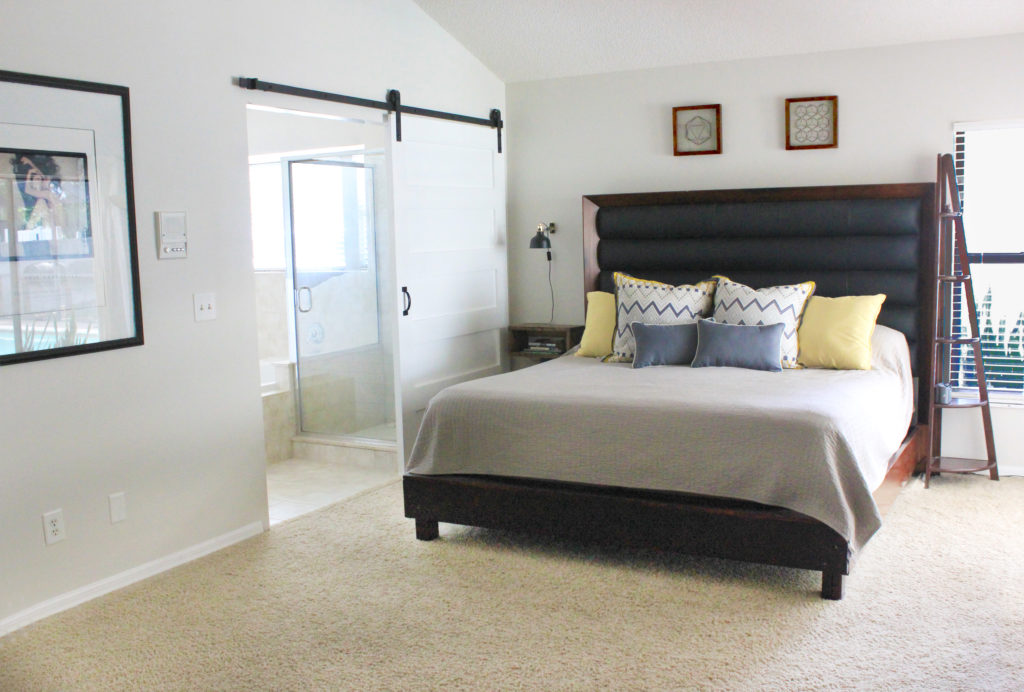
We didn’t accomplish everything we wanted in this master. Our personal space often ranks at the bottom of the list (we’re working on this)! But we did fill in the gaping hole in above the bathroom entrance and replaced the double doors with a sliding barn door we made. This master bedroom refresh really helped to improve the look and feel of the space.
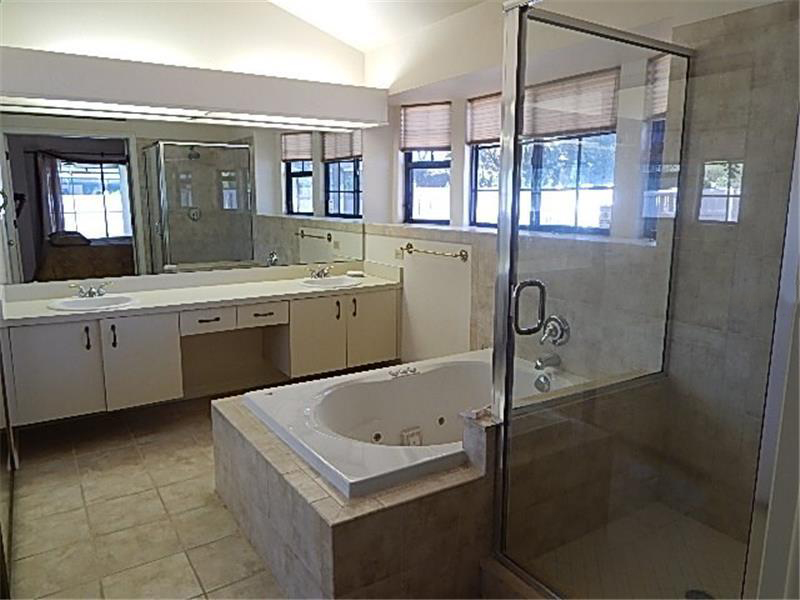
The master bedroom also had a dated en suite. It was squarely stuck in the 80’s. Florescent lighting in a box, short cabinets that were falling off the wall, drippy faucets, and general yuckiness.
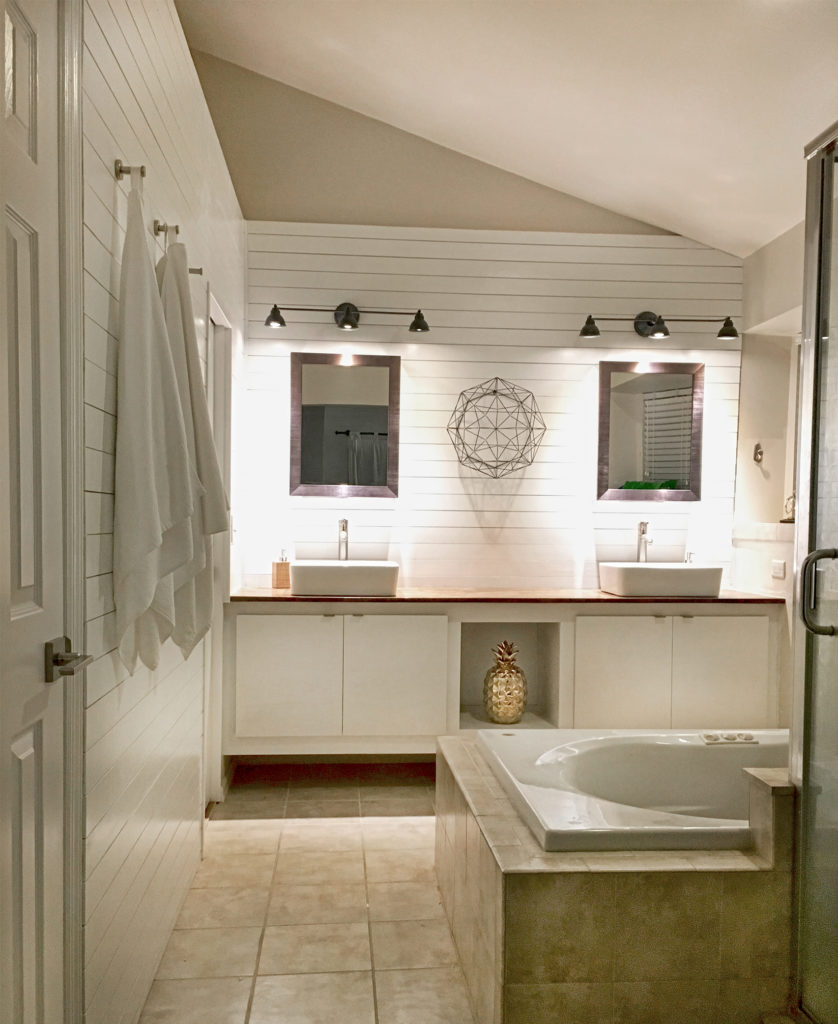
Here is the ‘After’ – that is, after we changed up the master bathroom with new lighting, cabinets, sinks, faucets, mirrors, towel racks, door handles, and much more. Oh yeah…and shiplap!
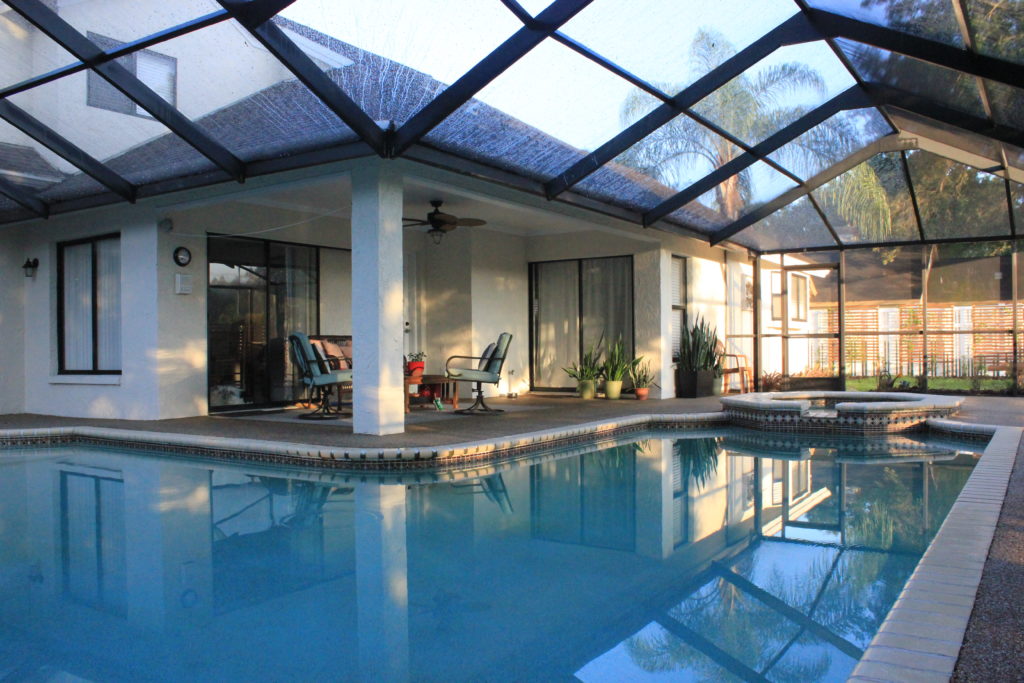
It was wonderful to have a pool, and a place to sit outdoors where the mosquitoes couldn’t carry you away, but the pool needed some work. In fact, there wasn’t even a photo of the pool in the original listing. Imagine, selling a pool home (in Florida, no less), but the pool area is so bad, the realtor doesn’t include a photo?!
In a nutshell, it needed a resurfacing (all new gunite). So, we hired a crew to refinish the pool. This was the first time we’d EVER hired a contractor, but it seemed like we’d have a serious learning curve doing it ourselves.
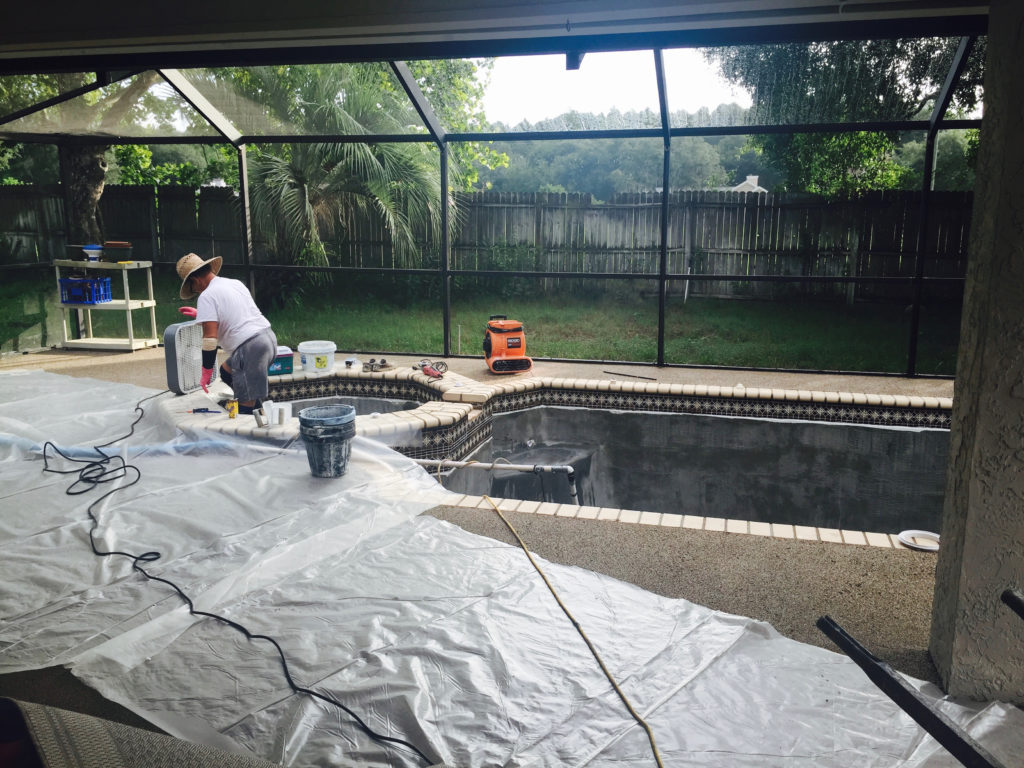
The pool got a much-needed resurfacing from the pros, and then us semi-pros gave the coping tile grout a refresh and the pool decking (river rock awesomeness) a refinish too.
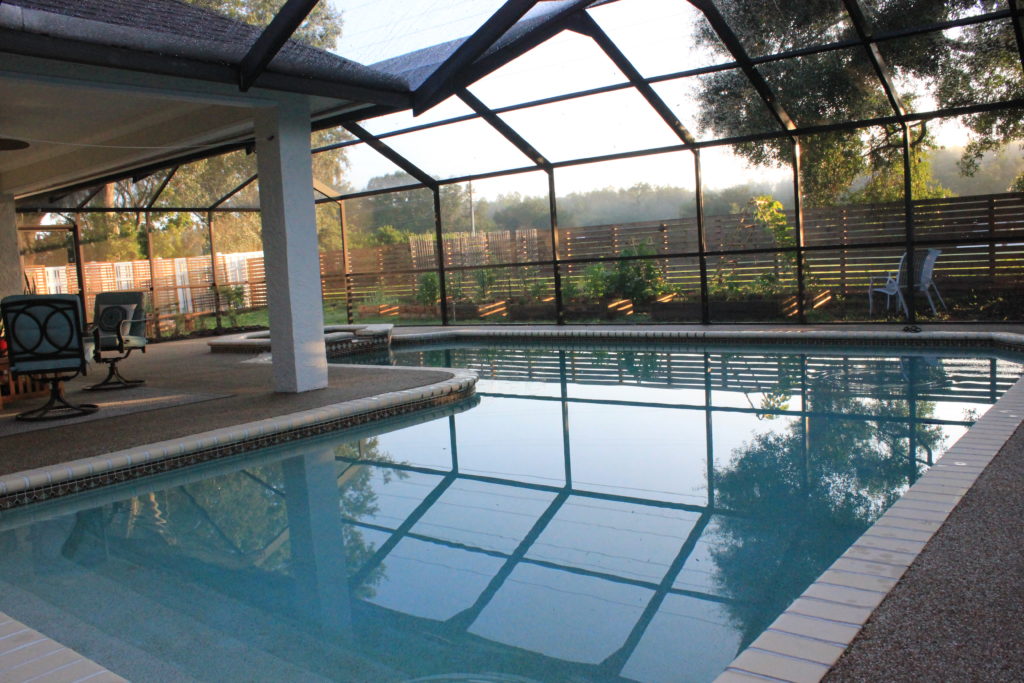
At first blush, the old wooden fence looked like it should be torn down. Seriously. It was rough. But there was a problem. The neighborhood covenants had been updated since the fence was originally built. Now, fences had to be white vinyl. However, we had our little hearts set on a horizontal wood fence.
Thankfully, I stumbled onto a tiny sentence in the covenants. The HOA had a stipulation that if ‘a portion’ of the fence was being ‘repaired’ it could stay wood. Since we were only repairing the back section, it qualified! Loopholes! Muahaha!
We used a circular saw and cut off the wood from the old fence. Then, we set new fence posts in the ground and turned the once vertical slats horizontal.
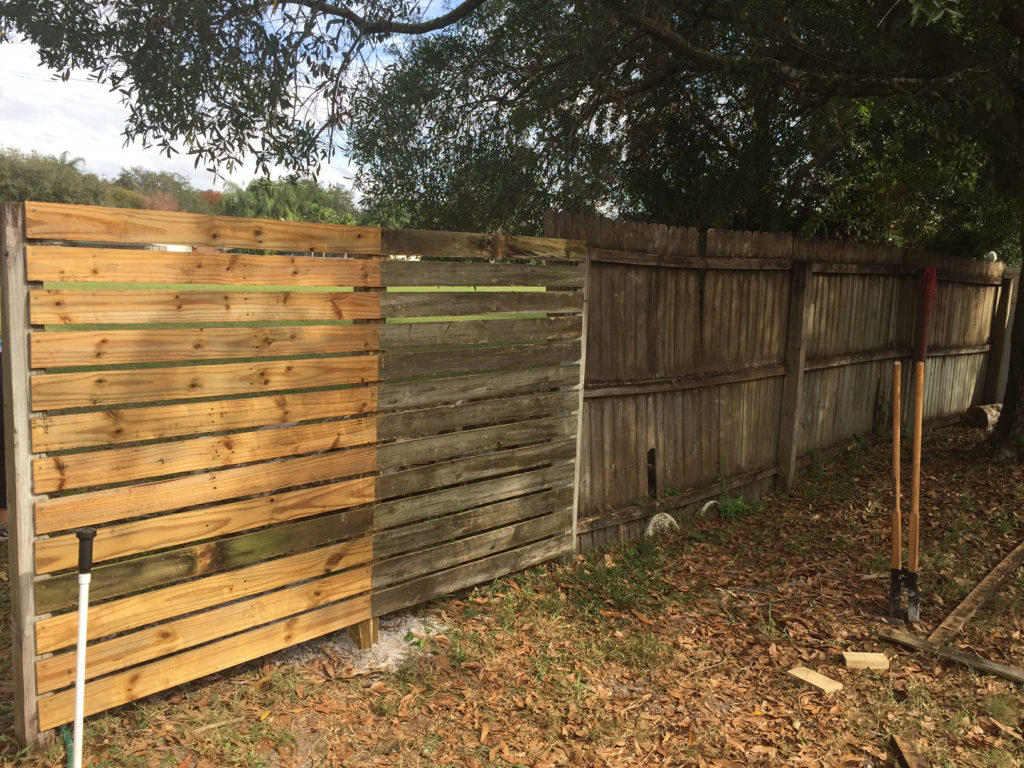
After all the new posts were set and the old slats were reused, we had to purchase a few new pieces of wood. We stained everything to match. The fence reno project REALLY improved the look and feel of a once afterthought of a backyard into a sweet space.
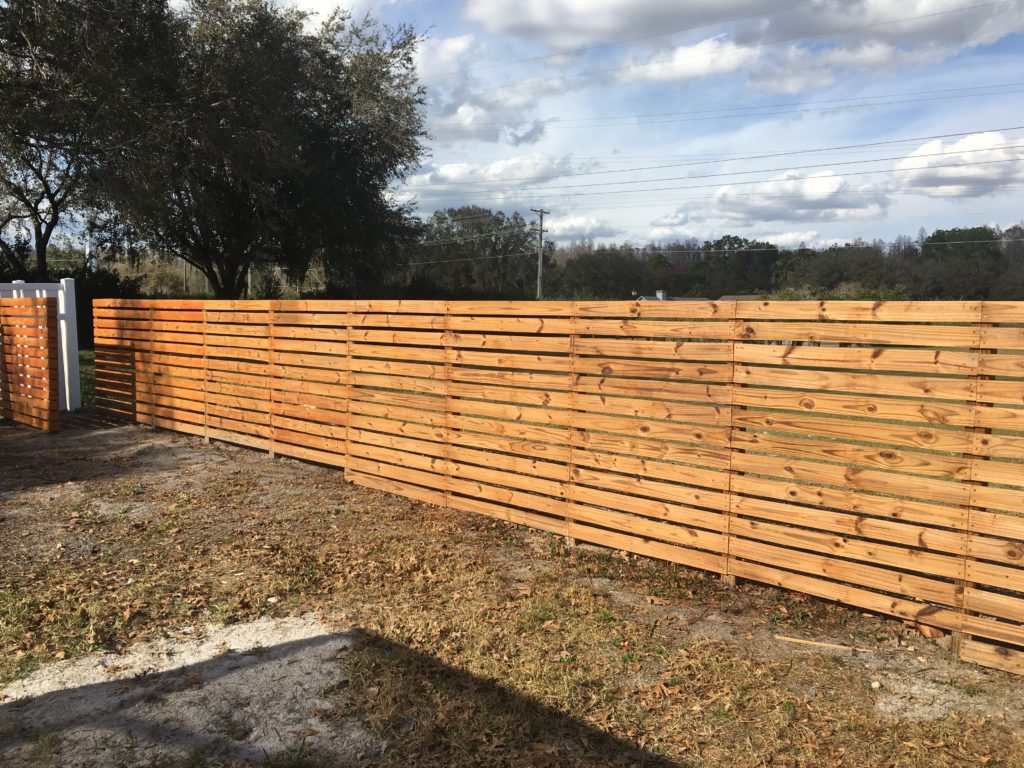
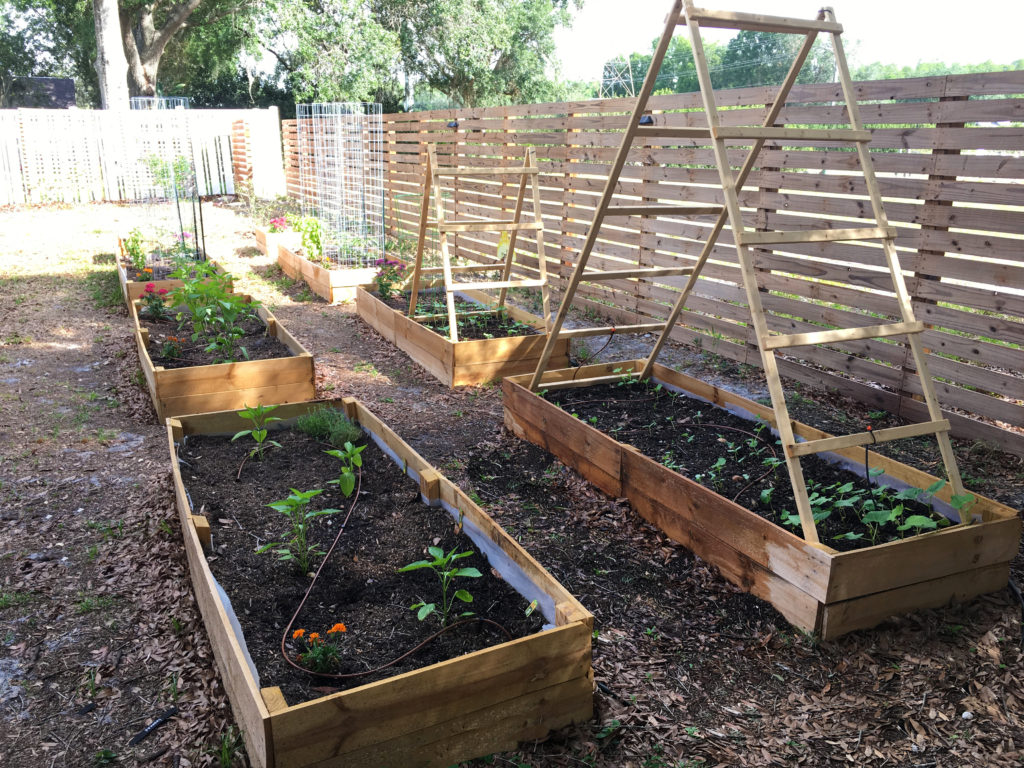
We also built a raised garden and grapevine trellises adjacent to the new fence. It was a good use of otherwise wasted space.
Our Palms House was great to us, but our dreams were calling us further north. Our next stop was a new home in a new state! #Forest House!
If you have specific questions about any of these projects, check out the links in each section.


Leave a Reply