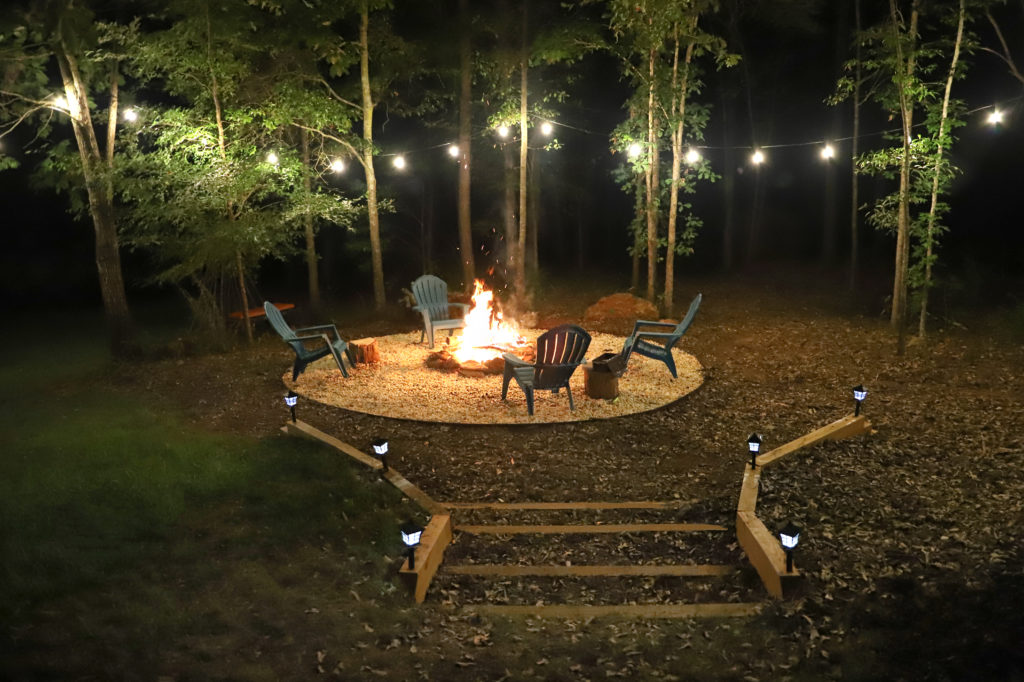
This post is chock full of backyard fire pit project photos! Check out our sweet fire pit area, retaining wall-like steps, hammock swinging spaces, and ambient strung garden lights. We foresee chill-time in the forecast for years to come!
The original backyard at the Forest House didn’t have much flair. It was best described as 1) Big and 2) Wooded. It was otherwise incredibly unremarkable. Sitting on ~2 acres, most of which is behind the house, there were tons of trees, lots of space, and not much else to speak of. But we really wanted to renovate our backyard and carve out usable spaces — to play, chat, swing, and star gaze. So, we did just that!
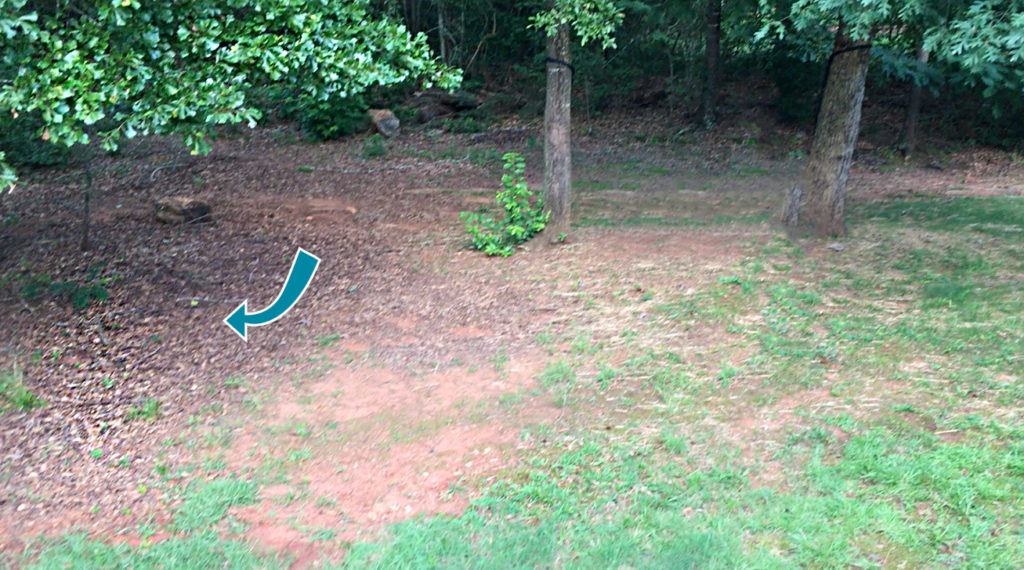
Here was the sad ‘before’ picture. See that arrow pointing to nothing?! That’s because there was nothing! Hahaha! Backyard projects don’t necessarily add ‘square footage’ to your home, but you ARE adding ‘livable space’ and therefore value to your property.
Inventing new livable space has always been a common theme of our renovation philosophy of spatial diversity. ABD: Always Be Diversifying. We try to carve out different types of spaces with different purposes across the property, adding new “locations” where people can imagine themselves. Like on HGTV, when (without fail) someone is shown a house with a deck/balcony/patio/breakfast bar, and they exclaim “What a GREAT place for coffee in the morning!” Whether or not they ever drink coffee there is irrelevant. Just the fact that they can imagine themselves there is enough.
Too Much Fun with a Skid-Steer
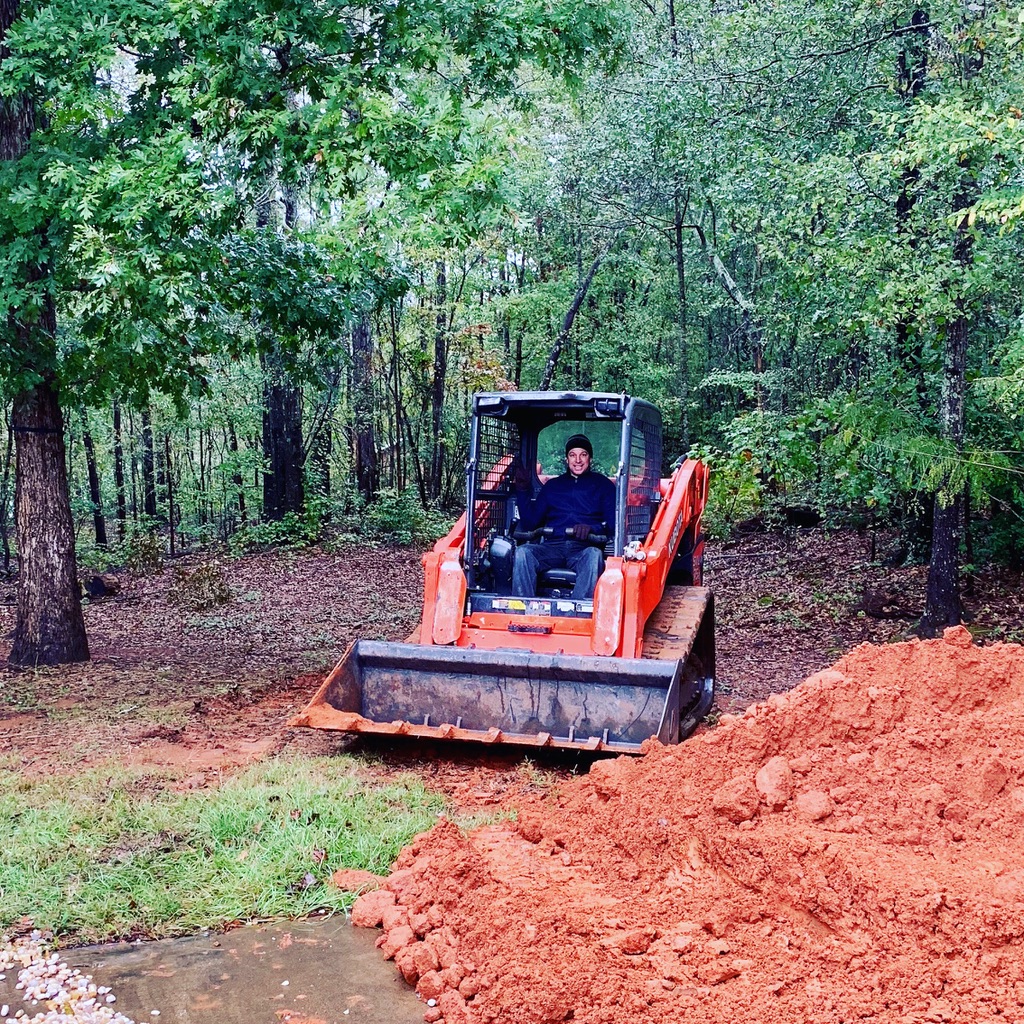
The REAL fun of this project (note Chris’ perma-grin), was operating the Skid-steer we rented. Driving a Skid-steer around your yard for 10 hours is basically the most fun you can have in suburbia. While fun, the Skid-steer was a true necessity that allowed us to begin carving a sunken fire pit out of the thick and heavy Georgia clay soil. The area we chose for the fire pit had an off-kilter slope, so the easiest way to level the ground was the trusty and super-fun Kubota SVL 75, 2-Speed Cab Skid-steer Track Loader.
(And yes, Chris asked to buy one before the day was over…and no, we did not buy one!)
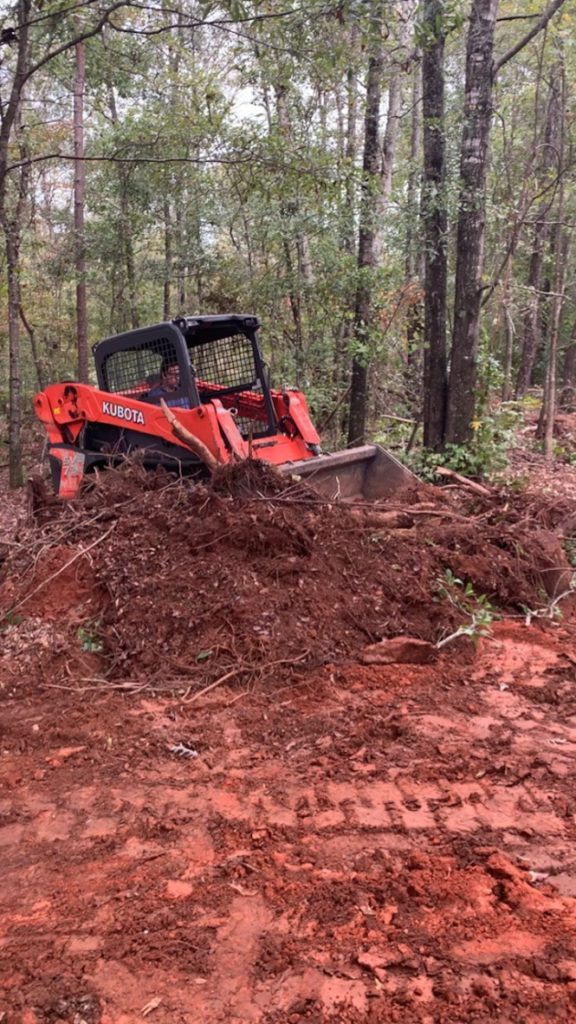
“Watch out world!” he screamed — many, many, many times! He powered through the Georgia clay, trees, roots, rocks, boulders, and anything else that got in his way.
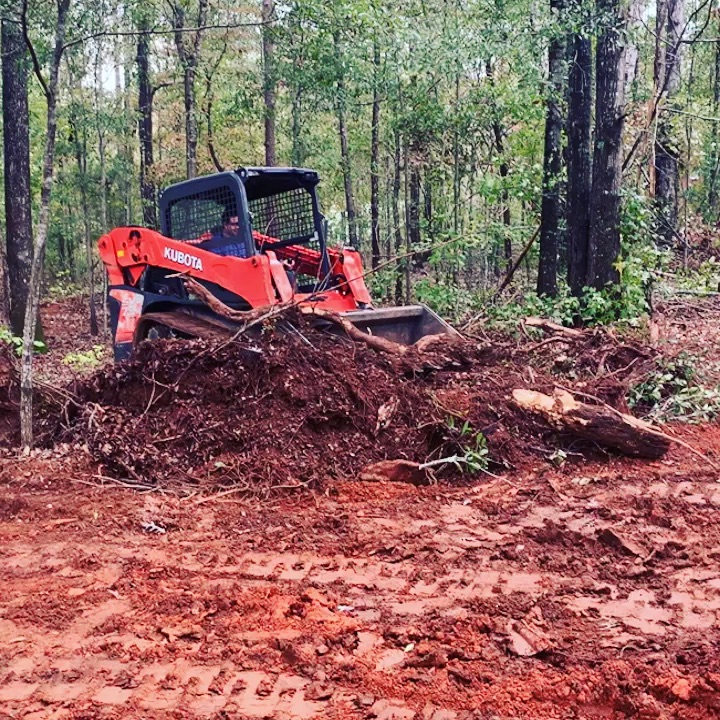
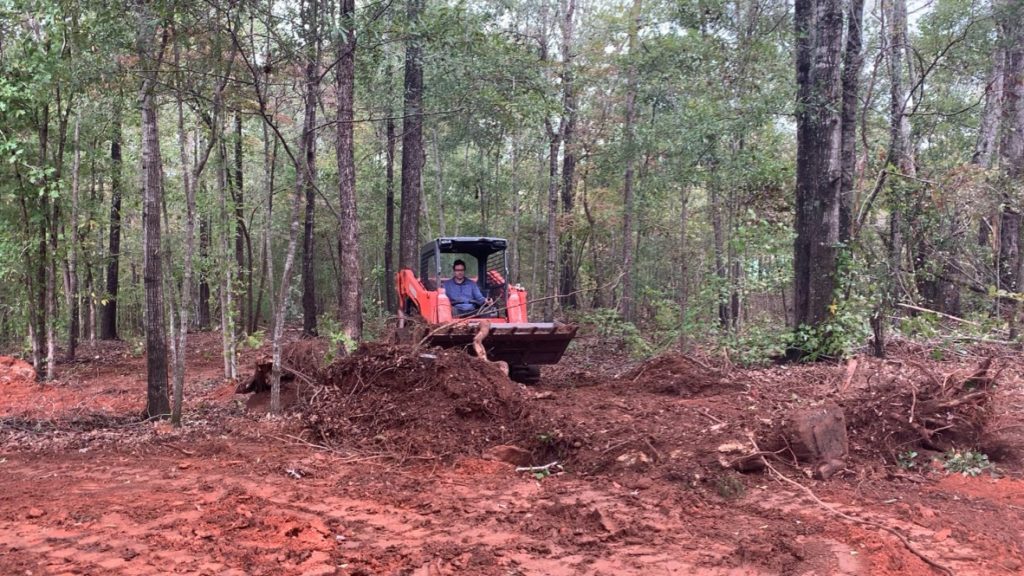
Lost in the woods…Chris was getting a little over-zealous with moving earth around the yard in this shot. “Come back! The fire pit is supposed to be over here!”
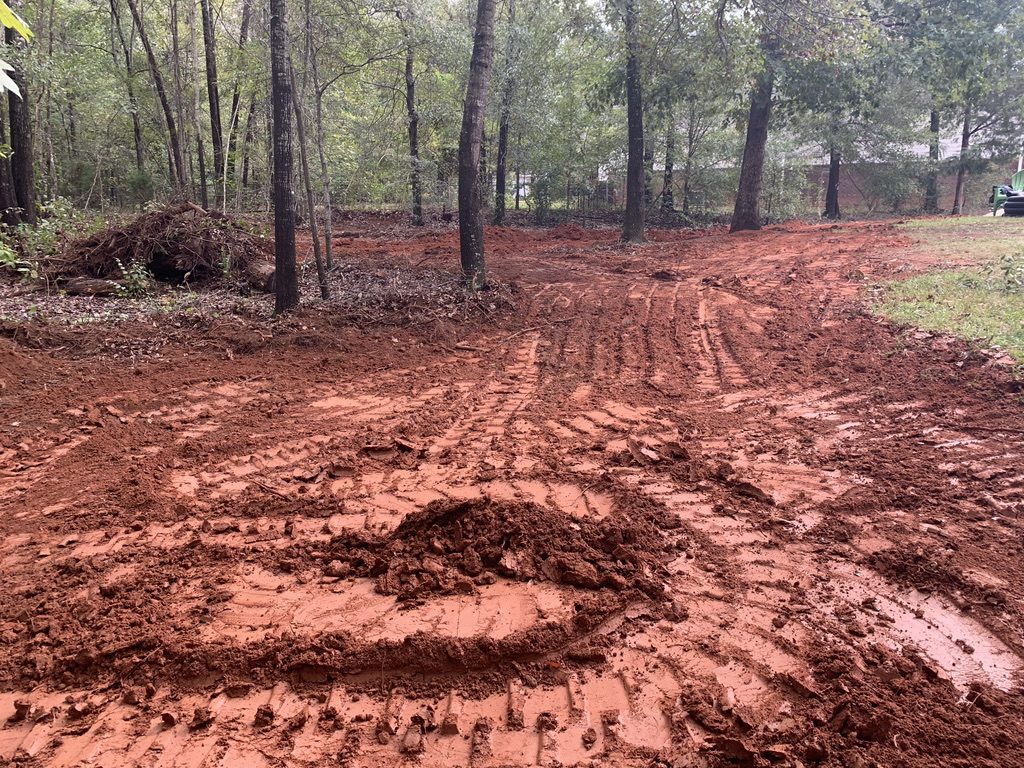
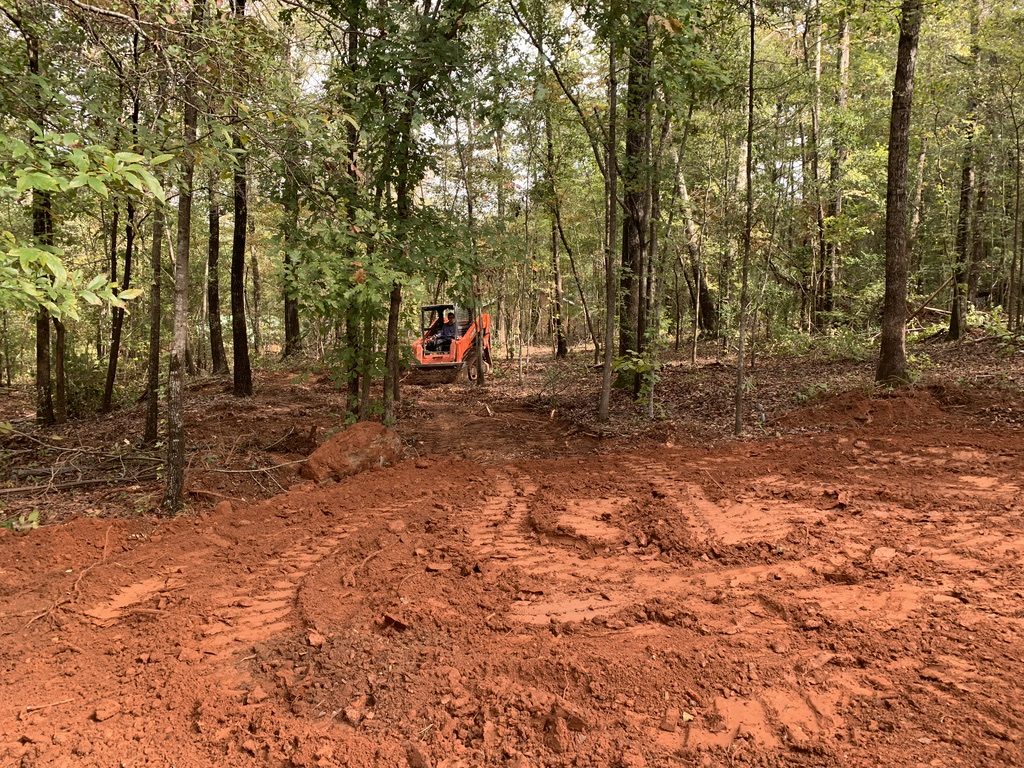
We leveled the future pit area out as best as we could.
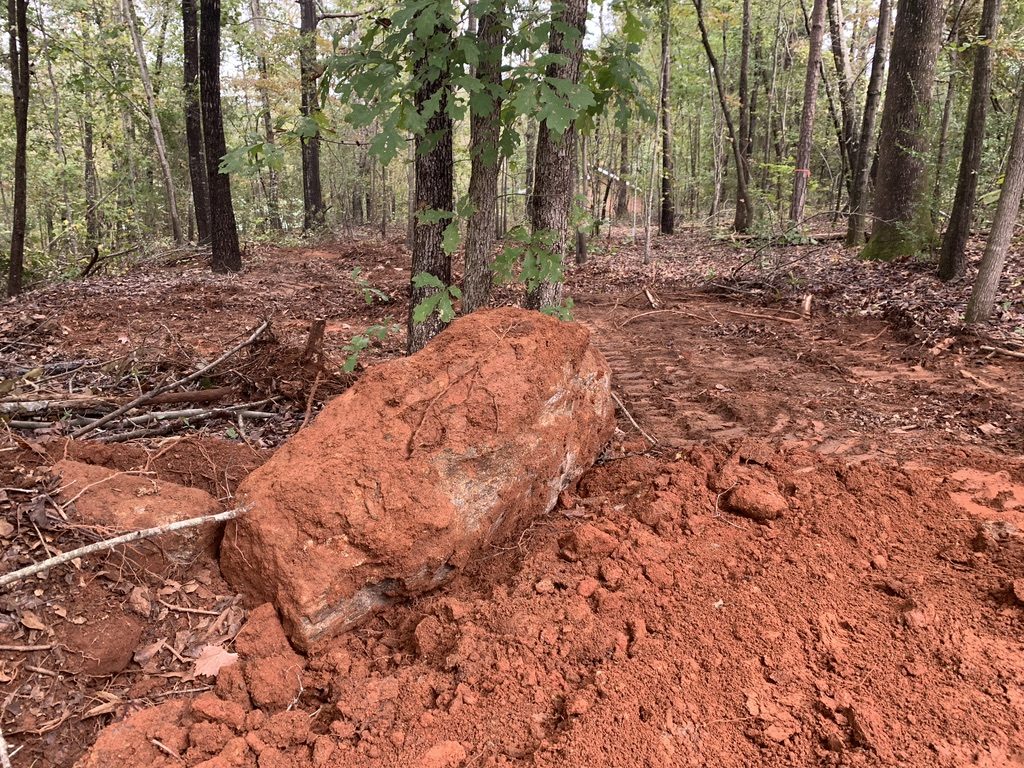
Chris dug this huge boulder (~4ft x 2.5 ft x 2 ft) out the hard clay ground with his BARE HANDS! Yeh, just kidding. You know he used that Skid-steer! And after cleaning it up, it’s a nice accent rock for the yard!
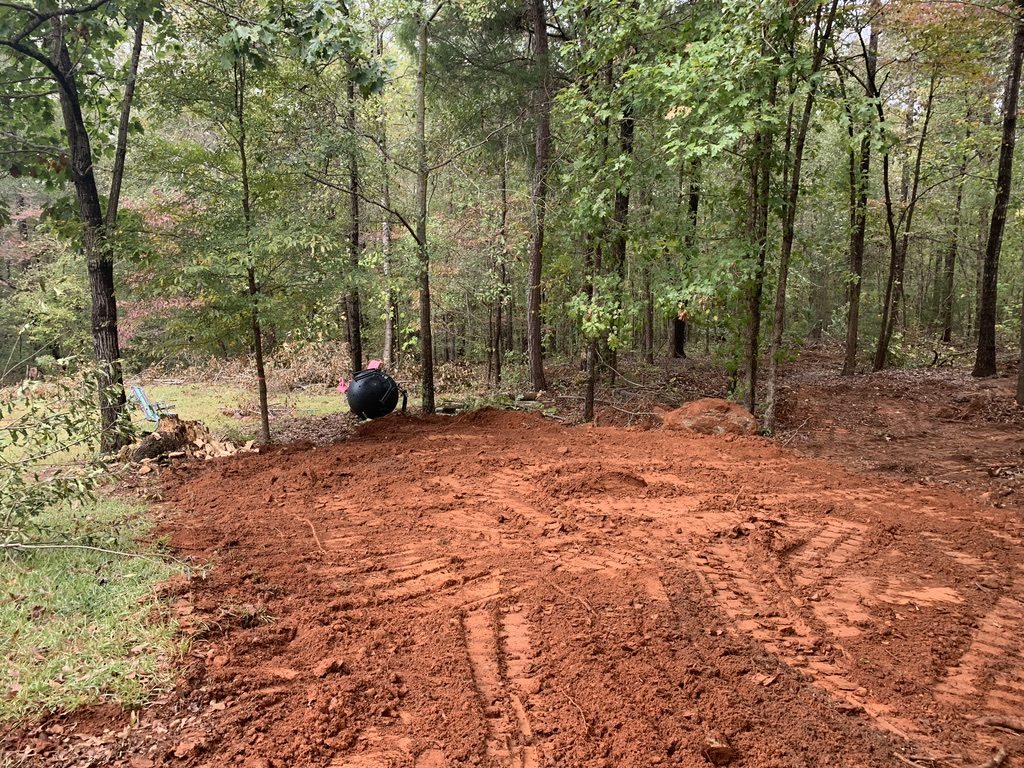
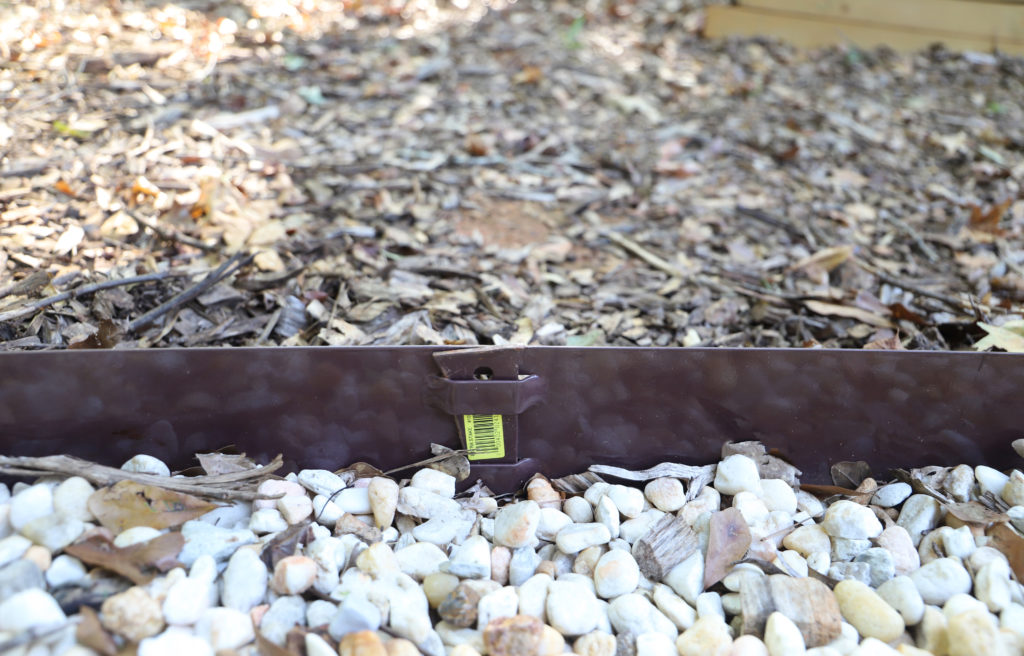
Okay, nearly level and cleared out. Time to layout the metal edges that will define the space and hold the rocks in place.
Building the Fire Pit Area
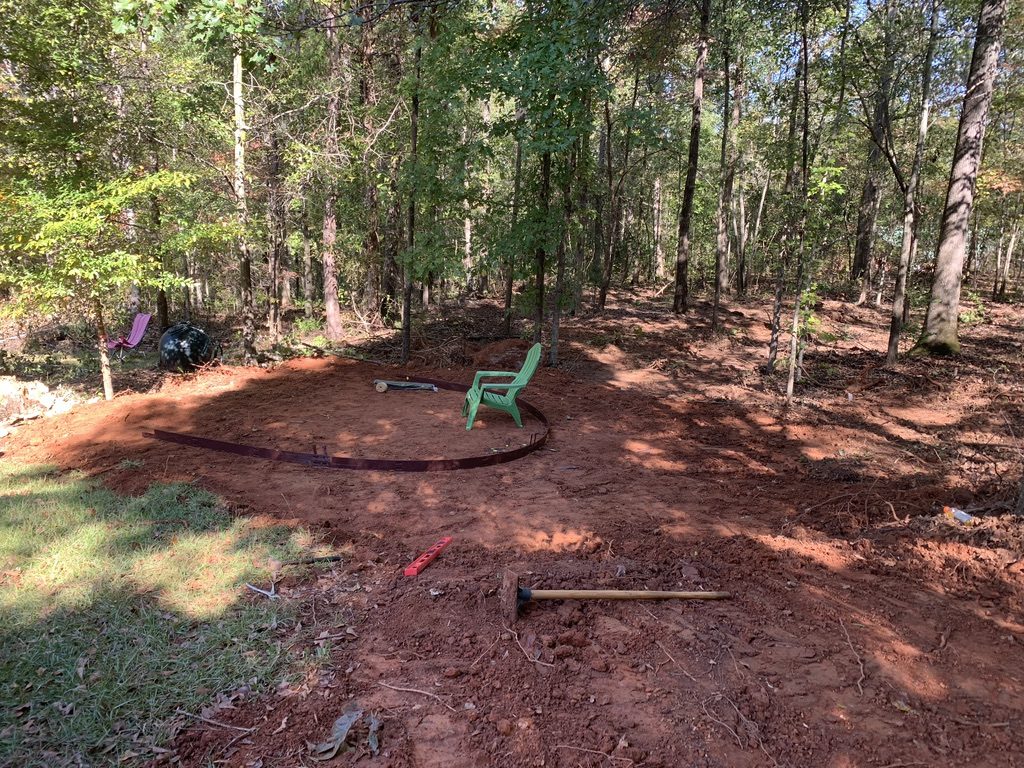
We used one chair to determine the overall diameter of the area. We wanted enough space for at least four chairs to comfortably fit around the fire pit. So, we ended up going back to the hardware store to get 2 more metal strips to widen the circle. The strips come with stakes attached to them. You just need to use pliers to break them off the strips.
If you have clay soil like we have in Georgia, you can just drive the stakes in with a large hammer and they will hold the metal strips and rocks in place. If your landscape has sandier soil, like we had in Florida, you can purchase longer metal stakes designed to fit these strips or you could use rebar stakes.
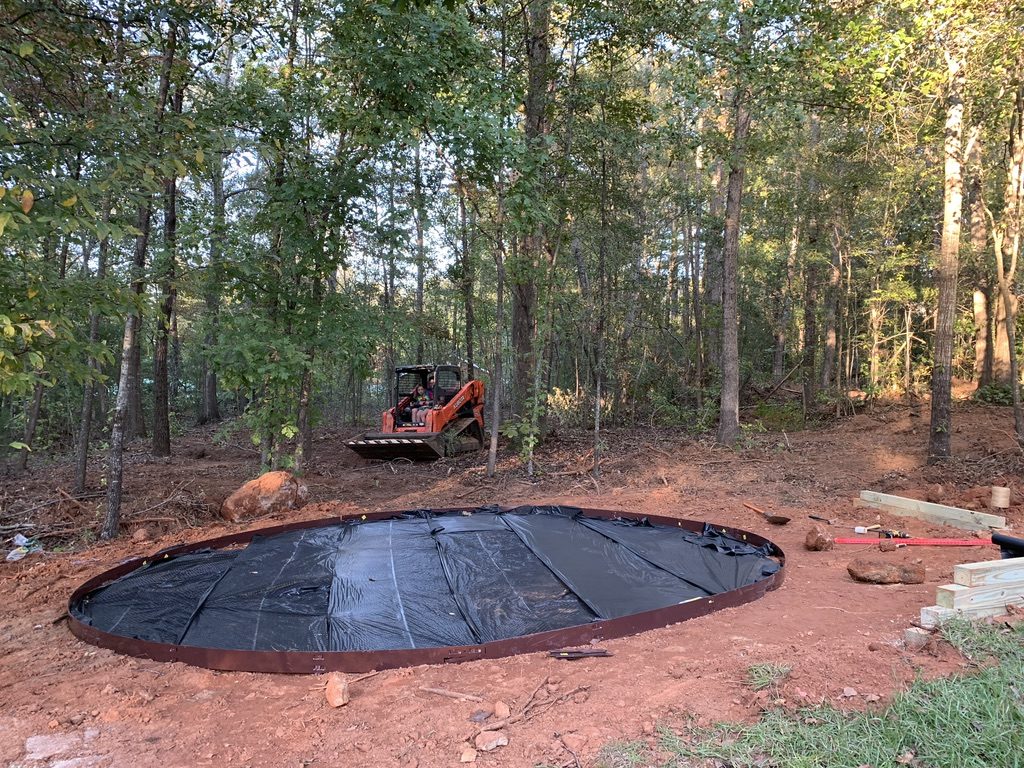
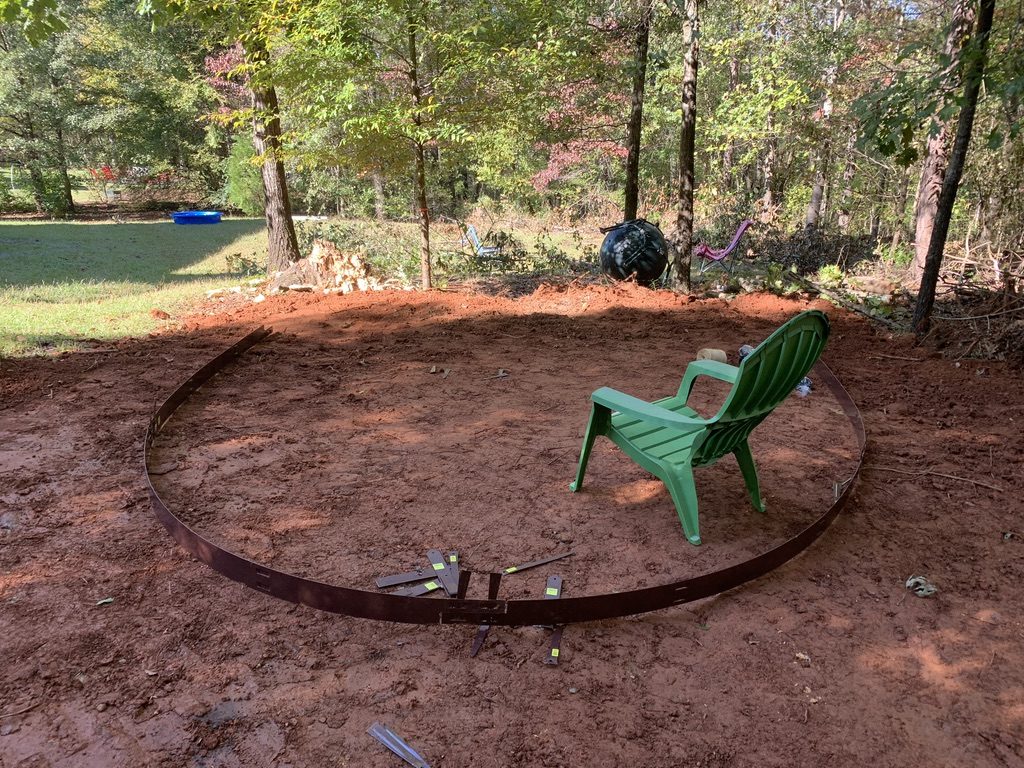
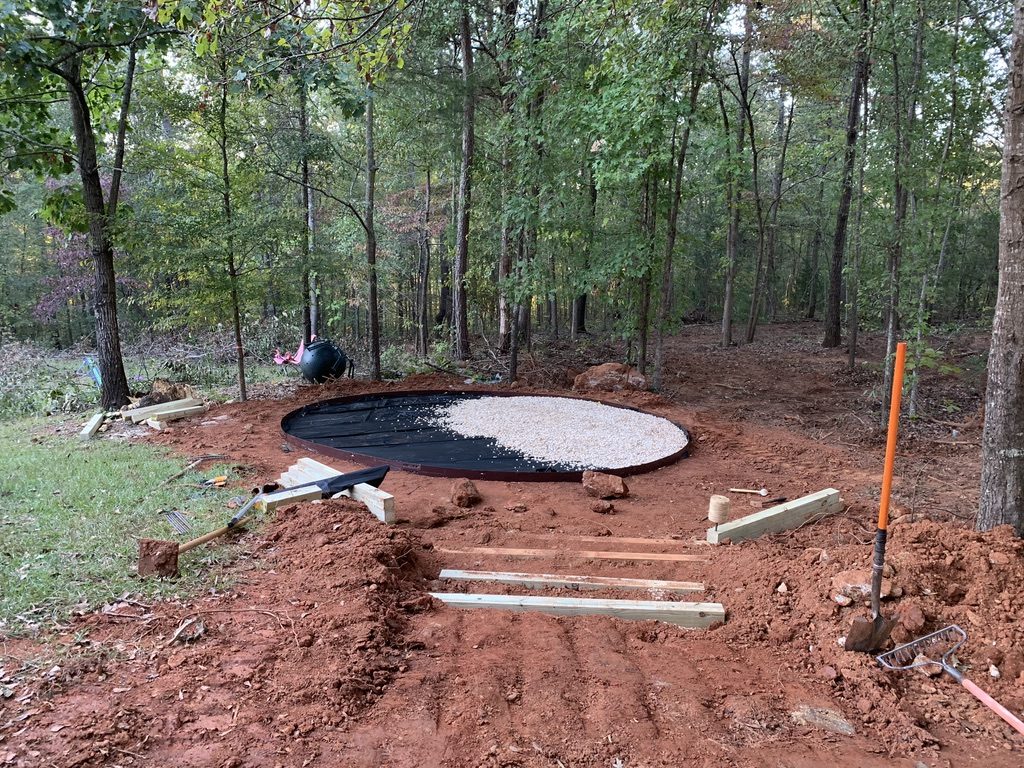
Before adding the rocks, we placed weed-barrier landscaping fabric inside the ring to prevent, you guessed it, weeds from growing up between the rocks. In this pic, you can also see our stairs (to the right) starting to be built.
We went to our local landscaping store and loaded our trailer up with as much rock as it would hold without the tires exploding! Chris and our daughter, Jolie, used the Skid-steer to bring the rocks to the fire pit area.
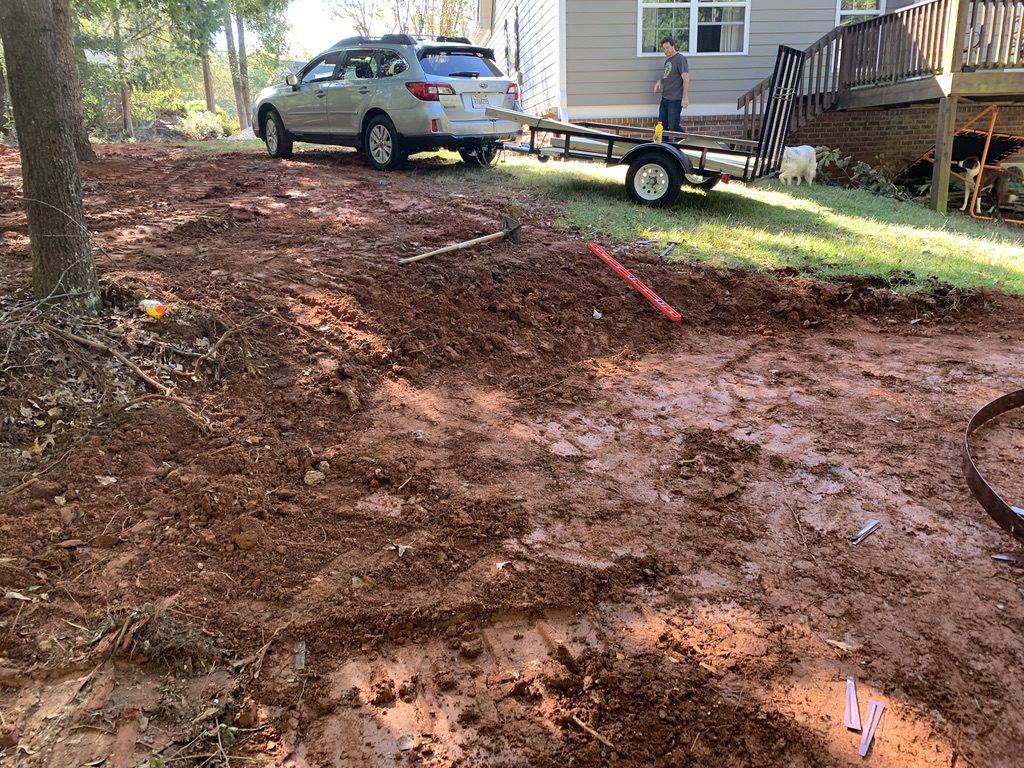
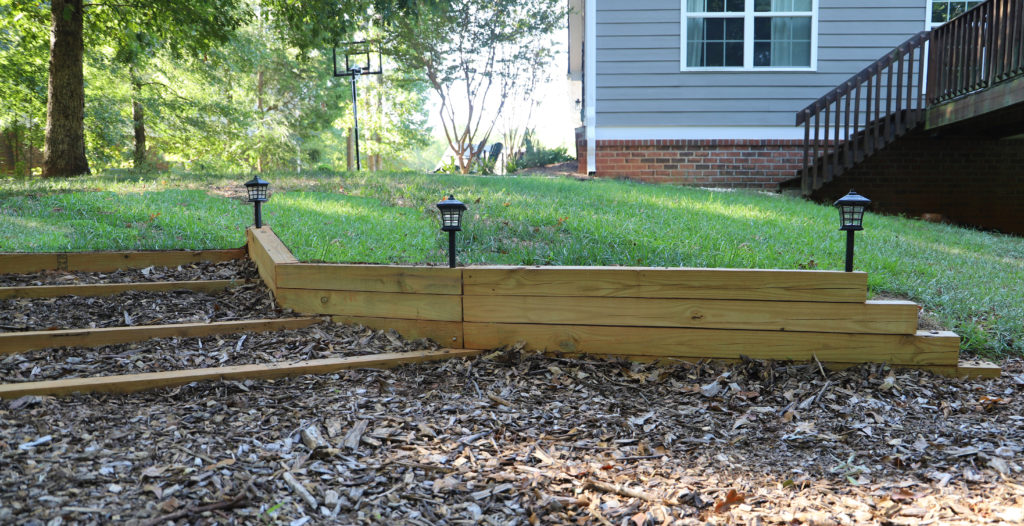
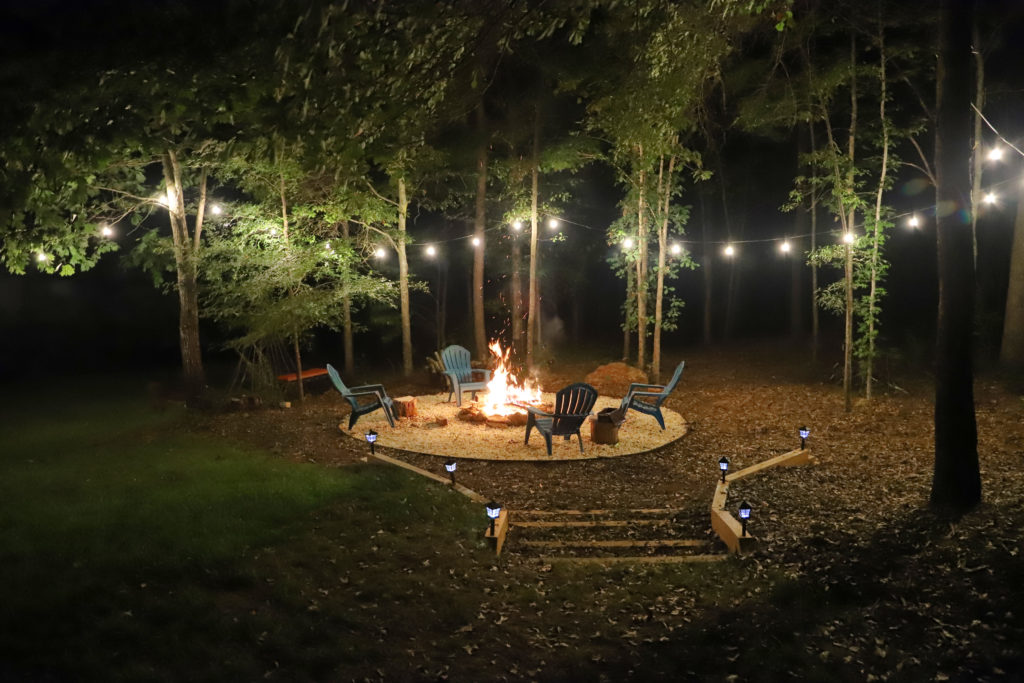
As you can see, though the fire pit itself was pretty flat, the area around the fire pit was steeply sloped. We decided to add some steps here to make it easier to get down to the seating area. We can’t have guests, with drinks and S’mores in hand, stumbling down the hill and tumbling into the fire! Safety first y’all!
Retaining Wall Steps & Lights
Using the Skid-steer, the retaining wall steps were partially excavated. The bulk of the stair work was more precise and had to be done by shovel and pick ax.

We built the steps using pressure-treated 4x4s and designed it like a retention wall. To do this, we stacked four pieces of wood on top of one another. Then, to secure the 4x4s in place, we drilled holes in the ends of each piece and hammered in 2-foot rebar stakes.
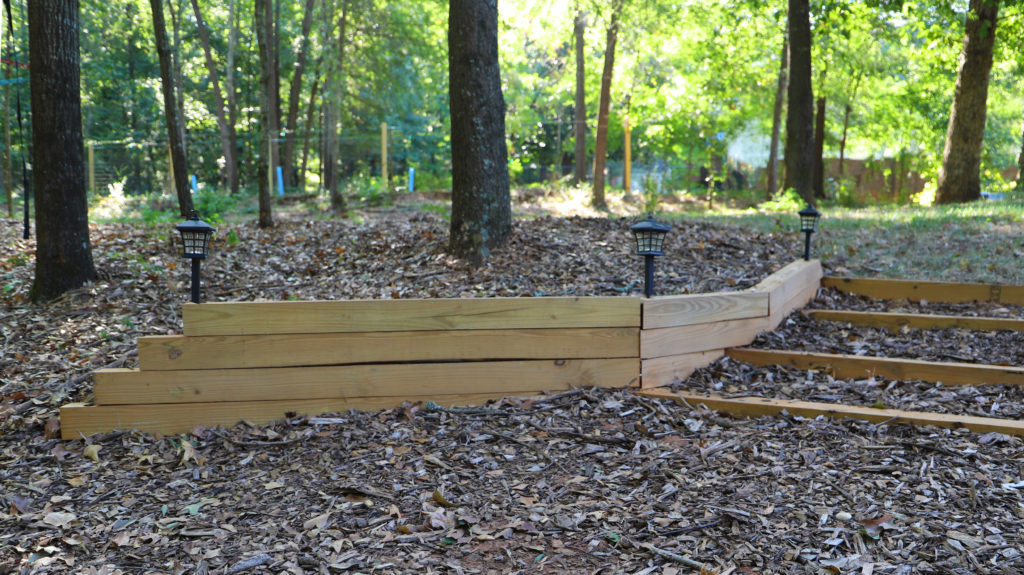
For some ambience and safety, we added solar lights to help guide foot traffic in and out of the area at night. To install them, we drilled a hole the diameter of the light’s staked bottom and set in place. They are easily removed if a light needs replacing.
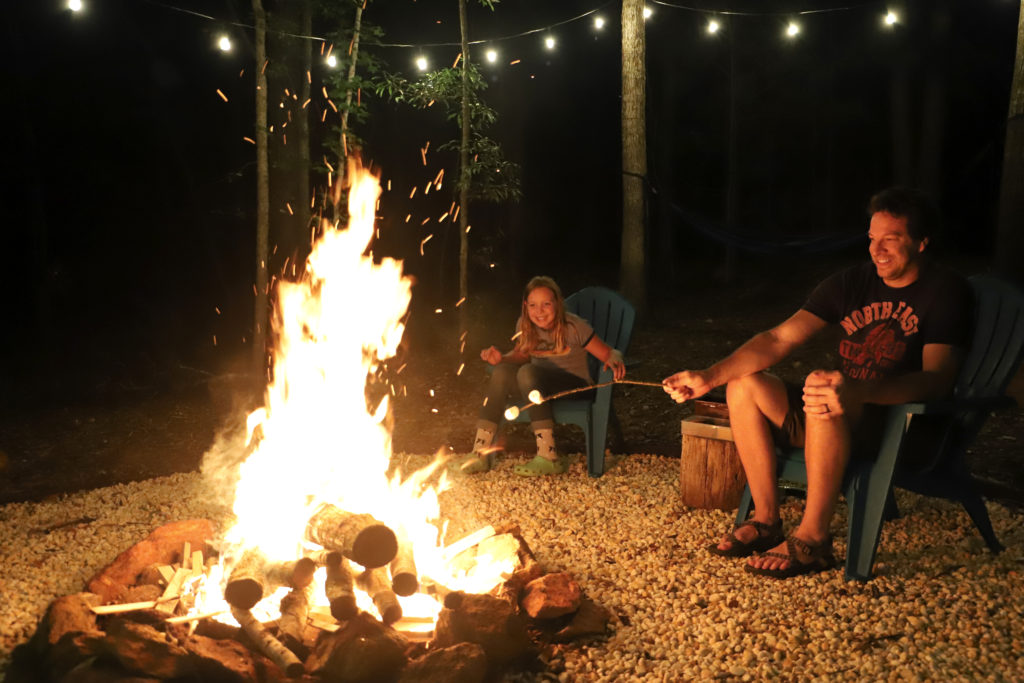
Rock + Chairs + Wood + Marshmallows = Awesome
As you search through those real estate apps (Guilty! We’re ALWAYS looking too!), notice house pics will include any fire pit area. Realtors bank on you seeing yourself in the home.
Now, visualize yourself hanging out by the fire with friends and family on the 4th of July, bundled up through the chilly fall (and mild winter in the South), on Labor Day, during Spring Break – basically all year round – cooking up s’mores and relaxing. Fires, and the comfort they bring, are just wired into our human DNA.
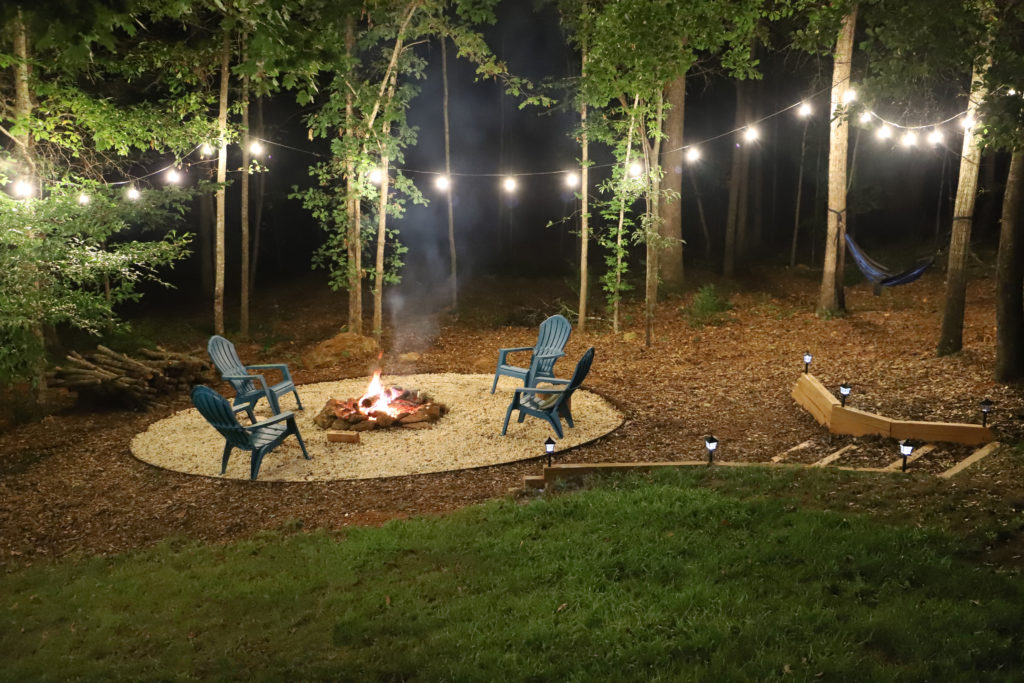
Notice the fun hammock spot near the fire pit. Our kids and visitors enjoy swinging near the fire under the stars!
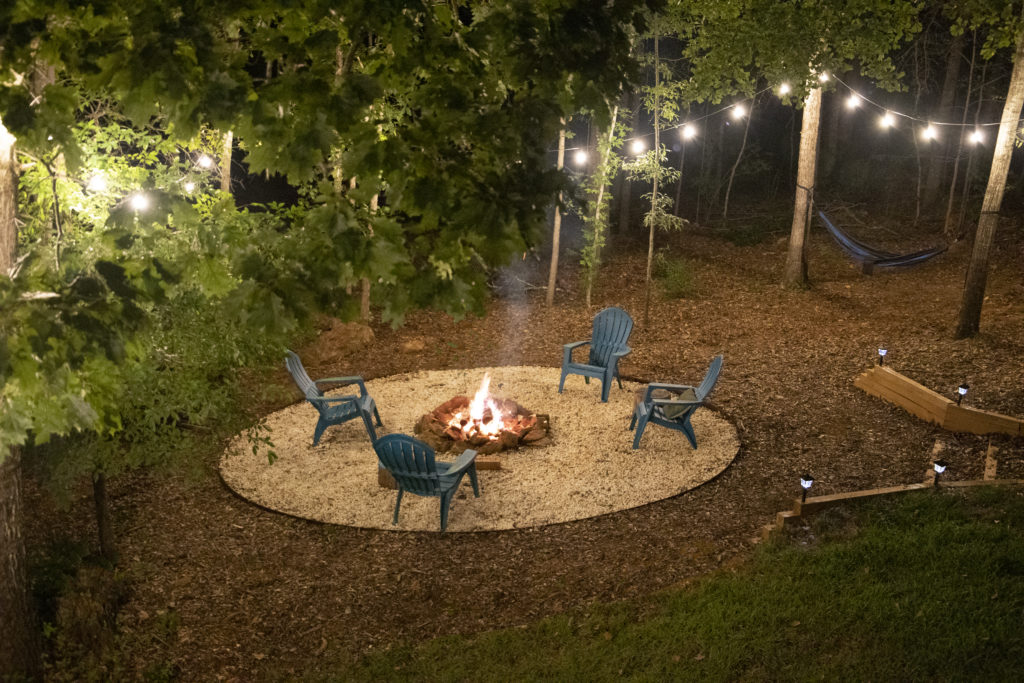
Here’s a view from our deck. We placed string lights in the trees around the fire. They are SUPER heavy duty and give the entire area a nice, relaxing glow. We also spent $11 on a remote control for the lights. This little fob is kept hanging inside our house and the string lights are plugged into it. So, with a single click, the backyard is lit up!
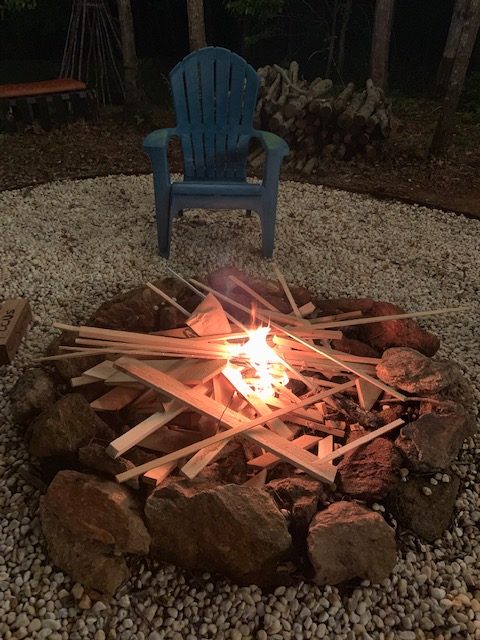
Starting fire with cedar
from the scrap pile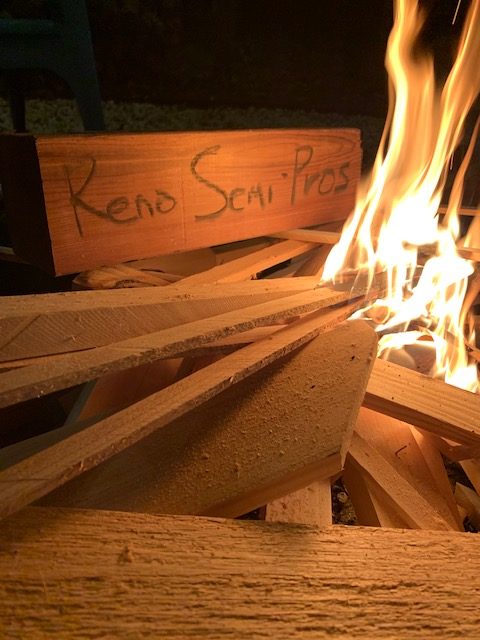
Shameless Plug 🙂
Hope you found some inspiration to DIY your own backyard fire pit!
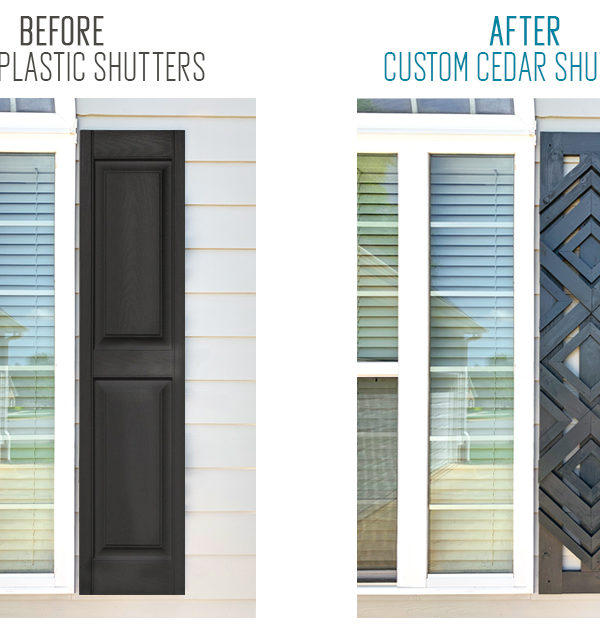


[…] If you enjoyed this post, check out some of our other exterior projects at the Forest House – Custom Designer Shutters, Custom Exterior Touches, and Fire Pit and Garden Lights! […]