After we finished modernizing the fence, we decided to make better use of the small yard space between the pool and the fence. We wanted all three areas around the pool to have a purpose. We felt it was important to give the impression that the entire yard is alive with a diversity of plants and recreational spaces.
So we divided the area into usable blocks.
Backyard Spaces
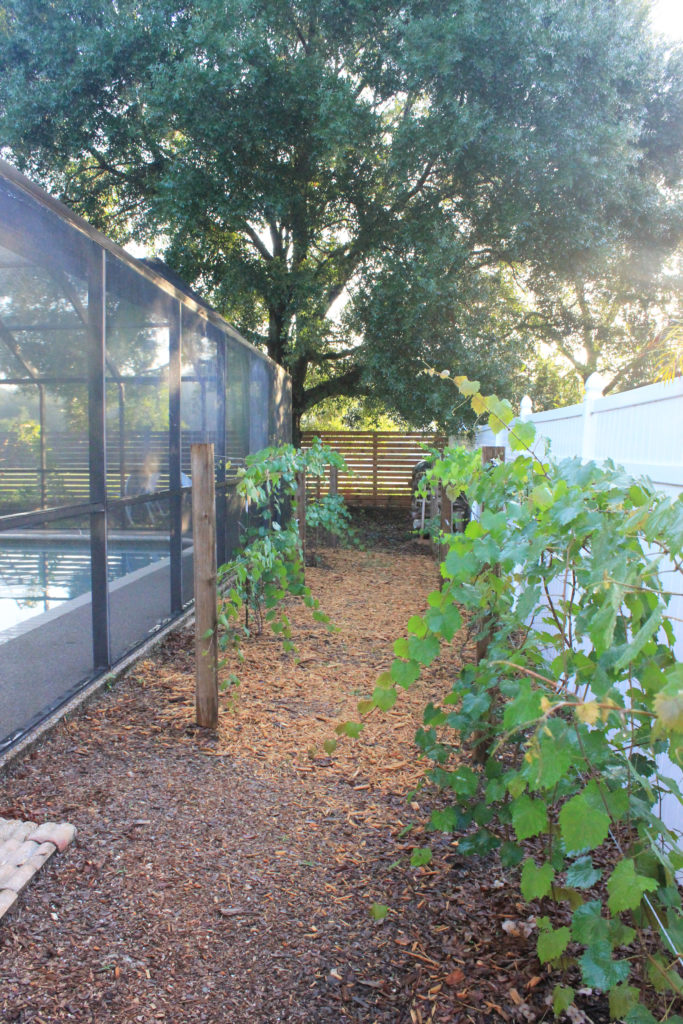
In the narrow space to the right of the pool, we planted grape (muscadine) vines (more on that below).
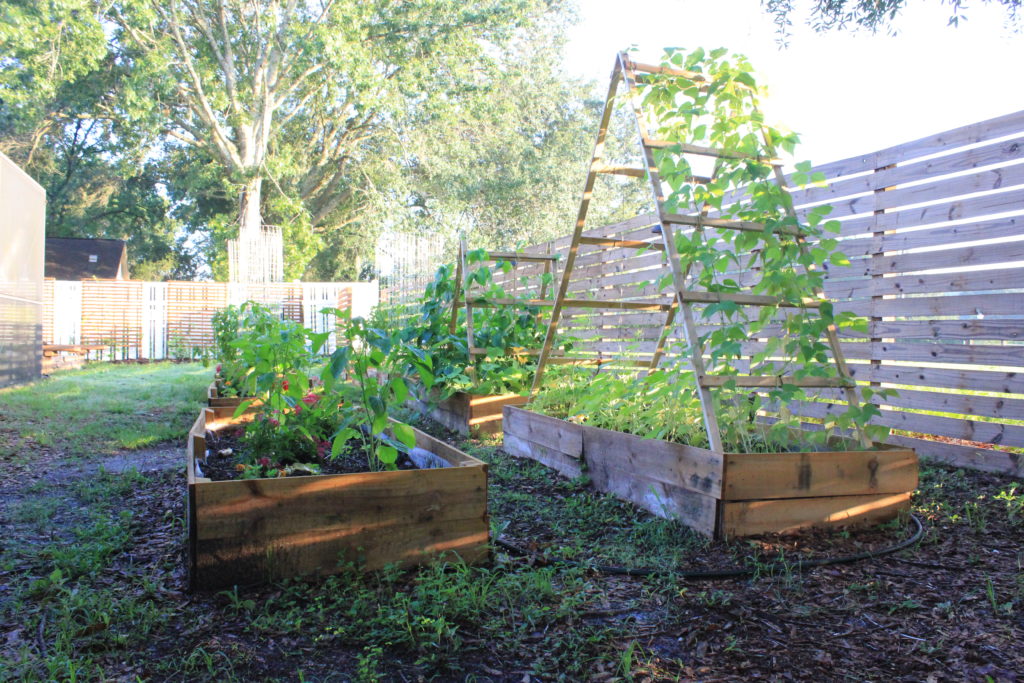
In the very back section of the yard, next to the modernized wooden fence, we created 8 raised garden beds.
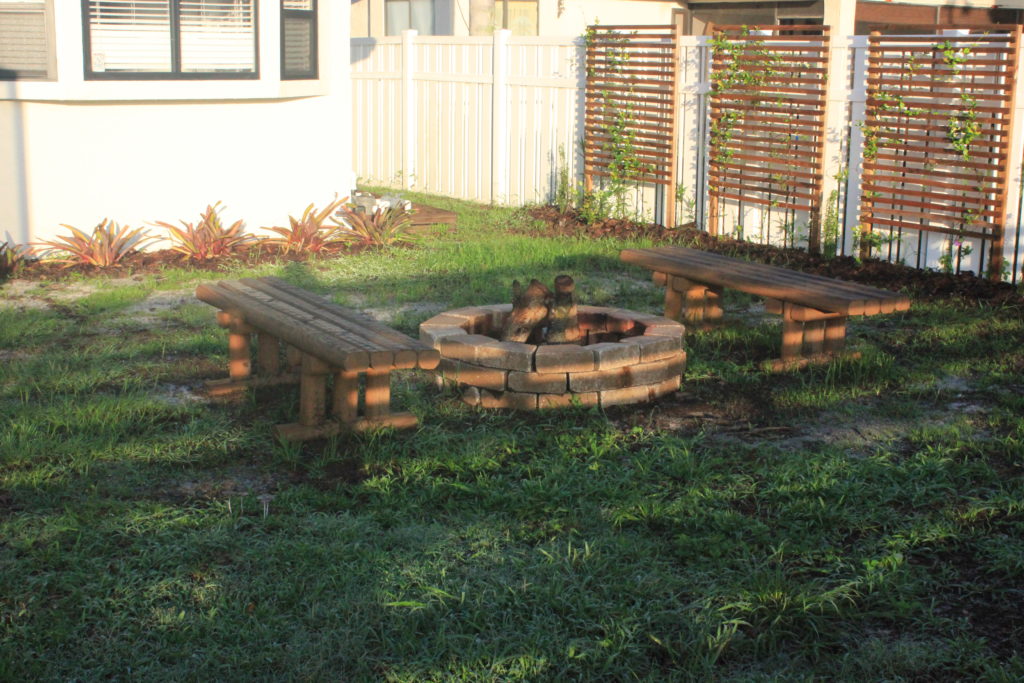
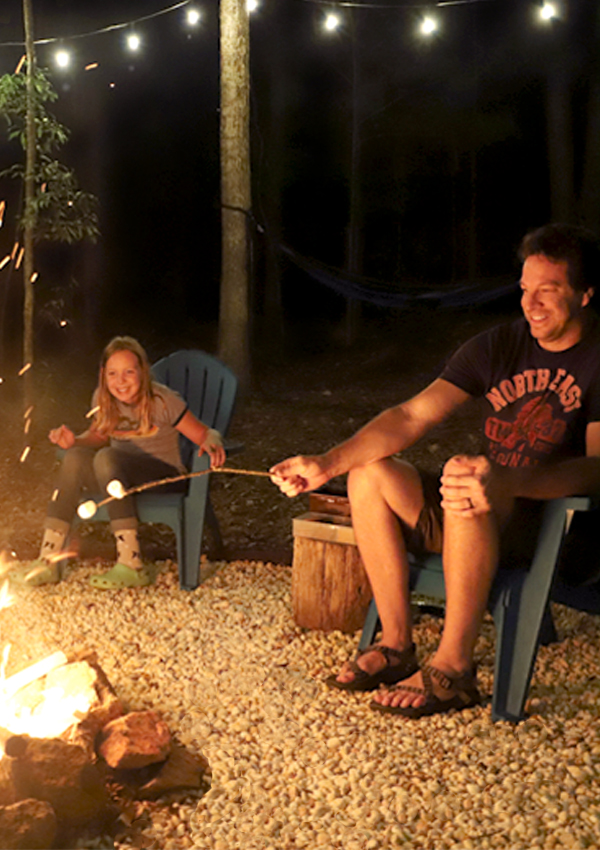
Finally, on the other side of the pool, we built trellises for vining plants and created a fire pit with benches.
Let’s talk about the muscadines though!!!
Building the Muscadine Vine Trellises
In many yards, long and narrow spaces like this might be useless. Maybe a good place for dogs to evacuate their bowels? Instead of leaving this area to the realm of putrescence, we envisioned plants that could thrive next to our neighbors bright white fence.
During most the day, this spot receives a ton of sun reflecting off the PVC fence. We thought grape vines might be a good candidate for the space. Melissa is a lover of all things muscadine: muscadine wine, muscadine jellies, and most favorite of all – the muscadine grapes themselves. So, we set out to convert this side yard into a vineyard…well a mini-vineyard.
The project began by planting pressure-treated 4×4 posts in concrete. The posts themselves are 5ft out of the ground and set at 8 ft. apart.
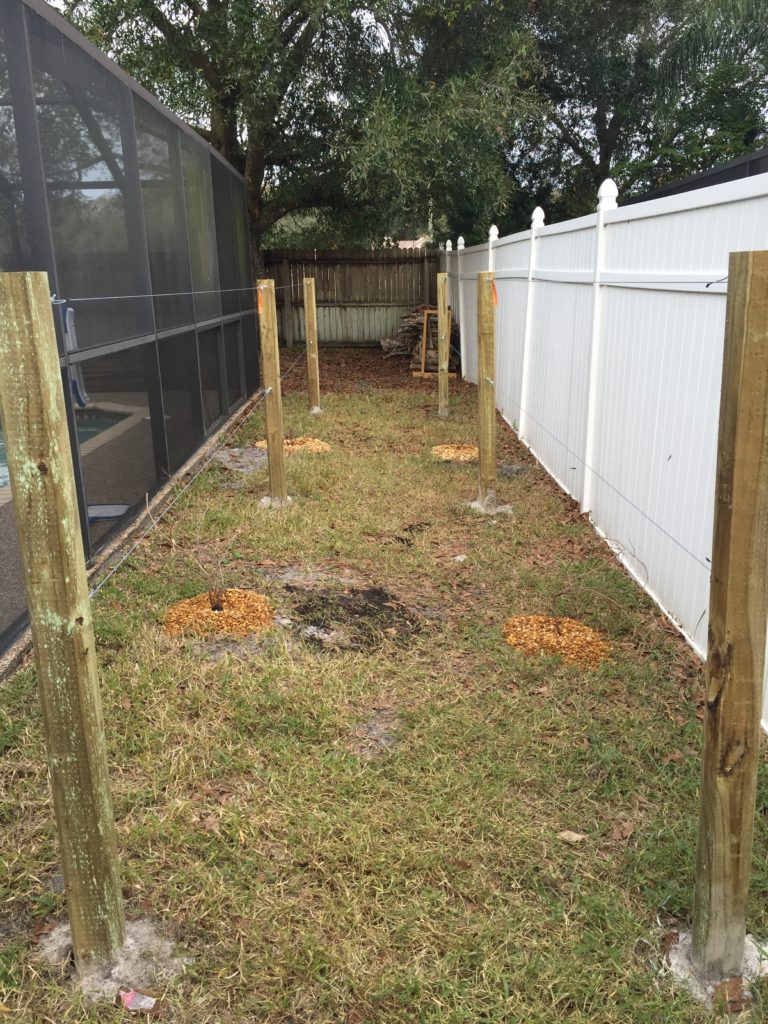
This isn’t totally ideal. In fact, ideal setup would be 20 ft. of wire for EACH plant. But our side yard wasn’t that big….and thus we had to compromise. If you have the space though, here is a quick tutorial on the perfect muscadine setup.
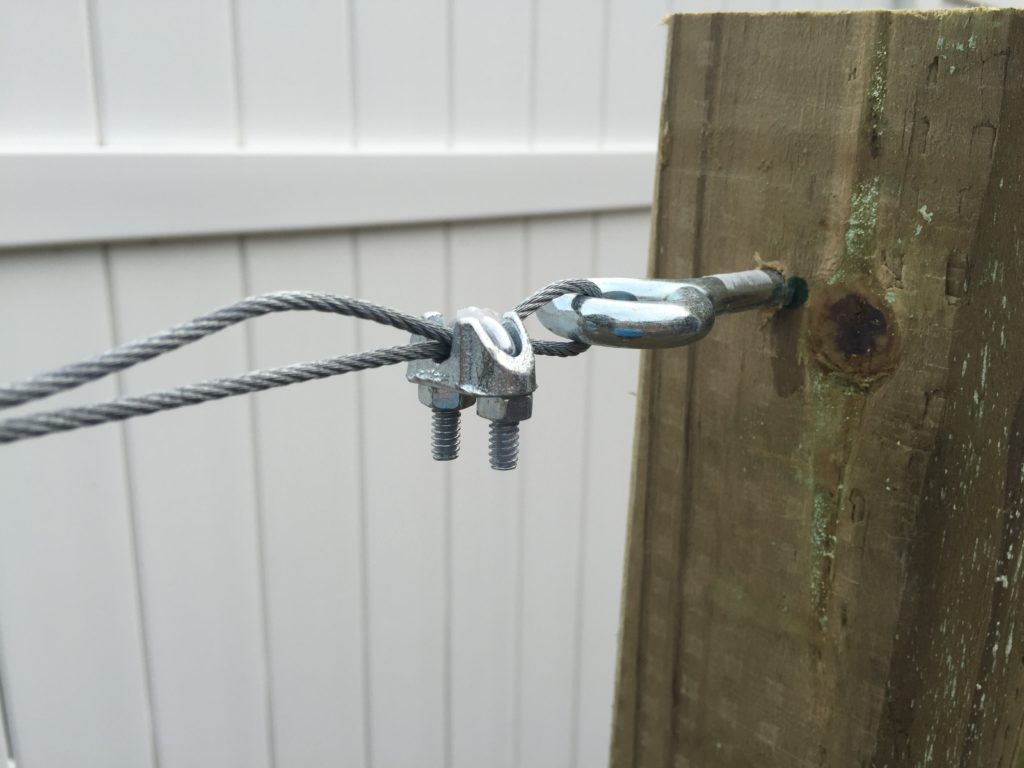
Once the concrete was set, we screwed eyebolts directly into the pressure treated posts. We then looped a metal wire (number 9 wire works great) into the eyebolt and secured with a wire clamp.
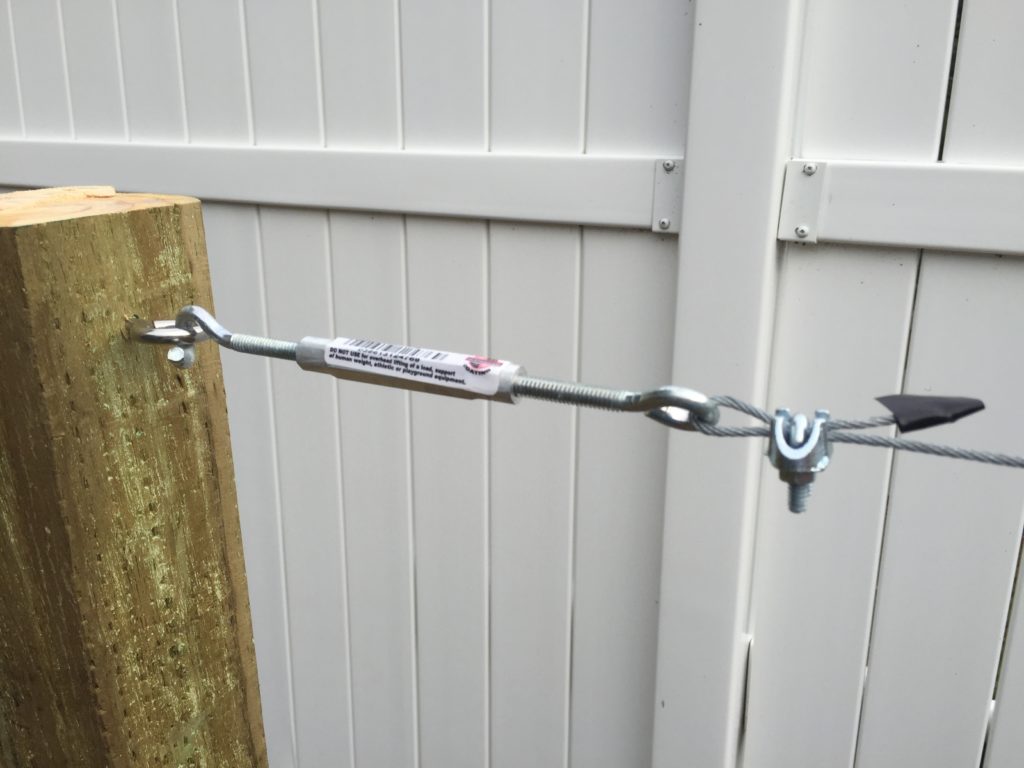
Then, with the same wire, we went to the adjacent post. On this side, we used a turnbuckle. We started with the buckle open (expanded), attached one end to the eyebolt on the post, and the other end to the wire line. The turnbuckle allows us to tighten the wire as the grapes grow and their weight on the wire increases. A really easy and inexpensive set-up that will last the life of the grape vines (hopefully).
Ordering & Planting the Vines
During this same time period, we had ordered our grape vines and were anxiously awaiting their arrival. The cost of each vine depends on its size/age. But for reference, each plant is approximately $10.
Here is the muscadine grower we order from (their awesome and known as one of the best in the industry). Ison’s Nursery and Vineyard – they ship direct to your door!

Once the bare vines arrived (they’ll look dead….don’t despair!), we planted them in good soil and surrounded each with a pebble stone surround. The stone surround helps keep the weeds to a minimum and also helps prevent erosion.
As cousin Eddie put it, “Clark, that’s the gift that keeps on givin’ the whole year.”
With very little effort, time, materials, or money this forgotten space now has a purpose. It’s fun to look out the window and wonder how many grapes you have each day. Enough to make wine yet?
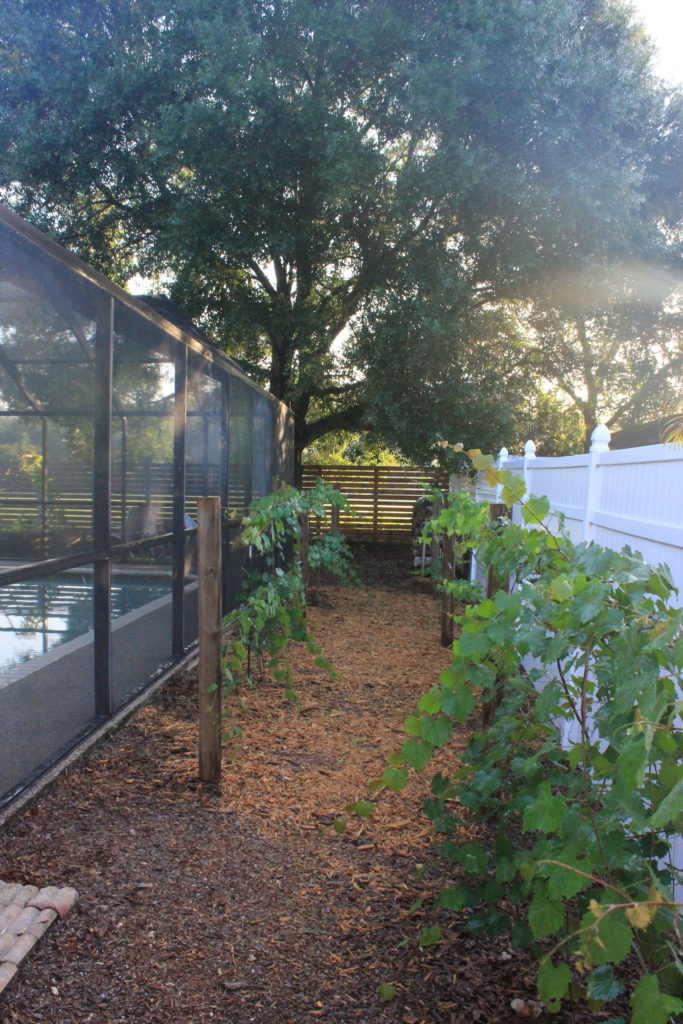
How many homes have you seen with a mini-vineyard? Especially, a home on a third of an acre…

Leave a Reply