Welcome to Part 2 of the growing mushrooms in your backyard weekend project! As we discussed in Part 1 of this post, the cut logs sat outside for two weeks. This allowed time for any anti-fungal properties to dissipate. Now, the Plug Spawn have arrived and we are ready to inoculate the logs!!
In this post, we will take you through the step-by-step (and super easy) process of inoculating logs with fungal mycelium. That phrase may not sound very appealing, but the mushrooms we are growing will be tasty!

Over the next 6 months to 1 year, the mycelium will gradually colonize the logs and begin to sprout mushrooms. Then, for the next 5 to 10 years, these logs will provide us with a sustainable gourmet mushroom supply.
Plug Spawn
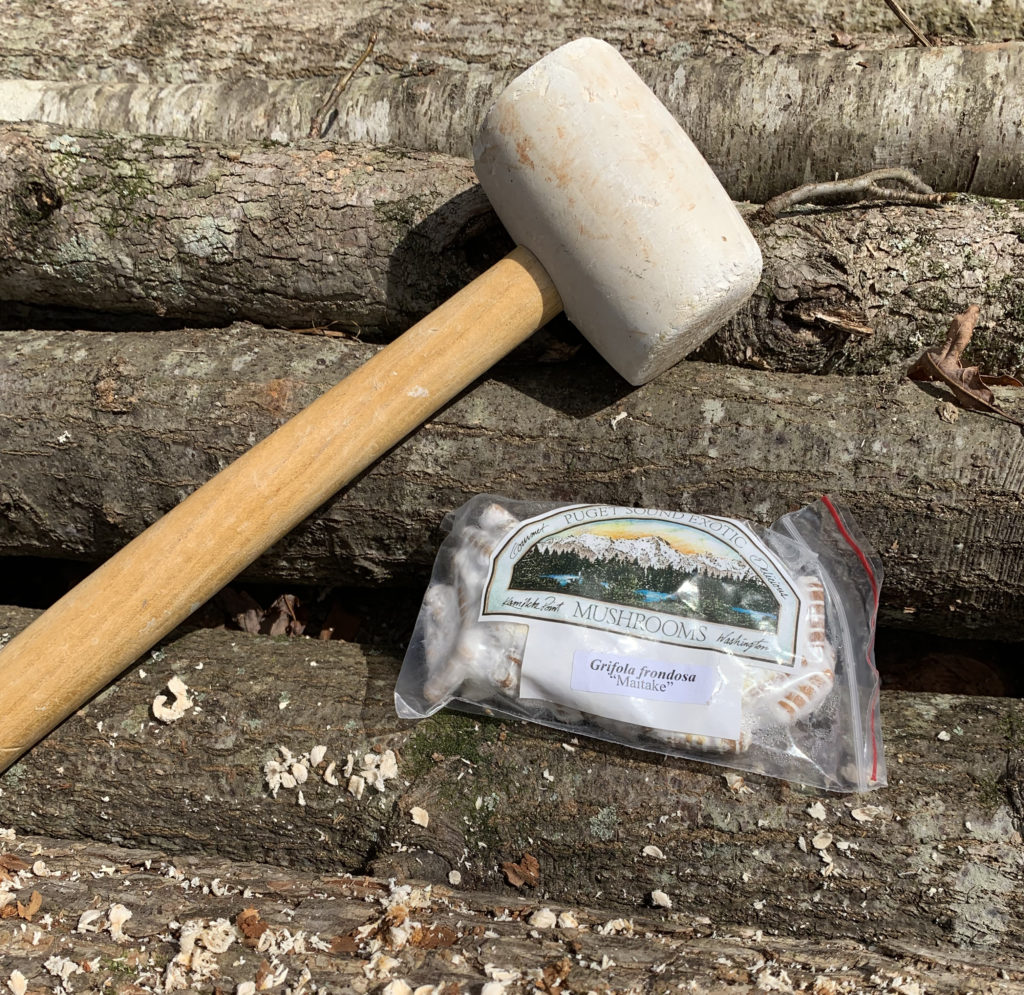
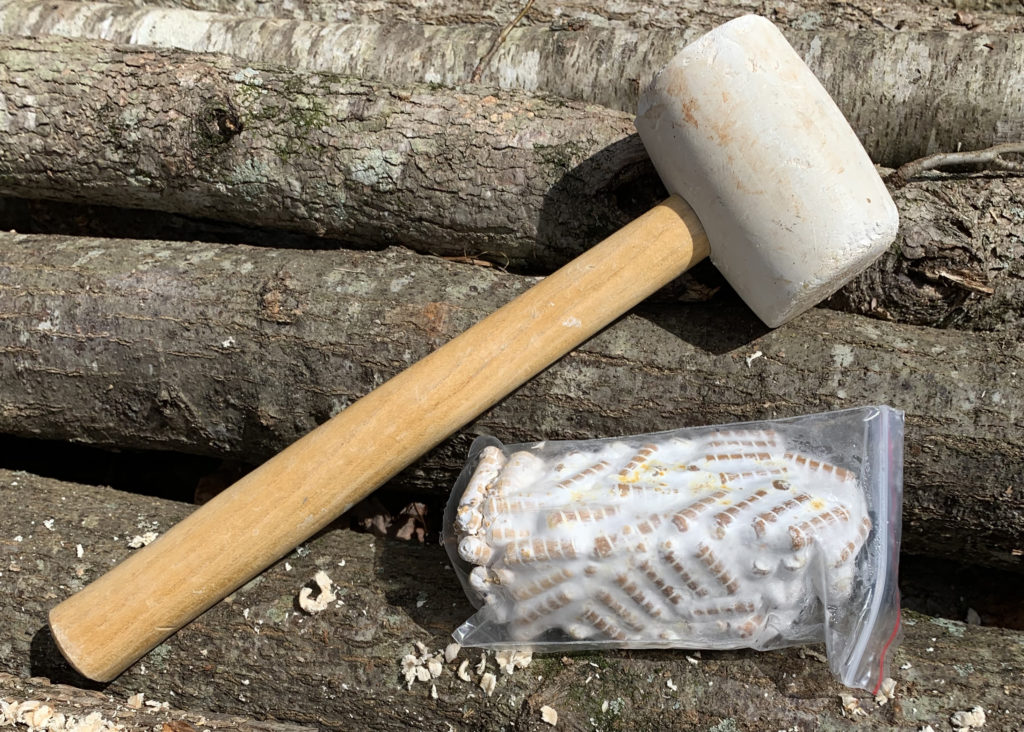
The plug spawn arrive in plastic bags. You’ll need to keep them sealed until you are ready to inoculate your logs. The plugs should be covered in a white, fuzzy material (the mycelium or fungal “roots”). Since I wasn’t sure exactly when we’d start inoculating the logs, I placed them back in their box and put them in the refrigerator until we were ready. You can store these in the fridge for up to 6 months, but it’s best to use them as soon as possible.
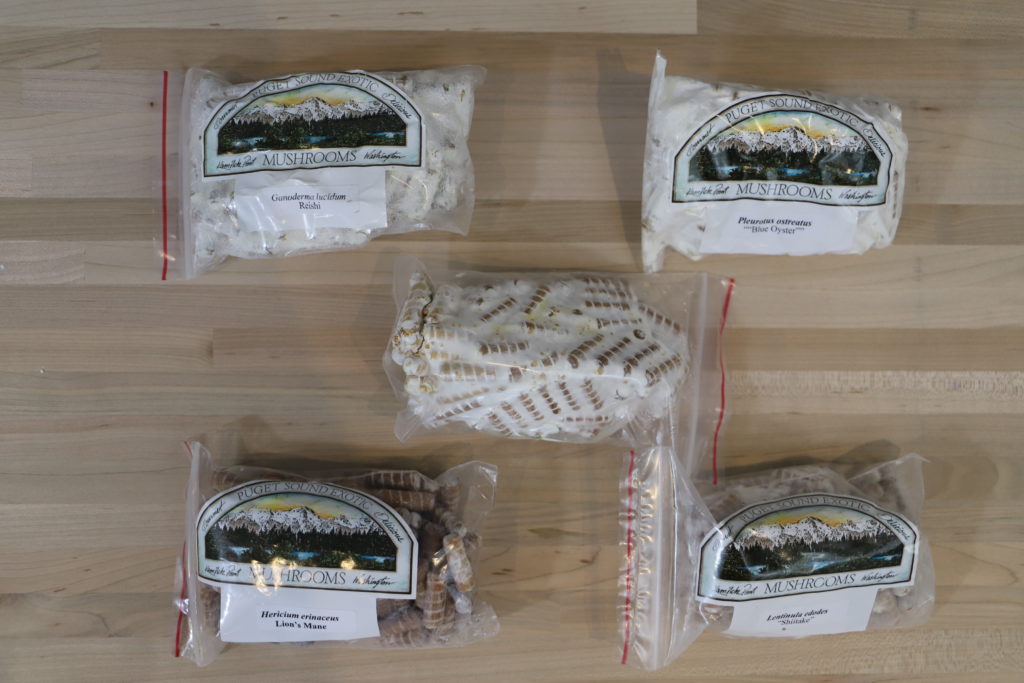
When choosing which mushrooms to grow, I was thinking about what we would eat and which mushrooms have medicinal properties. For example, Shiitake and Blue Oyster mushrooms are delicious! While Reishi (Ganoderma lucidum) mushrooms are known to have a long list of health benefits, including antibacterial, antioxidant, anti-inflammatory, antiviral, and so much more.
How to Inoculate the Logs
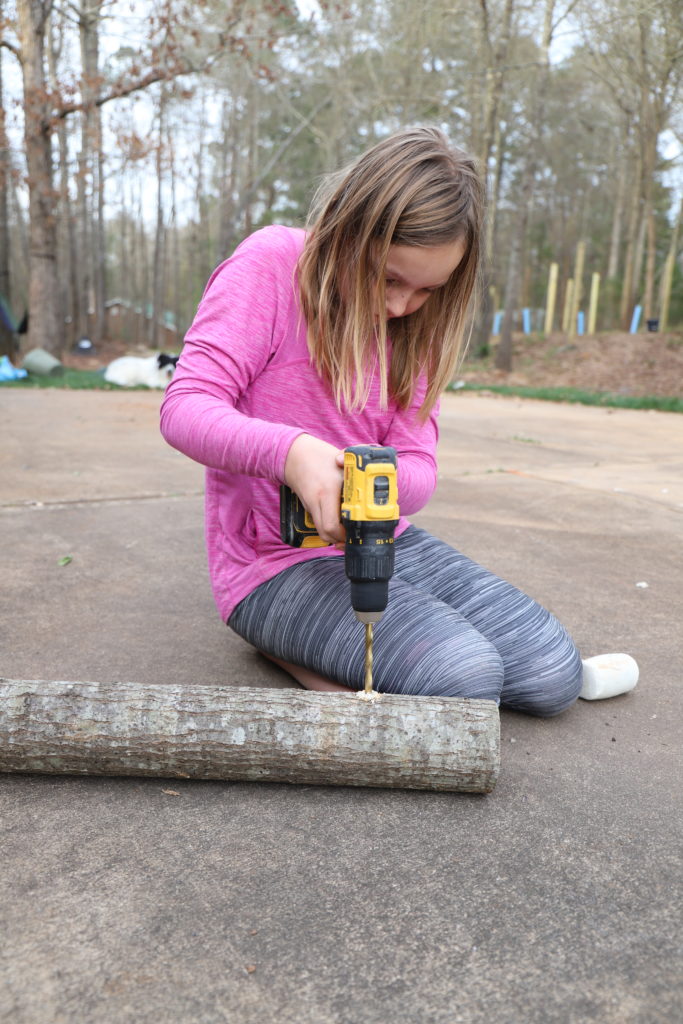
First, we drilled about 50 holes in each log. Using a 5/16″ drill bit, drill holes about 1 1/4″ deep. A hammer-drill works great for this, especially if the logs are oak or other hardwoods and difficult to drill into. Make sure you have a couple of batteries charged. We went through 3 batteries after drilling holes in all 10 logs.
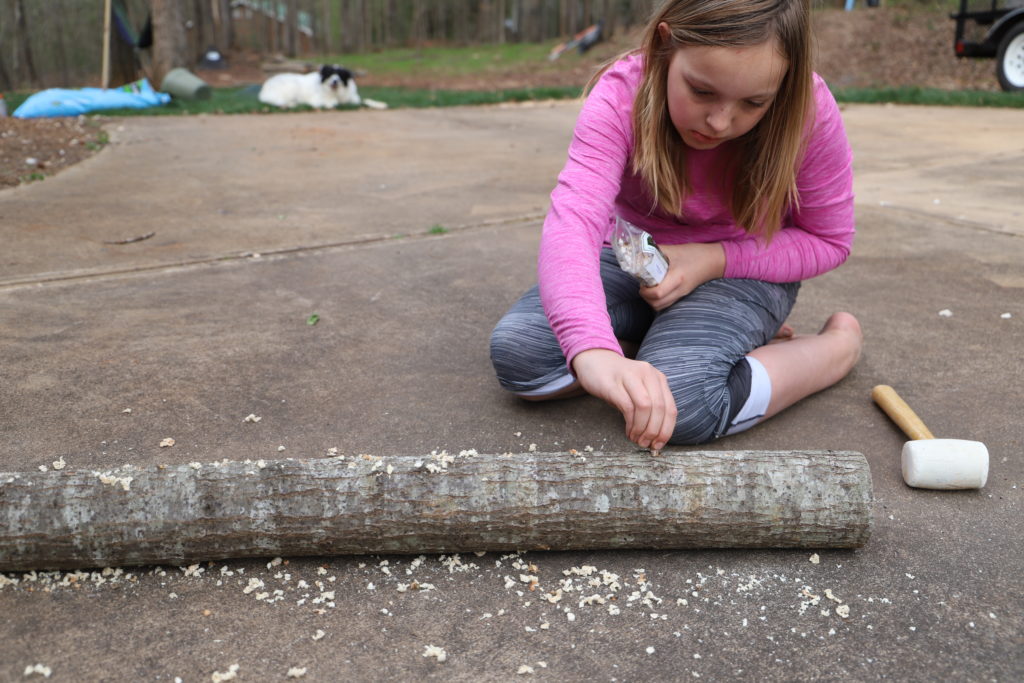
The plugs will have mycelium (the fuzzy white “roots”) visible, but they will be hammered into the drilled hole.
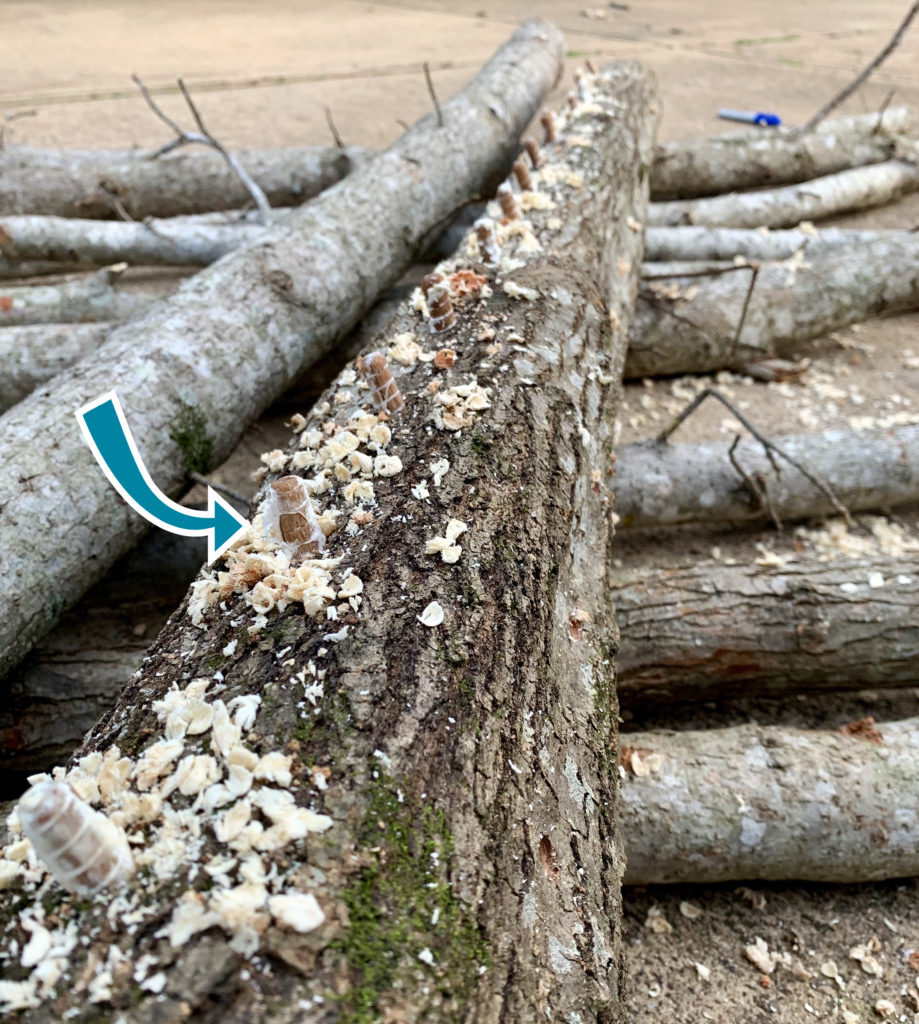
Next, insert the spawn plugs into the holes and tap in with a rubber mallet.
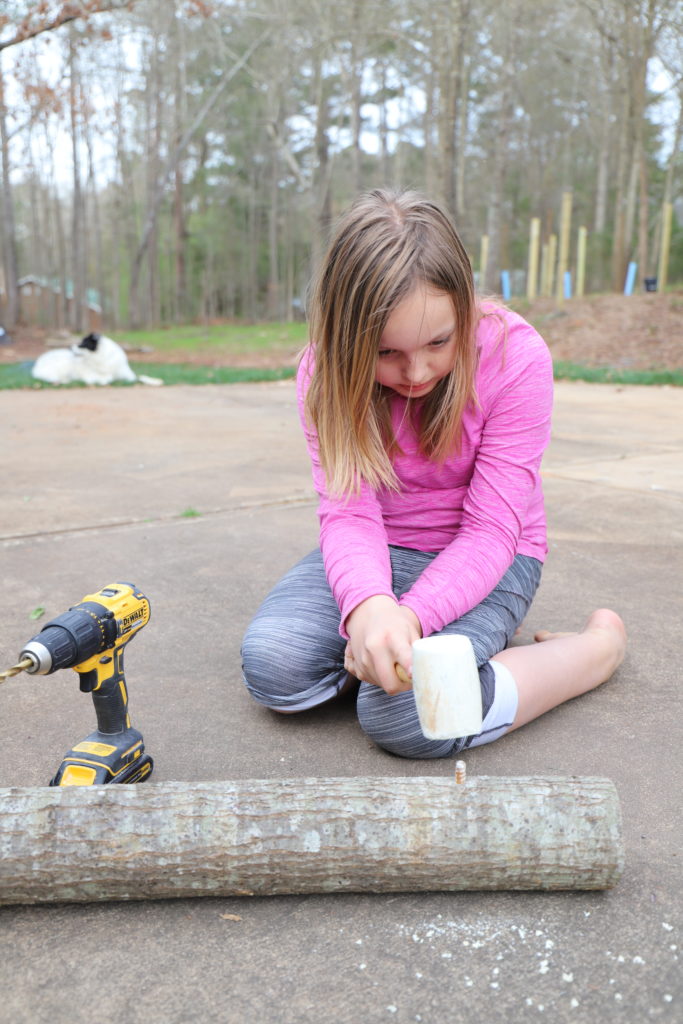
After the plug is hammered in, you can see how the mycelium spreads out. This is okay. Everything will be covered with wax soon.
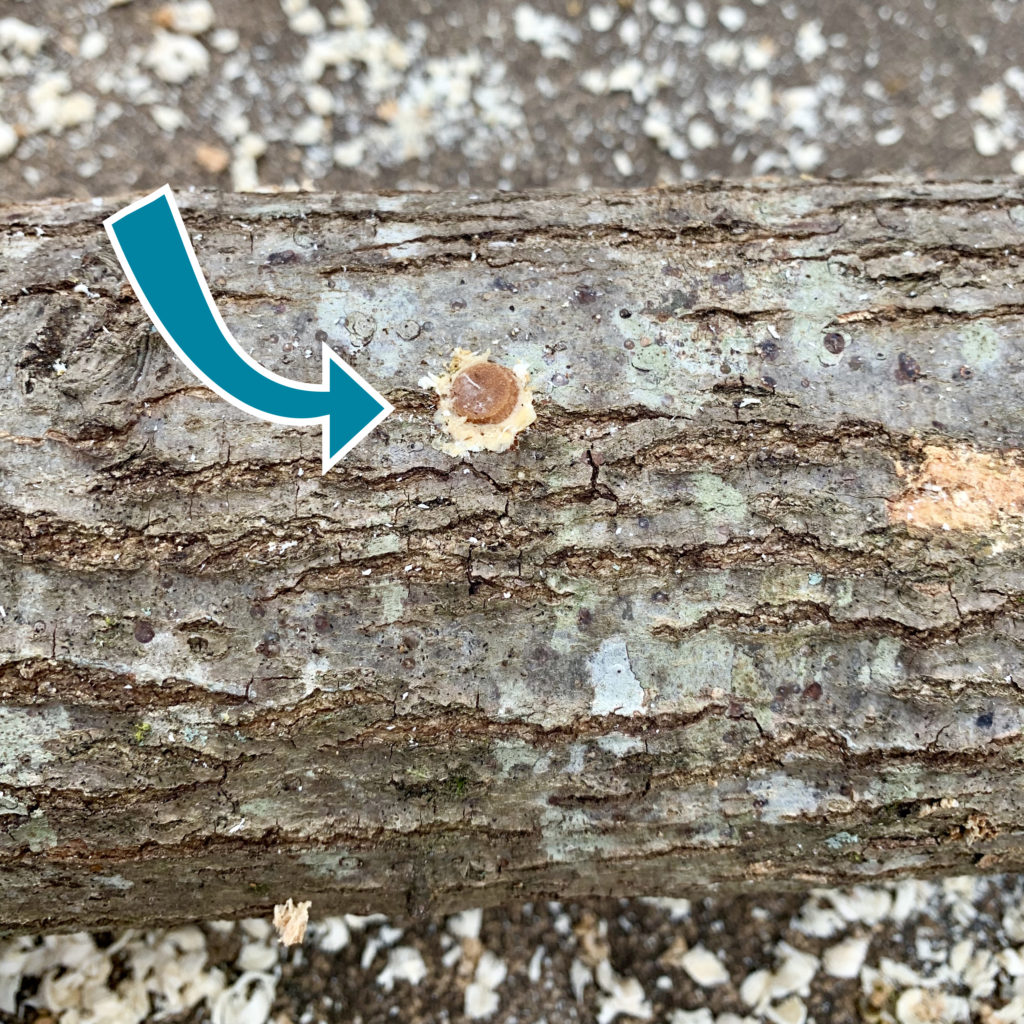
Adding a Wax Coating
In addition to the mushroom plugs, I also ordered sealing wax from Fungi Perfecti. Wax is used to cover the plugs into the log and also to seal the cut ends of the log. This helps to prevent other mushroom spores or bacteria from contaminating the logs before the mycelium has matured. The wax will also help the logs retain moisture as they are slowly colonized by the mycelium.
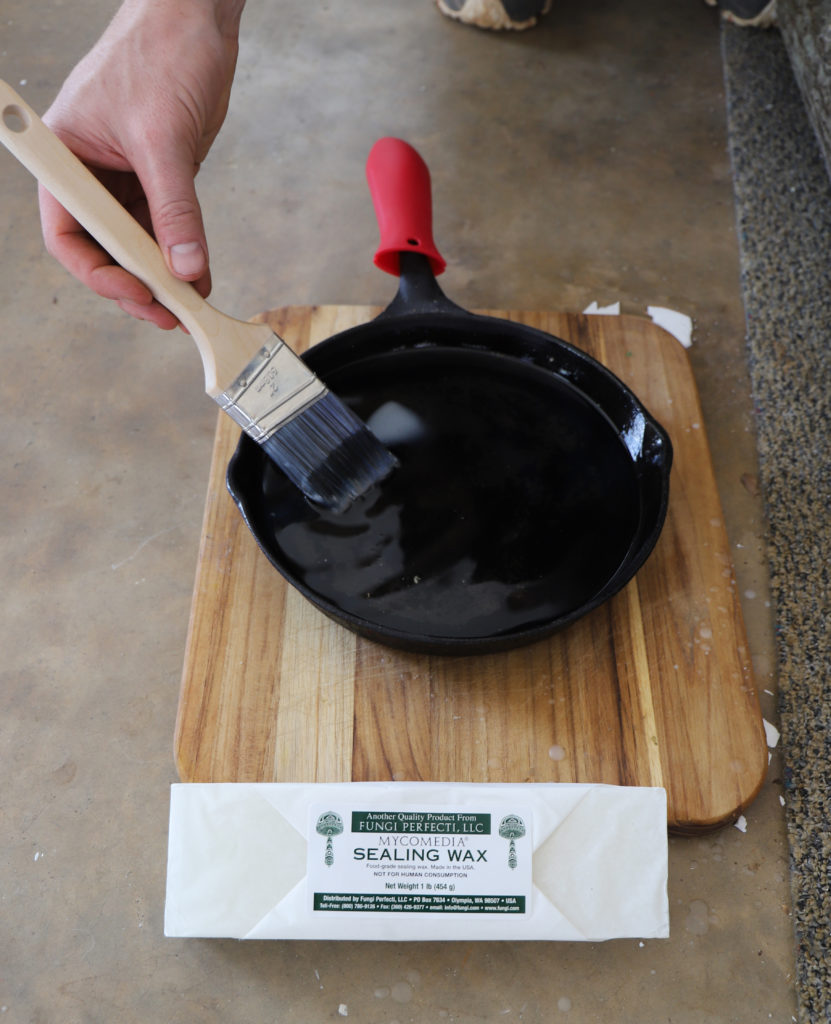
I found an old cast-iron skillet in the basement and melted a full block of wax on the stovetop. The cast-iron pan worked great because it retained the heat for a long time. This way, I didn’t have to rush too much as I walked around sealing the holes. The wax only re-solidified one time in the process of sealing all 10 logs.
Use any small paintbrush to paint on the wax and seal the holes and the ends of the logs.
Semi-Pro Tip: Make sure to label the logs as you go, because you can easily forget which species of plugs you are using in which log. We marked the ends with a permanent marker.
You’ll need to know which species of mushrooms you inoculated each log with for two reasons: 1) logs colonized with different species should not come into contact with one another, and 2) some species of mushrooms like to be placed in a vertical position, while other species prefer to be stacked horizontally.
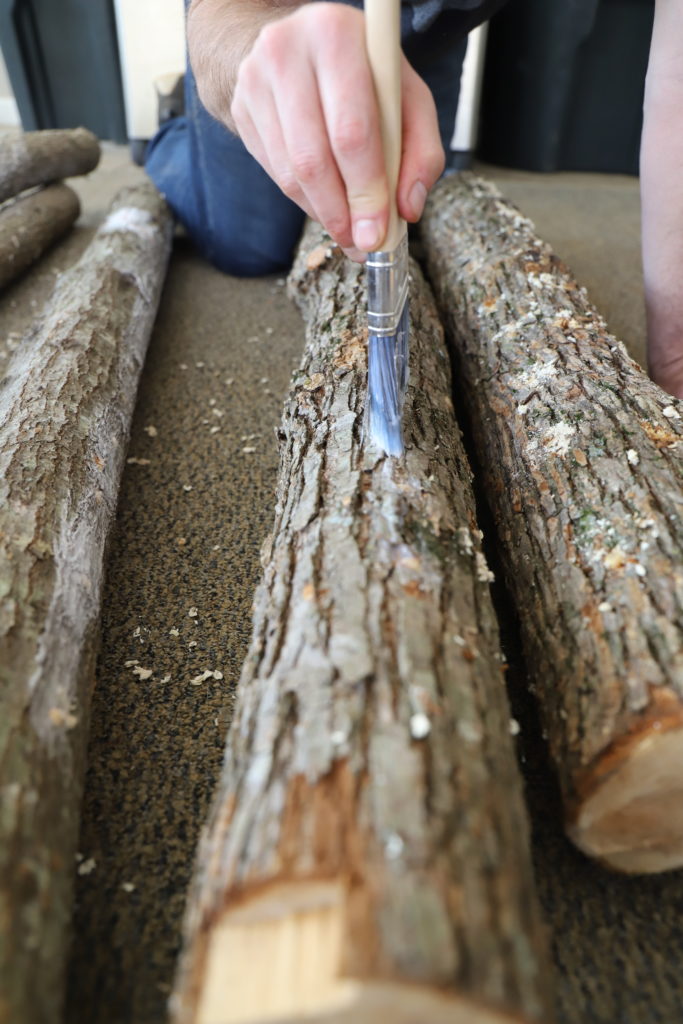
Although the entire log won’t be covered, any spot on the log that received a plug will be painted over with the wax.
Placing the Logs Outside
The last step is to find a good place for your logs. Look for a spot in your yard that’s mostly shaded and away from too much foot traffic. This helps prevent the logs from drying out, getting too overheated, or getting knocked around by dogs, kids, balls, frisbees (maybe this is just a problem at our house!?)
We placed our logs on top of some pallets (seasoned and heat treated only – don’t risk the chemical treated pallets for this project). This allows air movement under the logs and keeps them safely off the ground, away from contaminates. Once the leaves come back in, these logs will be fully shaded and damp. I’ll water my mushroom garden at least once a week to make sure the logs stay damp. (Is that weird?)
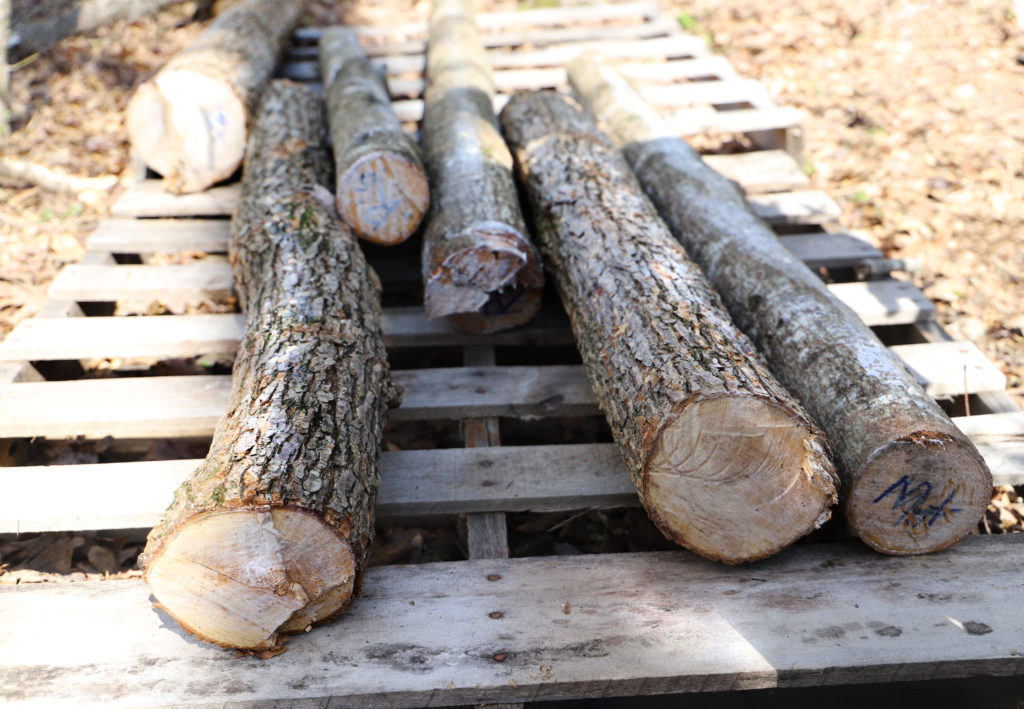
This shot also shows how we labeled the ends of the logs, so we know what to stack where and whether they need to be vertical or horizontal.
Check our original post on growing mushrooms in your backyard for a complete list of what we ordered, how many, and how much it all cost. Also, stayed tuned for an update in the coming months on our mushroom production!



Leave a Reply